- Mersive Documentation
- Solstice
- Manage Solstice
- Manage Solstice with Solstice Cloud
Manage Solstice with Solstice Cloud
Solstice Cloud is a secure and scalable portal that helps organizations to optimize their Solstice-enabled meeting and learning spaces for greater usability, productivity, and return on investment. This is done through its easy-to-use management, monitoring, and analytics capabilities. Solstice Cloud allows administrators to easily deploy, monitor, and update Solstice Pods from anywhere in the world using custom categories, configuration templates, and scheduled software updates. After deployed, usage data is securely collected from Solstice Pods and can be compared across room type or location to provide insight into room usage, participation, and meeting or class duration.
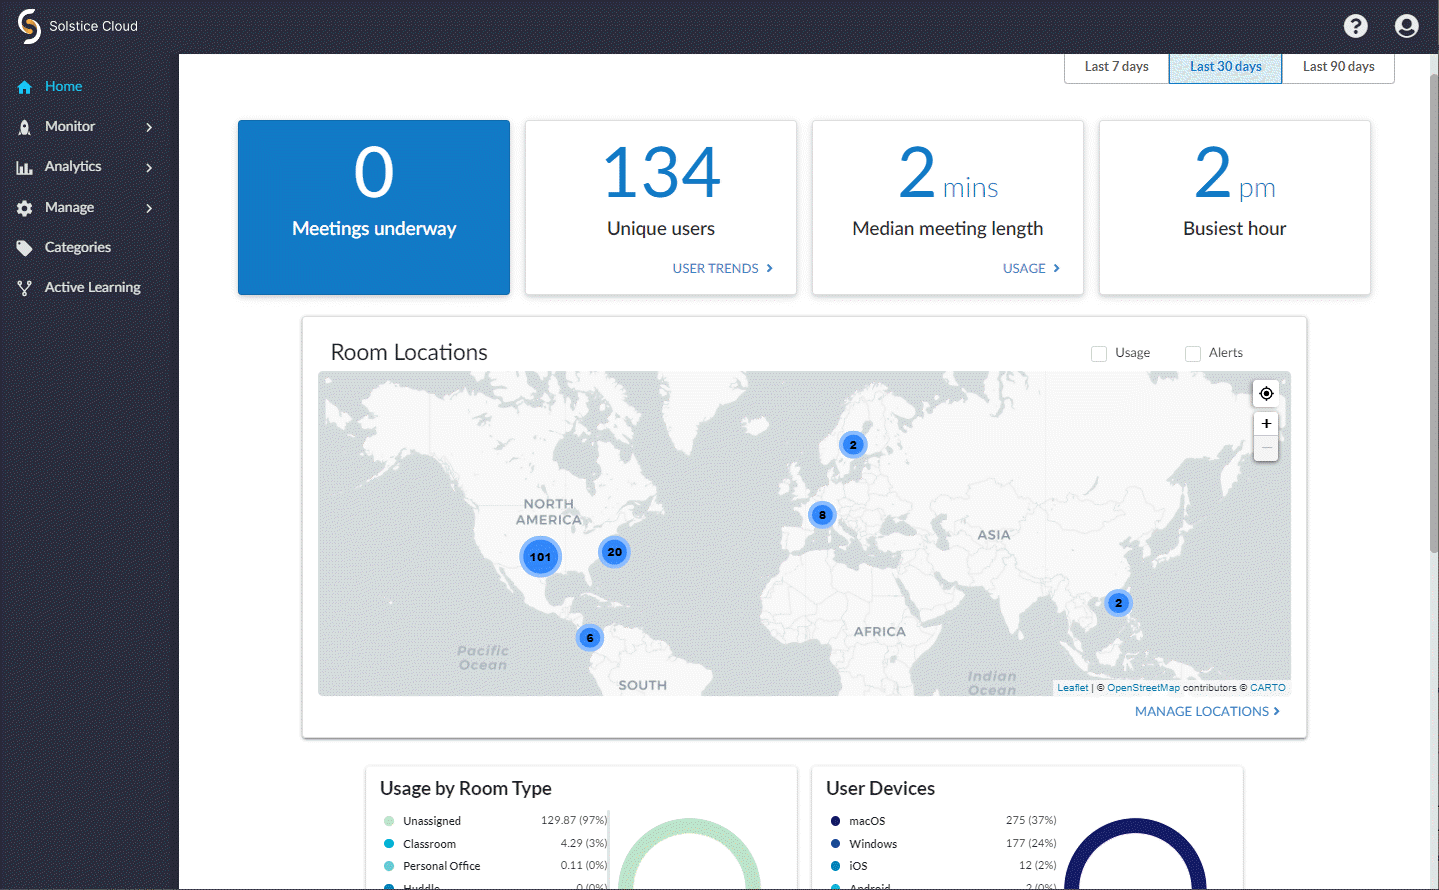
Your organization can quickly start using Solstice Cloud at any time by first creating a Solstice Cloud organization, then onboarding your Solstice Pods into the Solstice Cloud management portal from the new Solstice Deploy app. Mersive recommends creating your Solstice Cloud organization using the email address for the person who will be the main Solstice Cloud administrator for the new Solstice deployment. This will be your organization's main administrator account for Solstice Cloud management.
The initial Solstice Cloud administrator account can then invite other users to join Solstice Cloud management for your organization in a variety of user roles. Inviting any additional users from the master account allows those users to access the same set of Pods and data for your organization. For more information, see Manage Users and Roles in Solstice CloudManage Users and Roles in Solstice Cloud.
Requirements
To onboard Pods into Solstice Cloud, Pods must have internet access and be running Solstice version 3.4 or later.
Deployment management capabilities are available for every Solstice Pod on version 4.5 or later.
Standard Solstice Cloud capabilities, including deployment management, are available at no charge for every Pod in perpetuity.
Full Solstice Cloud capabilities, including deployment monitoring and analytics, require a current Solstice Subscription.
How To
New Solstice Cloud management organizations can now be created directly in Solstice Cloud with any valid email address that isn't already assigned to a Solstice Cloud account. Solstice Pods can then be onboarded directly into Solstice Cloud using the new Solstice Deploy tool.
To create the new Solstice Cloud organization:
Go to the Solstice Cloud organization creation page at cloud.mersive.com/create-org.
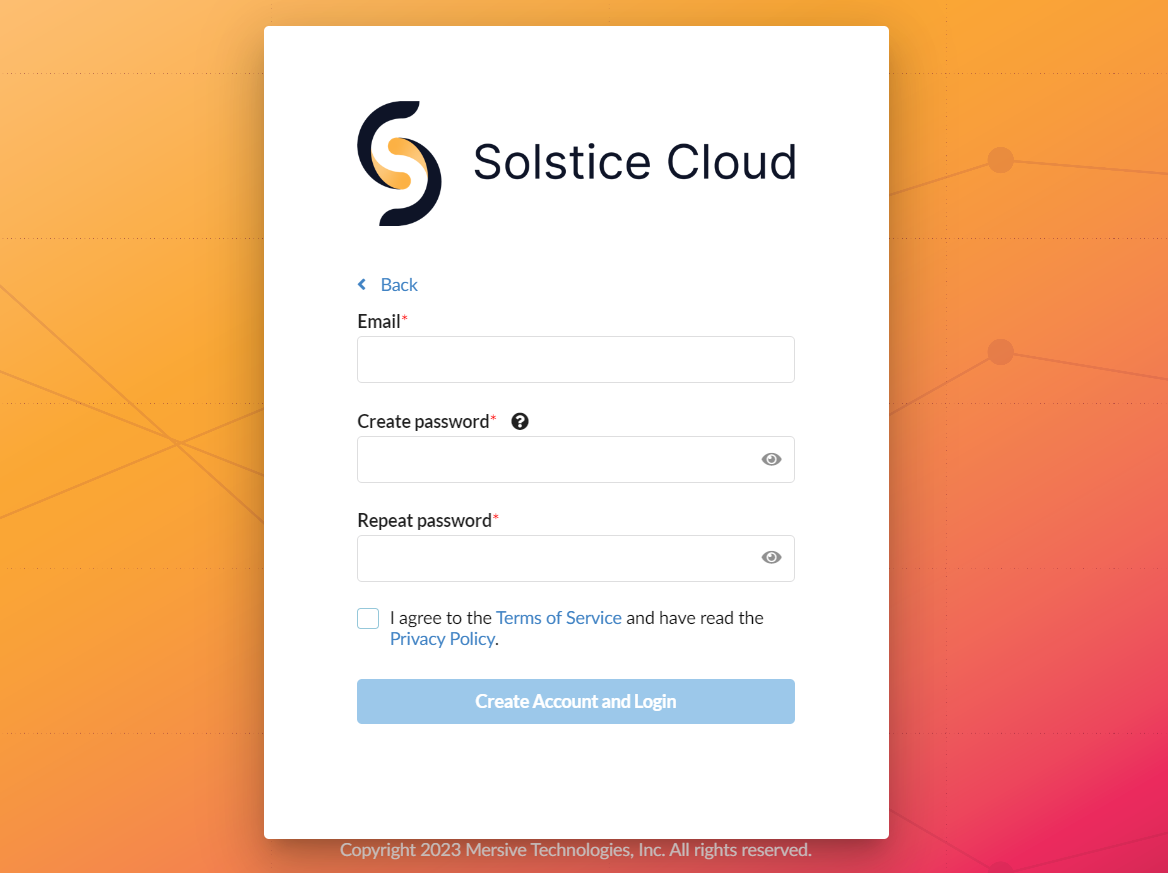
Enter a valid Email that is not currently registered in Solstice Cloud management. This will be used for the initial administrator account for the new Solstice Cloud organization.
Double check the entered email address for typos. A mistyped email address for this account may make the new organization inaccessible without support from Mersive.
Enter a password in Create password. then enter it again in Repeat password.
The entered passwords must be the same, and must meet the password rules listed by hovering over the
 icon above the first password box.
Check the box to agree to the Terms of Service and Privacy Policy, then click Create Account and Login.
If the entered passwords do not match each other, or do not meet the Solstice Cloud password rules, a new Solstice Cloud organization cannot be created. Fix the highlighted issue and try again.
If the email address entered already has a Solstice Cloud account, you will be directed to instead log in to Solstice Cloud with your existing account.
If the process is successful, you will be logged in to the new Solstice Cloud organization with your new Admin account.
Continue to the next section to onboard Pods with the Solstice Deploy app.
After you have a Solstice Cloud organization and primary administrator account, you are ready to start enrolling Solstice Pods to be centrally managed in Solstice Cloud. Administrators can download the Solstice Deploy app for Windows or macOS from the Solstice Cloud portal.
Go to cloud.mersive.com and log in to Solstice Cloud with an Admin level account. The Solstice Cloud home page appears.
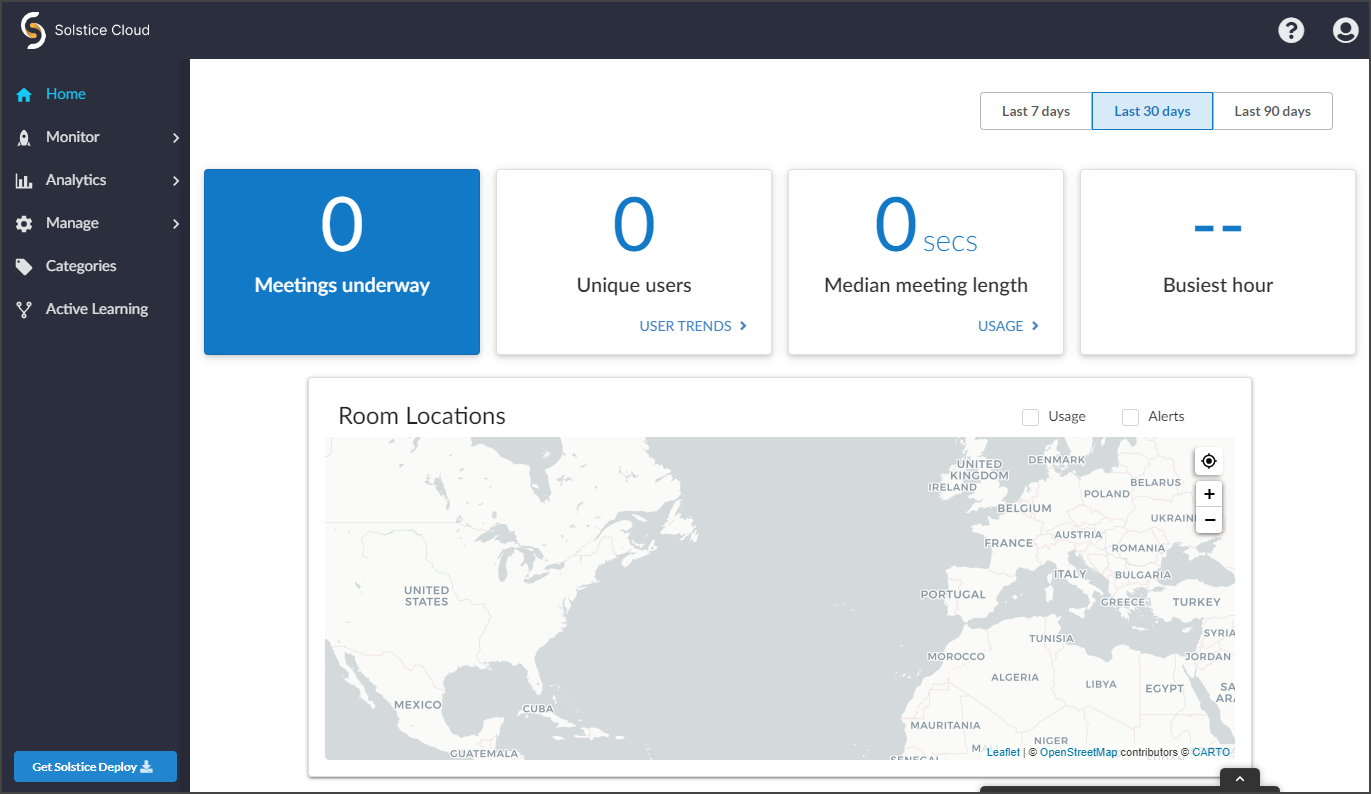
Select Get Solstice Deploy in the lower left.
Run the downloaded file (e.g.,
solsticedeploy-latest.exe) to install Solstice Deploy on your Windows or macOS device. The Solstice Deploy app starts after the installation is complete.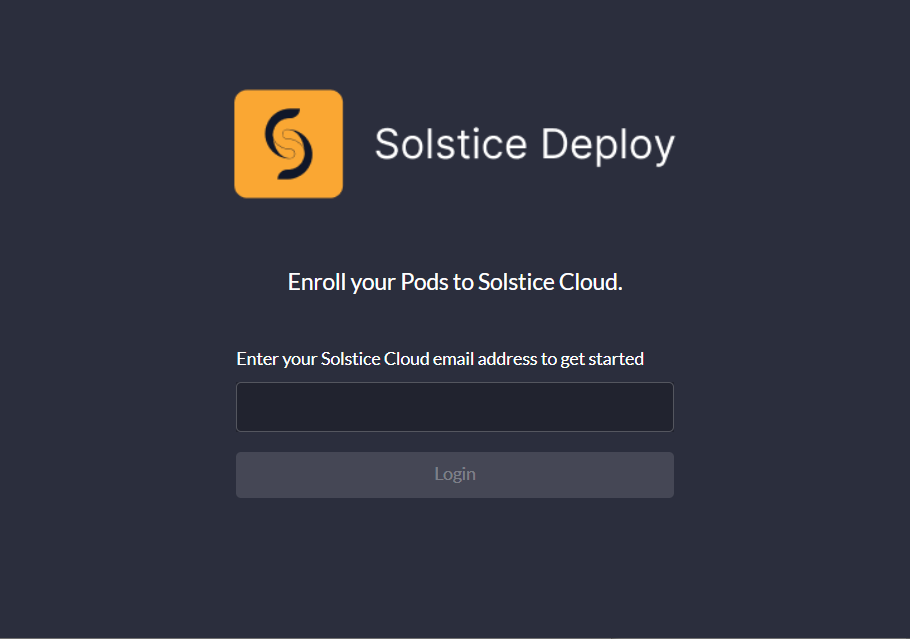
Note
Before proceeding to the remaining steps, check that you are ready to enroll Solstice Pods into Solstice Cloud:
Solstice Pods must be connected to a network via Ethernet with access to the internet.
The device running the Deploy app must be connected to the same network and able to communicate with the Pods.
In the Solstice Deploy app, enter the email address of a Solstice Cloud administrator account, then click Login.
Enter the password for this admin account and Login with password.
Set the Advanced Settings as appropriate for your Solstice deployment:
Enter an Admin password to find Solstice Pods with that password configured.
If your organization is using SDS for Solstice Pod discovery, enter the Solstice Discovery Service host IP address to help find Solstice Pods.
There are two ways to select the Solstice Pods on your network to be added to Solstice Cloud.
Select Find Pods to have Solstice Deploy search the network for Pods to be added to Solstice Cloud.
Tip
This workflow is strongly recommended since it offers the option to configure Advanced Network Settings, enabling Solstice Pods in less-common network scenarios to be enrolled into Solstice Cloud with Solstice Deploy.
Search results will appear, containing Pods that are 1) found on the attached network and 2) aren't yet in Solstice Cloud. Some Pods may take longer to appear in the list than others.
Once the list is complete, you may optionally select Pods and choose Advanced network settings to pre-configure Ethernet network settings needed for the selected Solstice Pods to communicate with Solstice Cloud. Pods can be configured to use a static IP address, VLAN, 802.1x authentication, or HTTP and HTTPS proxies.
Note
See Ethernet TemplateEthernet Template and Proxy TemplateProxy Template configuration topics to learn more about how Solstice Pods use these configuration options.
Some settings must be set individually for each Solstice Pod. In this case, you will be prompted to enter a value for each selected Pod.
When the network configuration settings for the chosen Solstice Pods have been entered, select Apply network settings to save your settings and return to the list of Pods.
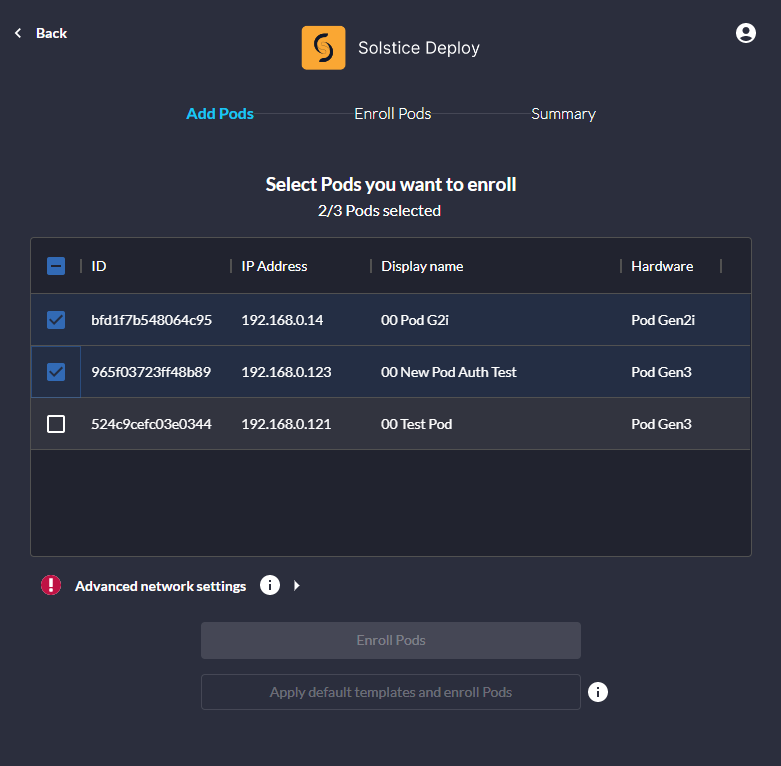
If a red icon appears, one or more Pods are missing information required to communicate with Solstice Cloud. To continue, edit the advanced network settings for affected Pods.
Make sure the Pods you wish Solstice Deploy to enroll into Solstice Cloud are selected and proceed to the next step below.
OR to use a list of IP addresses to select Solstice Pods to be enrolled into Solstice Cloud management, choose Enter Pods Manually.
Enter a comma-separated list of IP addresses for Solstice Pods you want to add to Solstice Cloud. (Copying and pasting is strongly recommended.)
If the listed Pod(s) have an admin password configured, enter it in Admin password. Then proceed to next step below.
After you have designated which Solstice Pods to add to Solstice Cloud using one of the options above, you may enroll the Pods into Solstice Cloud with or without applying default configuration templates:
Select Enroll Pods to add the listed Solstice Pods in Solstice Cloud without any configuration template assignments. You may always configure templates and apply them after the Solstice Pods have been enrolled in Solstice Cloud management.
OR select Apply default templates and enroll Pods to assign predefined default templates to the listed Solstice Pods as they are added into Solstice Cloud management (for Pods running Solstice 5.0+).
Click Yes, I'm sure to confirm this option.
Warning
Applying default templates will overwrite any previous Pod configurations, including any Ethernet settings configured in 'Advanced network settings' above. If any listed Pods have configurations you wish to save, do not apply default templates.
Note
Default template settings should be configured in Solstice Cloud before applying them to Solstice Pods. Learn more about Templates in Solstice CloudTemplates in Solstice Cloud.
A progress bar appears for each Solstice Pod being enrolled into Solstice Cloud. This process can take some time, depending on the number and type of Pods being enrolled and whether default templates are being applied.
When Solstice Deploy has finished trying to enroll all listed Solstice Pods, a results summary appears.
Each summary bar can be expanded to show details for Pods in that category (enrolled or failed). Failure details are provided for Pods that failed the enrollment process.
Solstice Pods that were successfully enrolled now appear and can be managed in Solstice Cloud.