- Mersive Documentation
- Solstice
- Deploy Solstice
- Deploy Solstice Locally with Solstice Dashboard
- Step 3: Rename Pod and Customize Appearance
Step 3: Rename Pod and Customize Appearance
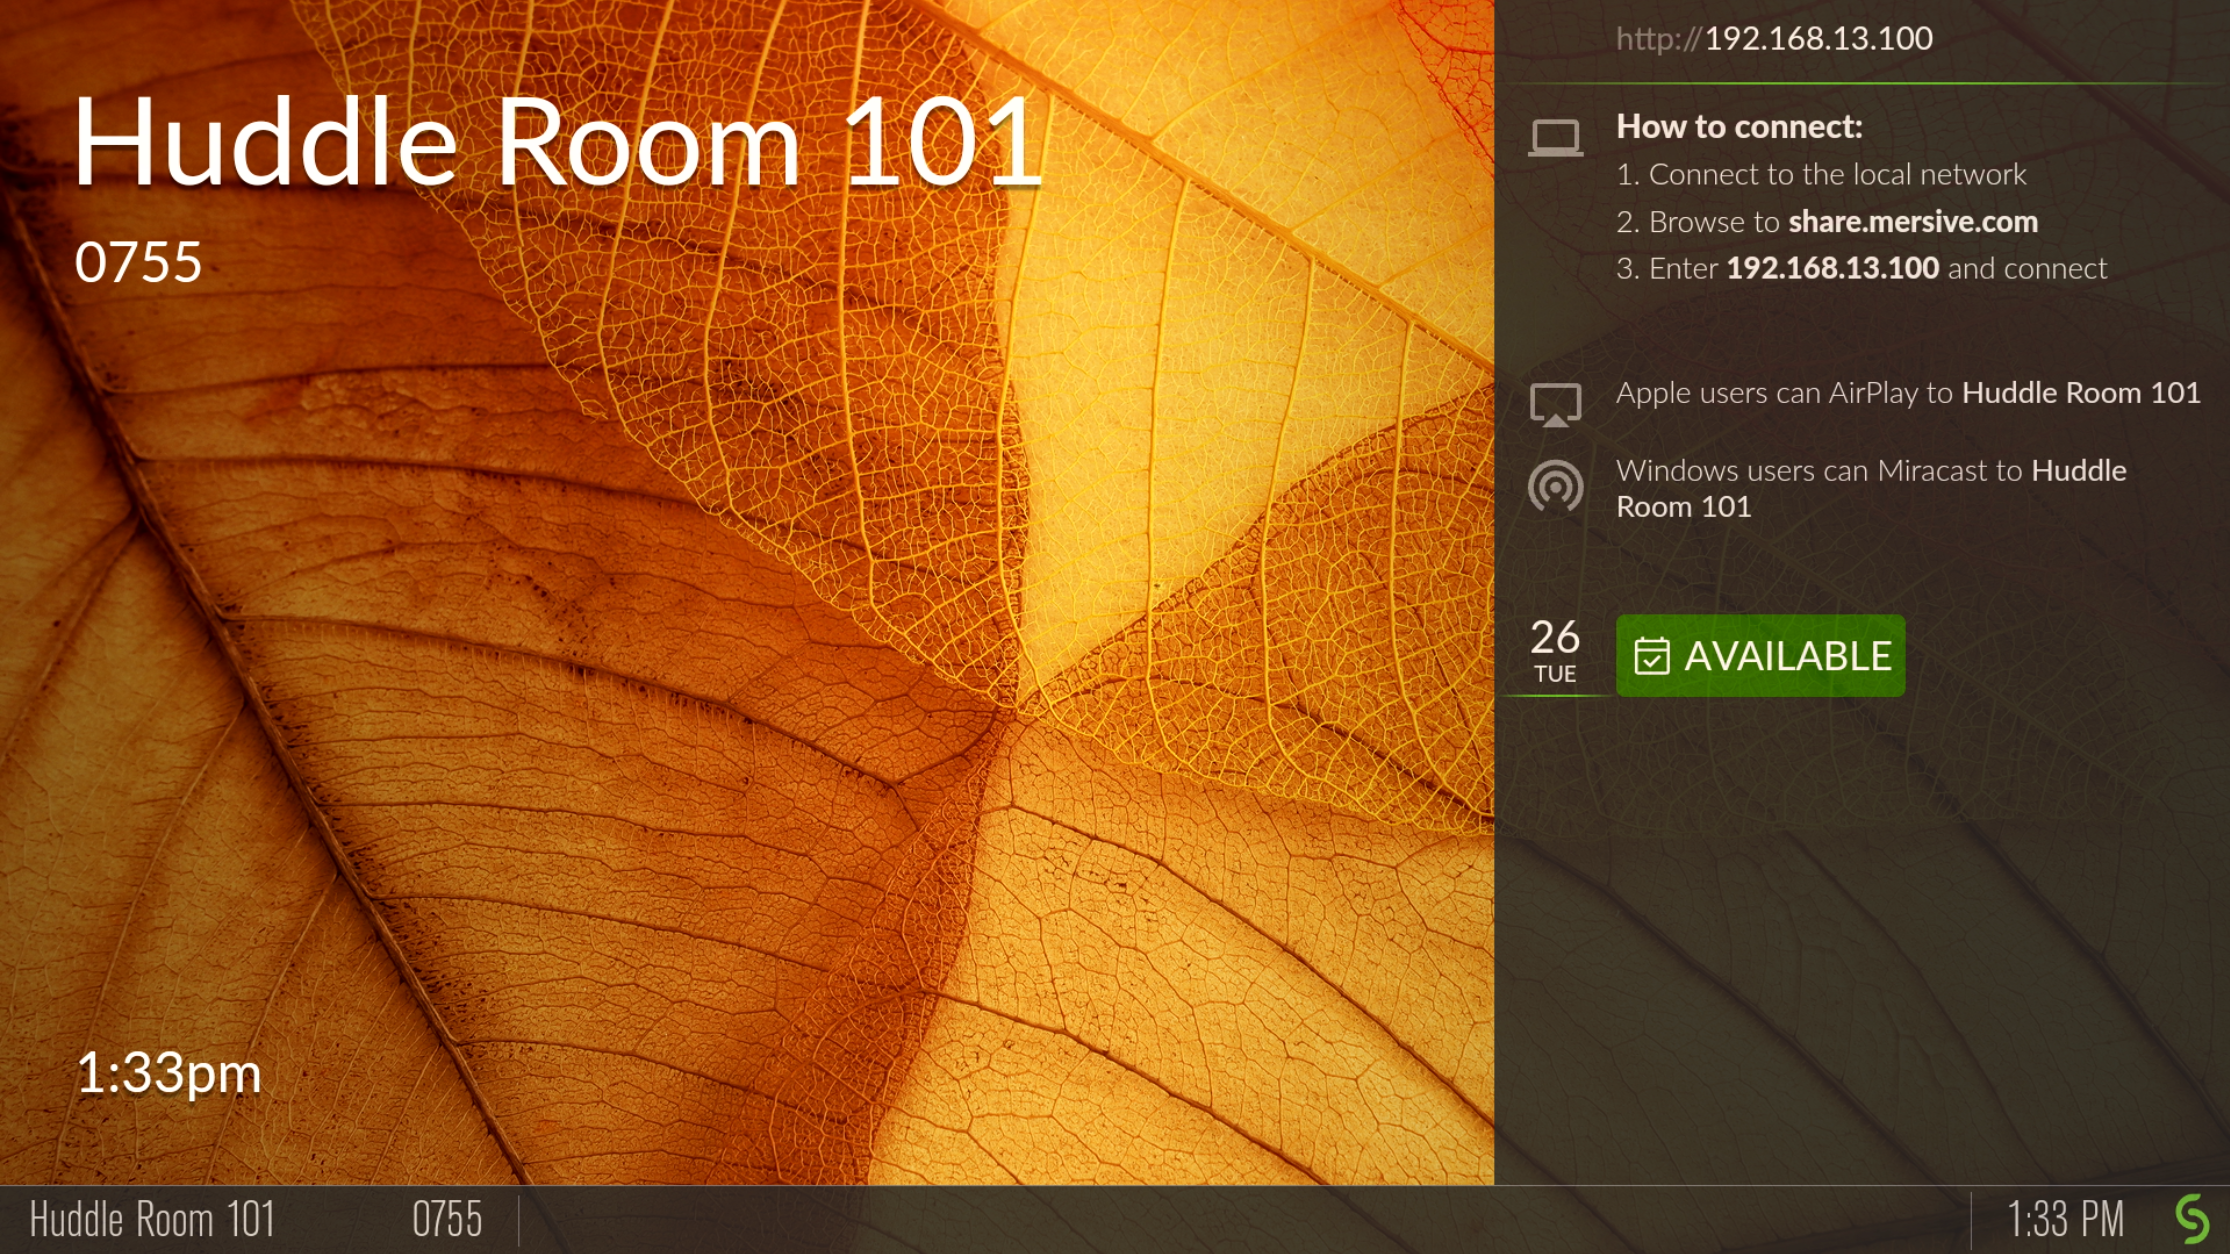
To make it easy for users to discover and connect to the right Solstice display, Mersive recommends renaming the Pod to correspond to the meeting room or space it will be installed in. You can also change the appearance of the Solstice display's welcome screen to match your organization's branding by updating the display's background images, adding customized connection instructions, changing the text color, and more.

How To
In Solstice Dashboard, select a display (Pod or Windows Display Software) from the list of Your Solstice Instances.
Go to the Appearance and Usage tab.
In the Display Name section, change the Name to one that corresponds with the location or room the display is in. For example, you can change a Pod name to 'North Conference Room' to match the name of the room it is in. This makes it easier for users to know which Solstice display they are connecting to.
Click Apply.
Repeat steps 1–4 for all displays in your Solstice deployment.
In Solstice Dashboard, select your displays in the list of Your Solstice Instances.
Go to the Appearance and Usage tab.
Under Customize Welcome Screen, select the Modern Splash Screen option.
Under Background images, click on the image you want to change. A file explorer window will opens.
Browse to the image to add, select the file, then click Open.
To disable a background image, uncheck the box to the left of the image. You can use as few as one or as many as six background images for each display.
To change the images back to the default background images, click the Reset to default images button.
To avoid the potential for "burn in" that may occur from the background image being displayed continuously in the same location, you can select Background pan effect. This moves the background image slowly right and left across the display's background area.
Click Apply.
Connection instructions that appear on the Solstice Welcome Screen give meeting participants the information they need to quickly connect to a Solstice display. You can customize these instructions according to how your organization has configured Solstice.
In Solstice Dashboard, select your displays from the list of Your Solstice Instances.
Go to the Appearance and Usage tab.
In Connection Instructions Overlay under Appearance, check Custom instructions overlay.
In the field that appears, enter the custom connection instructions to appear on the display’s welcome screen. Both plain and rich text formats are supported.
Tip
You can include responsive variables, which will be automatically replaced with Pod-specific information, in your custom instructions. Available variables are
[RoomName],[ScreenKey],[WifiNetworkName],[WifiIP],[EthNetworkName], and[EthIP]. Note that variables are case sensitive.You can use the following as a starting point for your custom instructions:
To get started:
1. Browse to share.mersive.com
2. Enter [EthIP] or [WifiIP]
3. Enter the Screen Key [ScreenKey] and connect
4. Share content to this screen!
To add a dynamic IP address to the instructions, enter the network name in brackets, e.g.
[INTERNAL]. The string is replaced with the corresponding IP address when it appears on the welcome screen.To remove instructions for how users can connect to the display using AirPlay or Miracast, uncheck the Show AirPlay and/or Show Miracast options.
Click Apply.
Tip
Not sure how to get started with your custom instructions? Copy and edit the sample below:
To get started:
1. Connect your device to [EthNetworkName]
2. Open the Solstice App
3. Tap [RoomName]
4. Enter [ScreenKey] when prompted for the Screen Key
5. Share content to this screen!
6. First time? Visit https://[EthIP]

Tip: Stash on-screen content by dragging it to the dock on the left
In Solstice Dashboard, select your displays from the list of Your Solstice Instances.
Go to the Appearance and Usage tab.
In Connection Instructions Overlay under Appearance, select either Hide instructions overlay or Show instructions overlay.
To show a summary of upcoming events on the room calendar associated with the display, check Show calendar overlay. For more information on configuring a room calendar for a Solstice display, see Room Calendar Settings.Room Calendar Settings.
Click Apply.