Device Activation
Activating your device is a simple process that can be completed on a laptop or mobile device. To help make device activation as intuitive as possible, the device will track your progress and guide you through the process.
How to activate your device
To activate your device, take the following steps:
Start up the display. The activation screen appears.
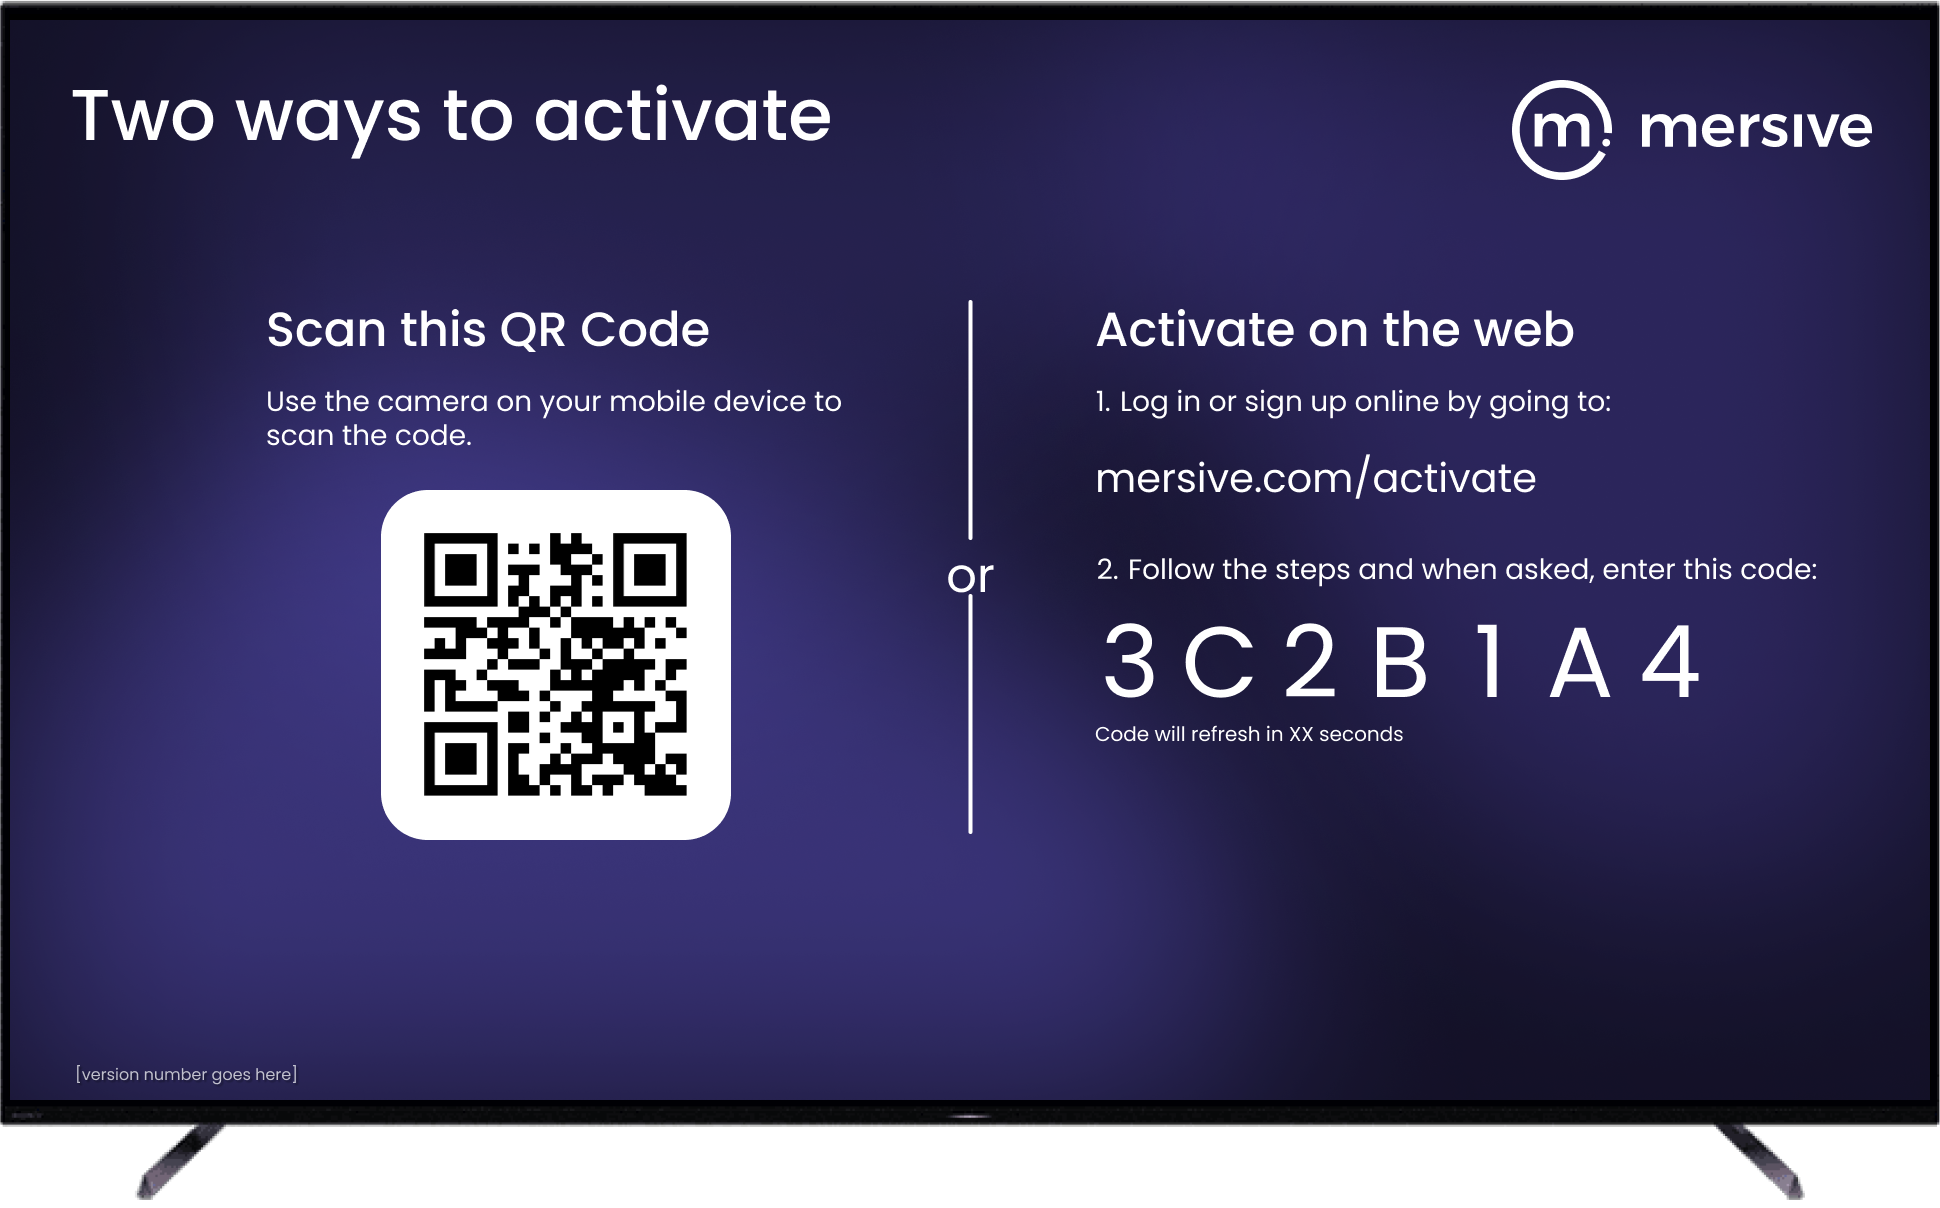
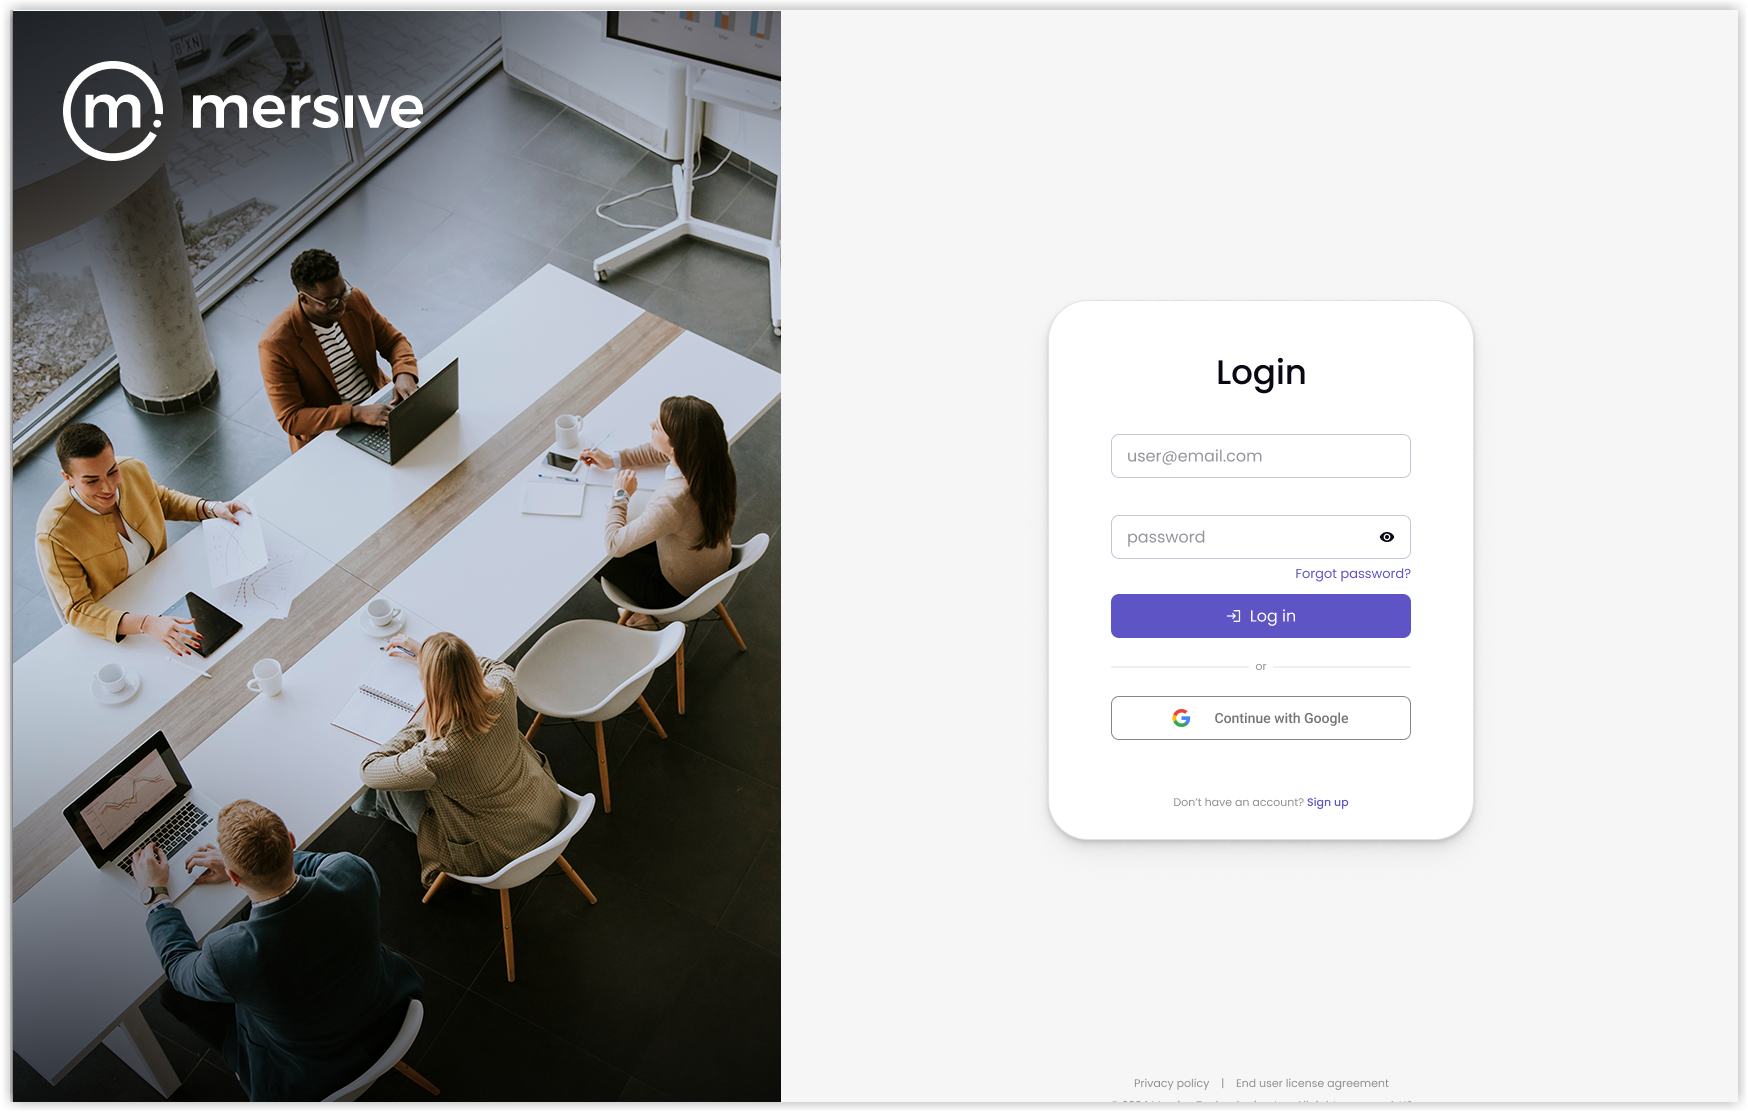
Either scan the QR code with your mobile device or open a web browser on your laptop or mobile device and go to app.mersive.com/activate. Your laptop or mobile device will display a Login screen.
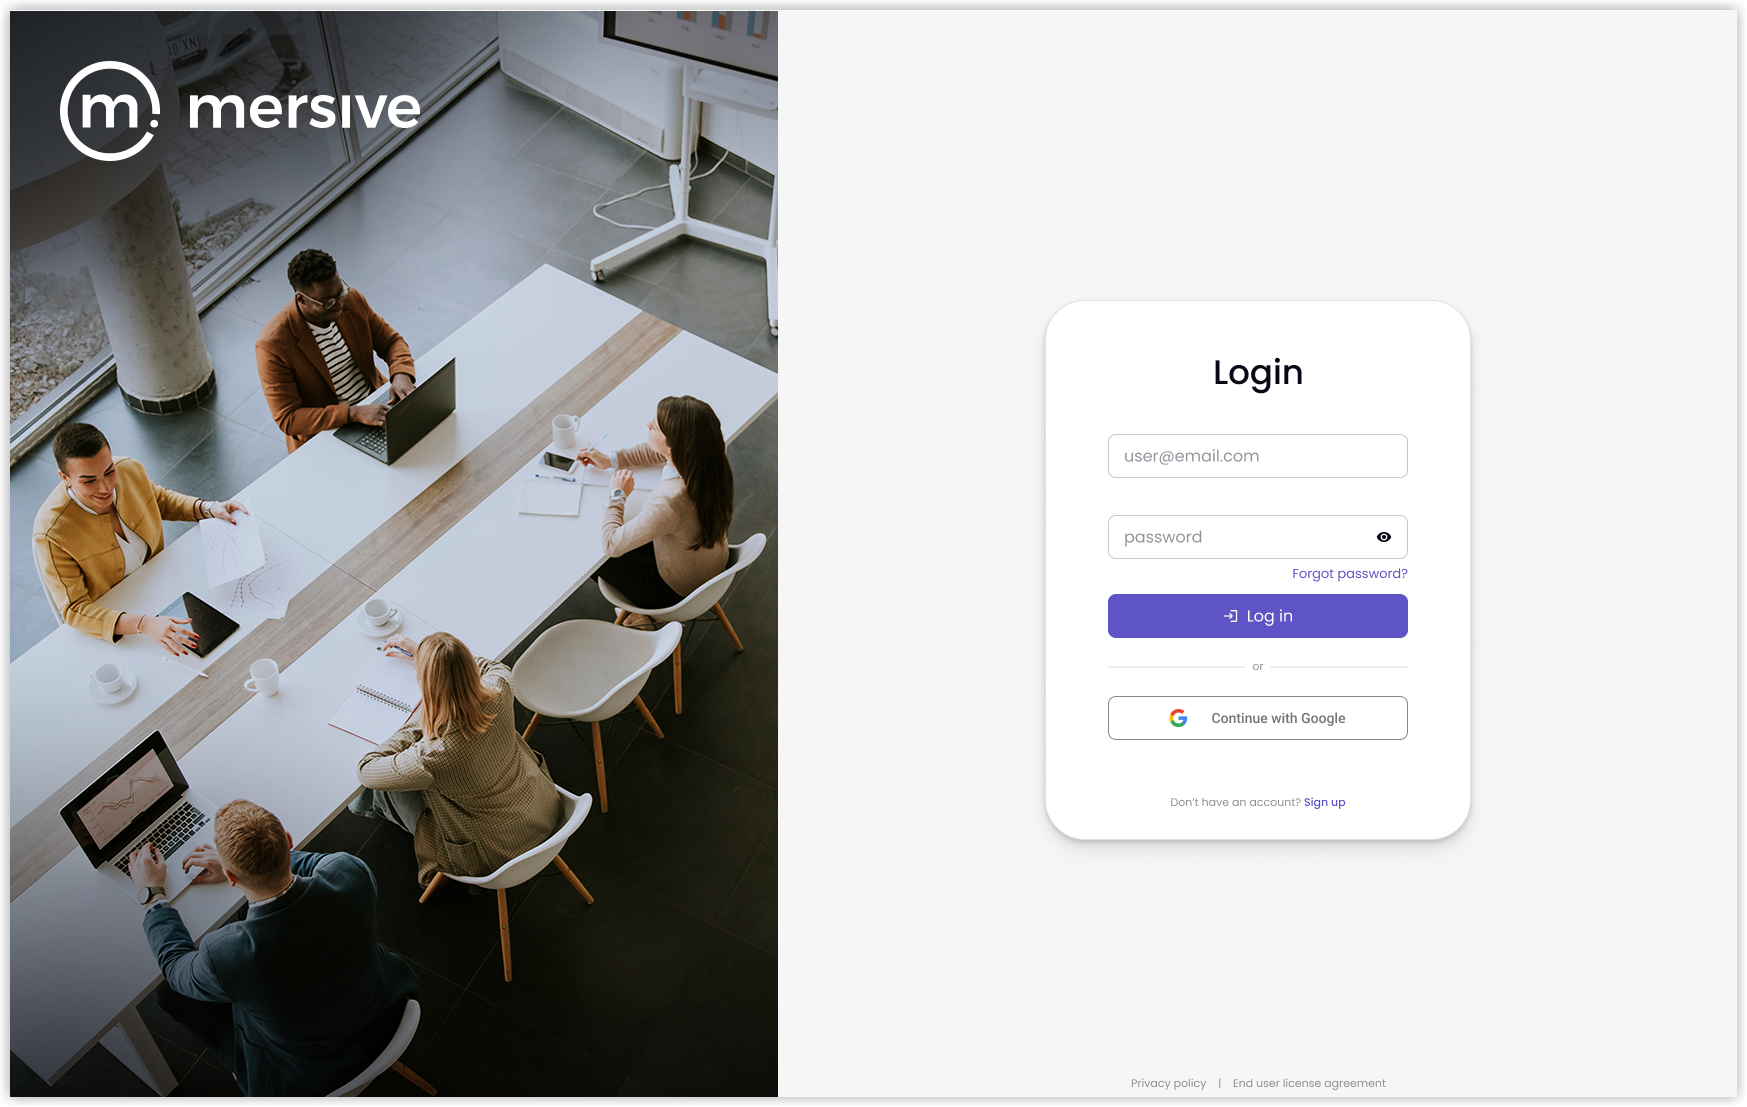
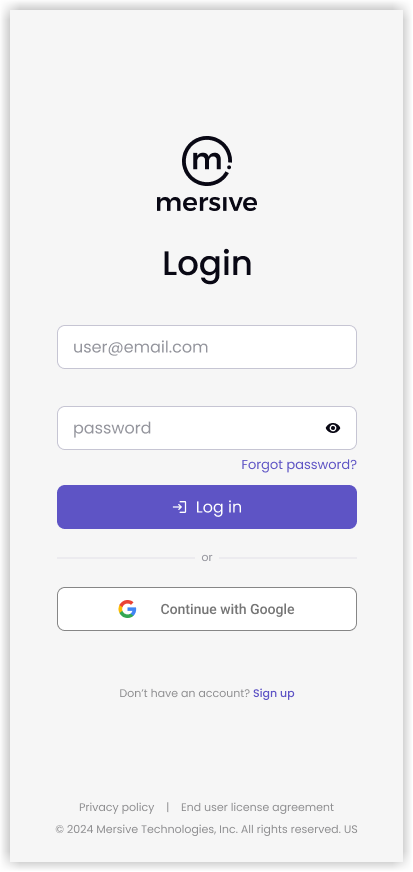
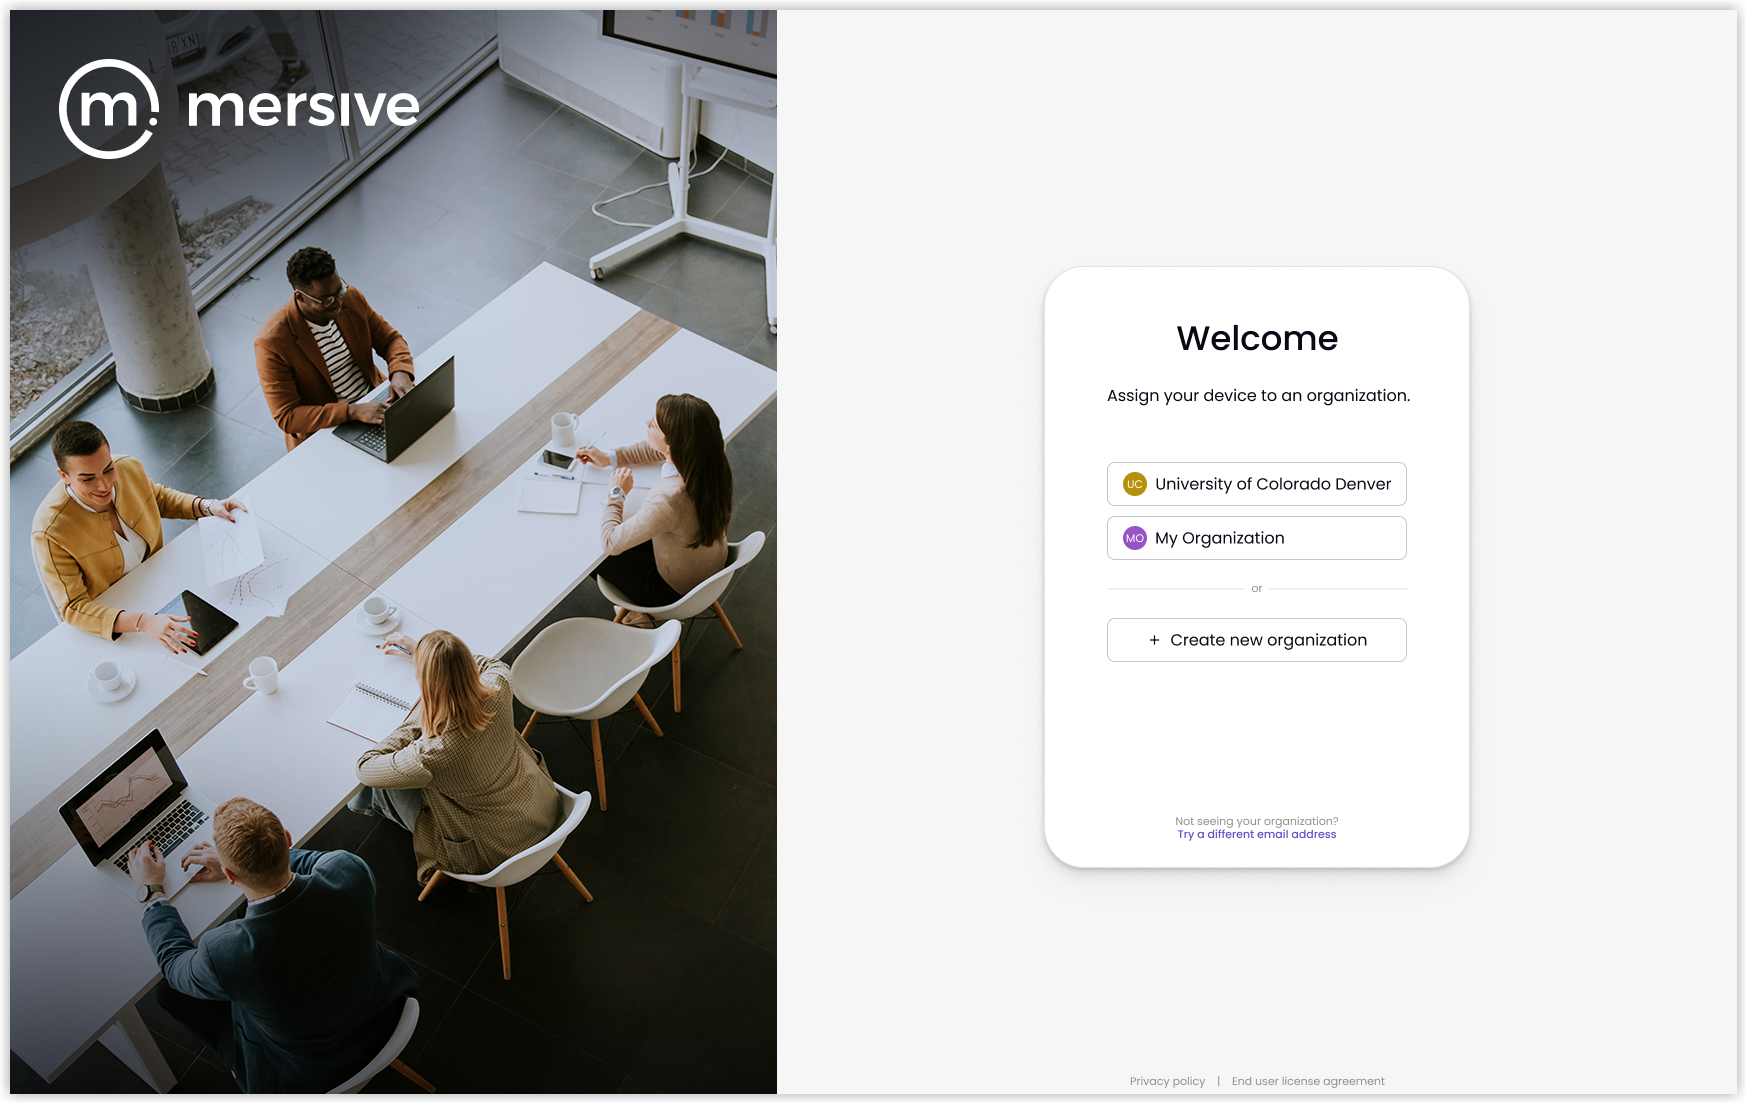
Log in with your Mersive account information. The Organization screen appears. Note: To create a Mersive account, select Sign up.
Choose an Organization. Note: The Personal organization is created by default, and you can rename it. If you want to create an organization, select Create new organization.
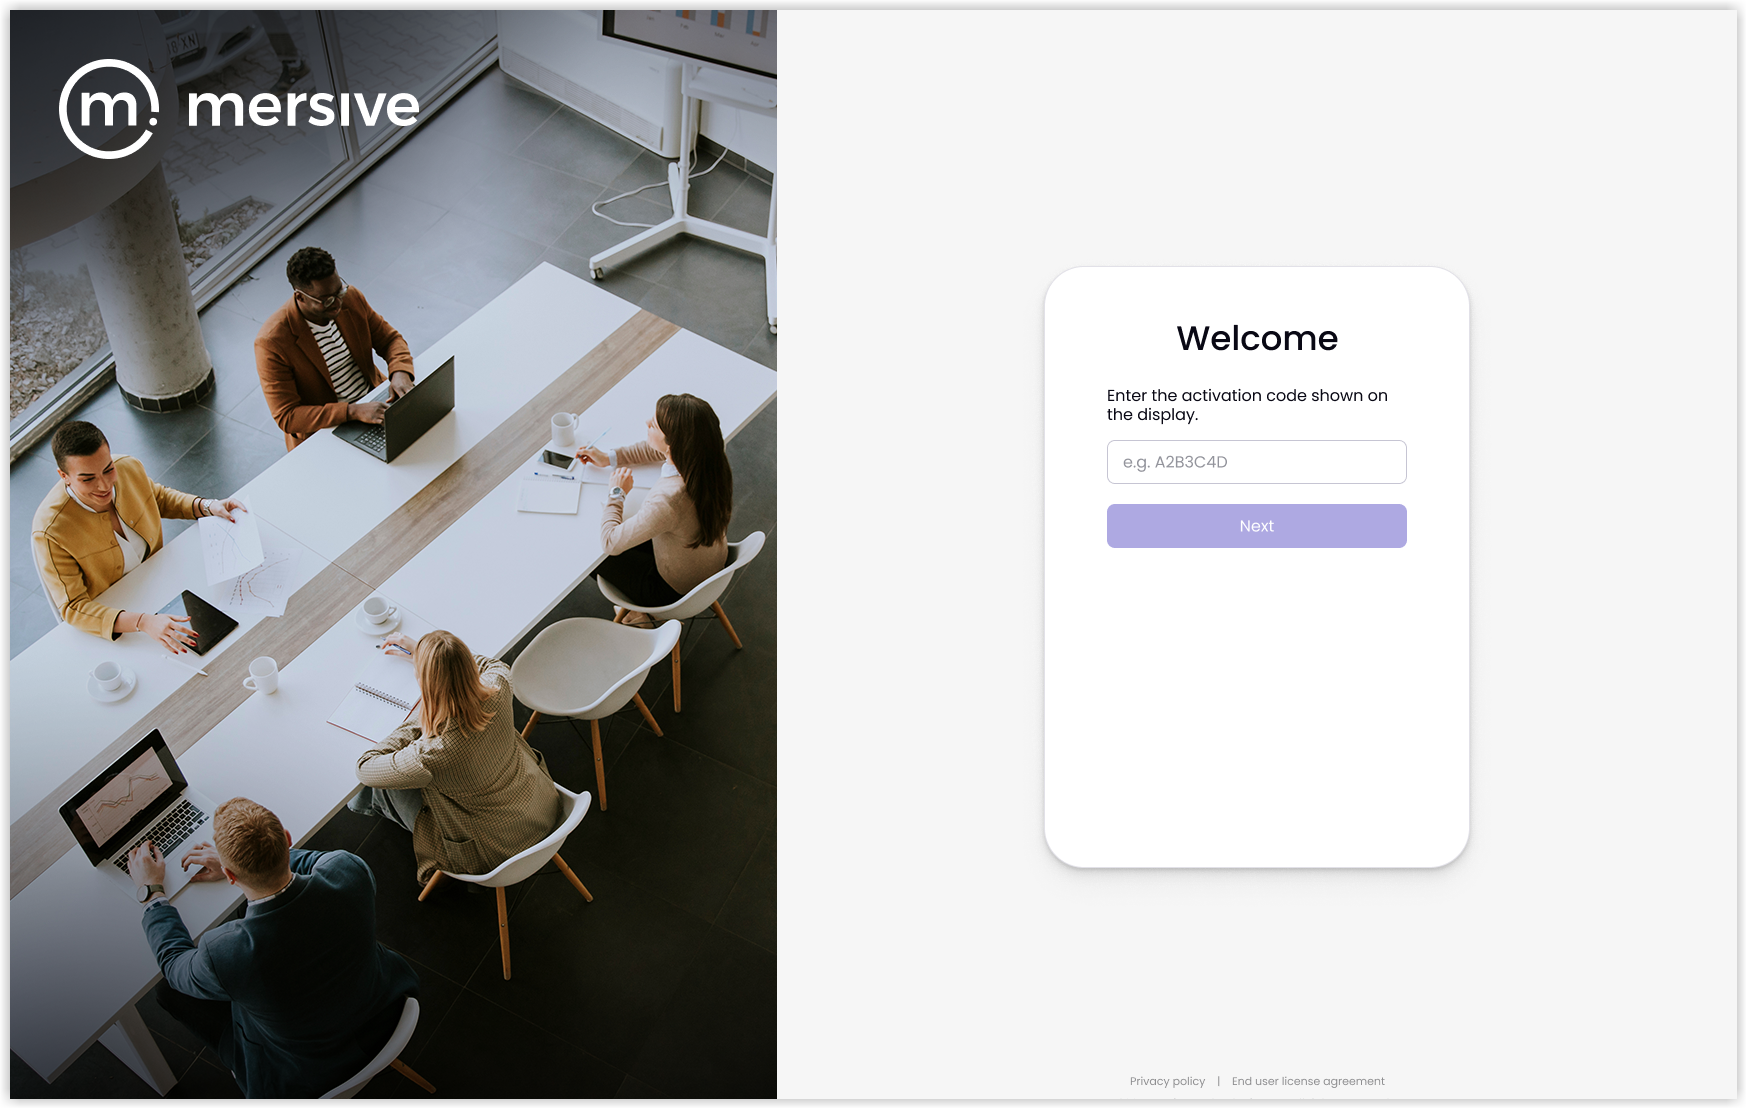
Enter the Activation Code shown on the display.
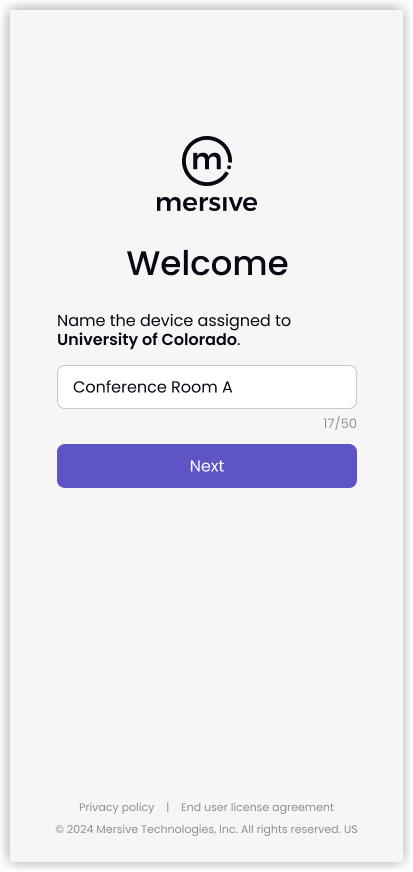
Name the device and click Next.
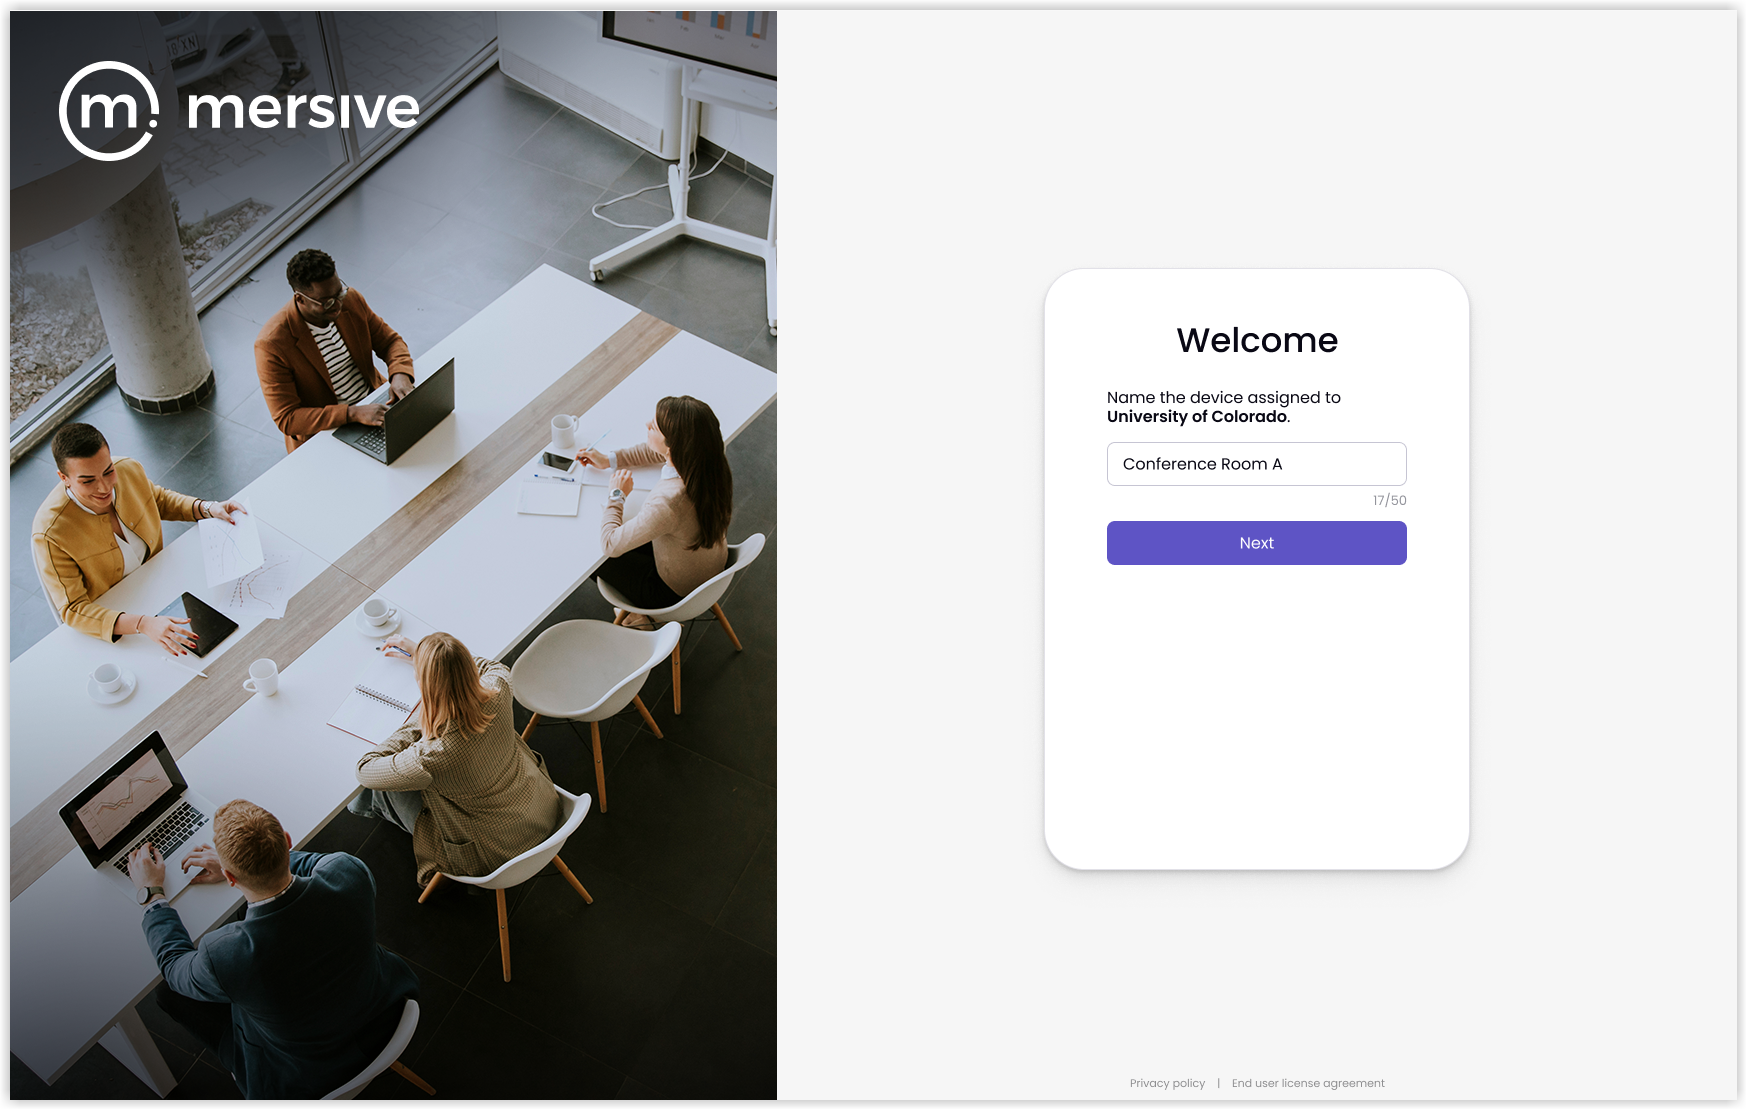
The Device Name appears at the top of the display, and it shows instructions for your next step: either assign a plan or skip this step for now. Note: The device has been added to your organization and will appear in the admin portal, but you cannot share to the display yet.
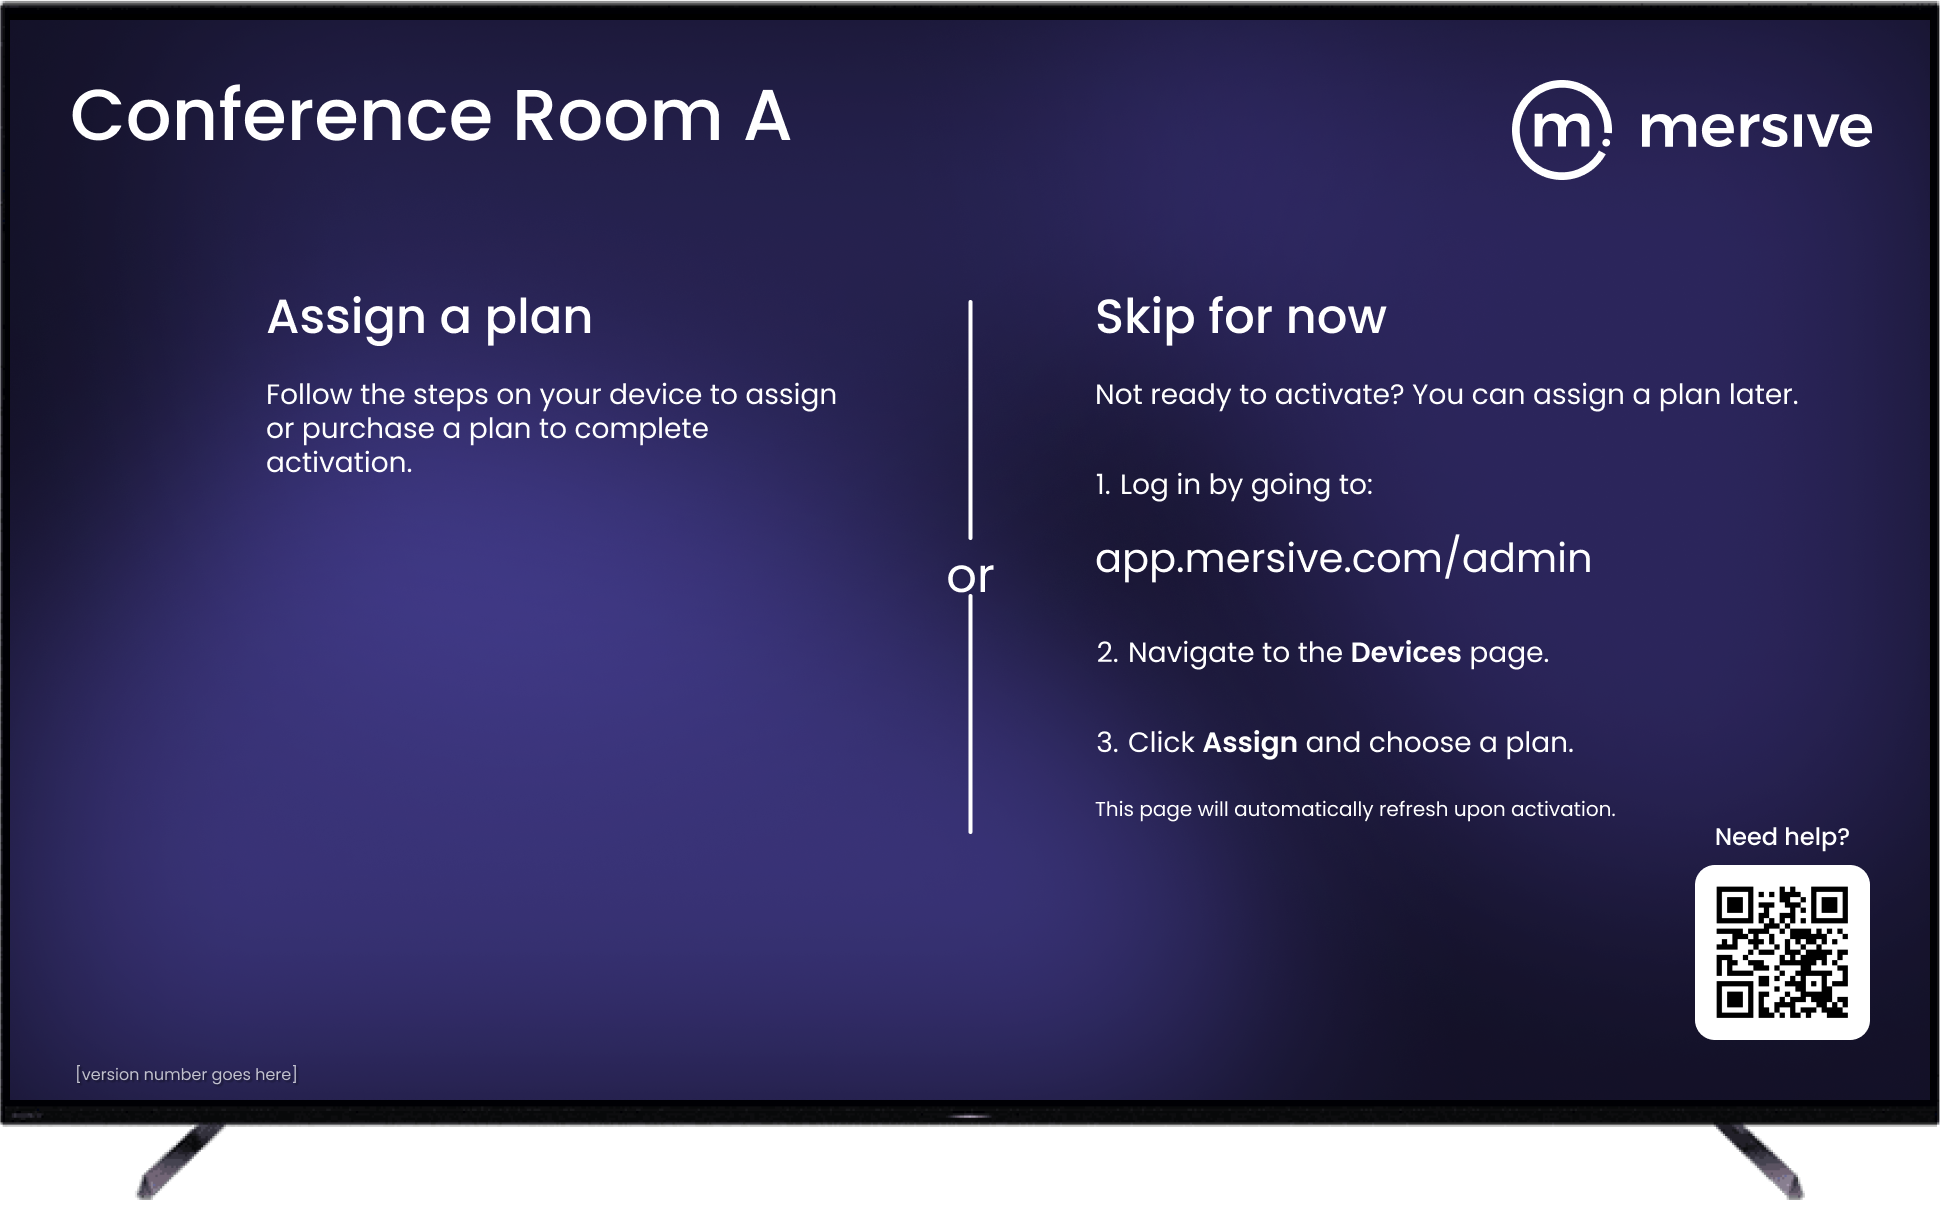
At this point, you have several options depending upon your plan status:
If you have plans in the organization, you can assign a plan to the device and activate it during onboarding. Or, you can skip this step and assign a plan to the device via the admin portal.
If you do not have a plan, you can purchase one, assign it to the device, and activate it during onboarding. Or you can skip this step and purchase a plan at a later date, but you won’t be able to share the device. To purchase a plan, visit the e-commerce site at mersive.com. To learn more about plans, click here.
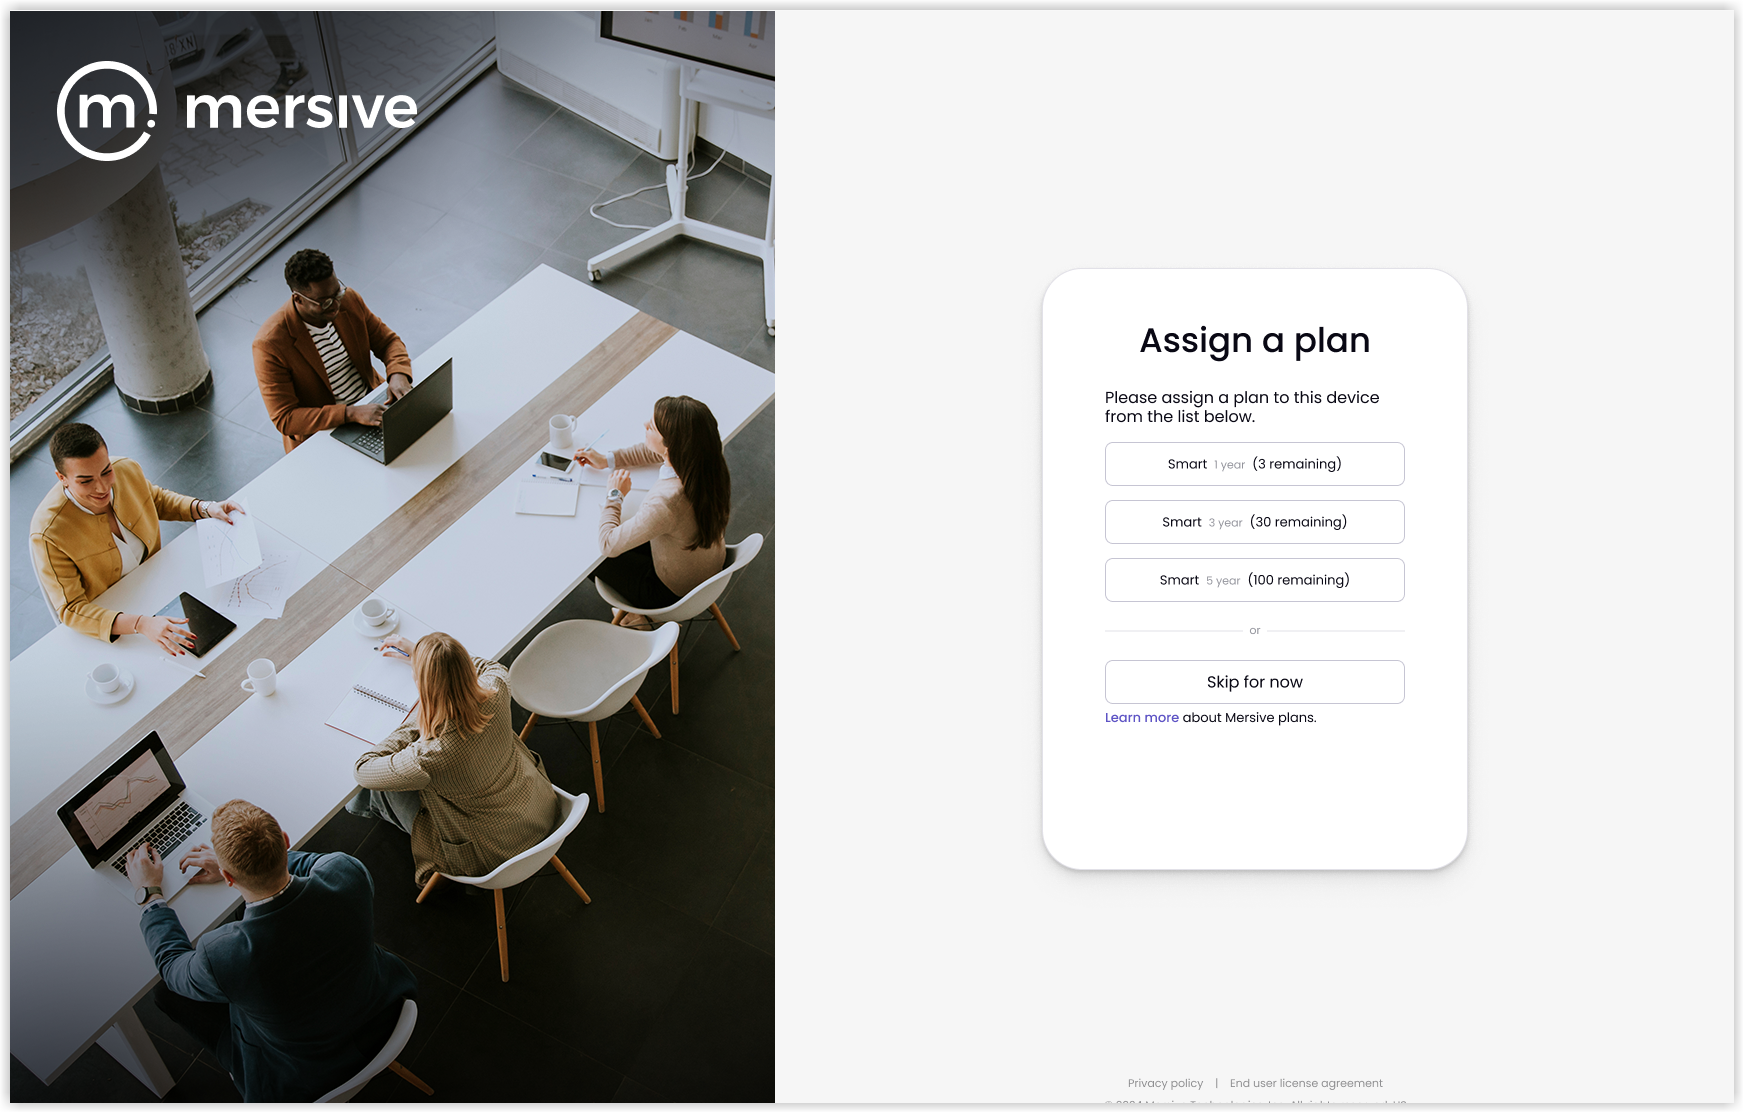
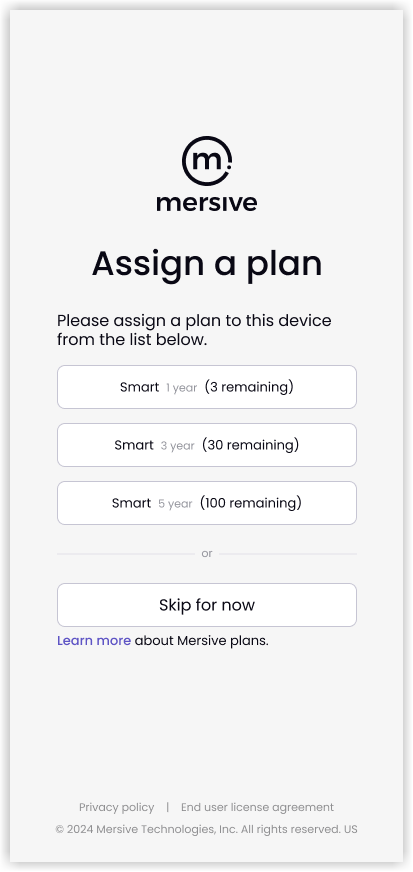
To assign a plan during onboarding, select a plan from the list on your laptop or mobile device.
Once the plan is assigned, the display will show a success message. The device will automatically prepare for sharing.
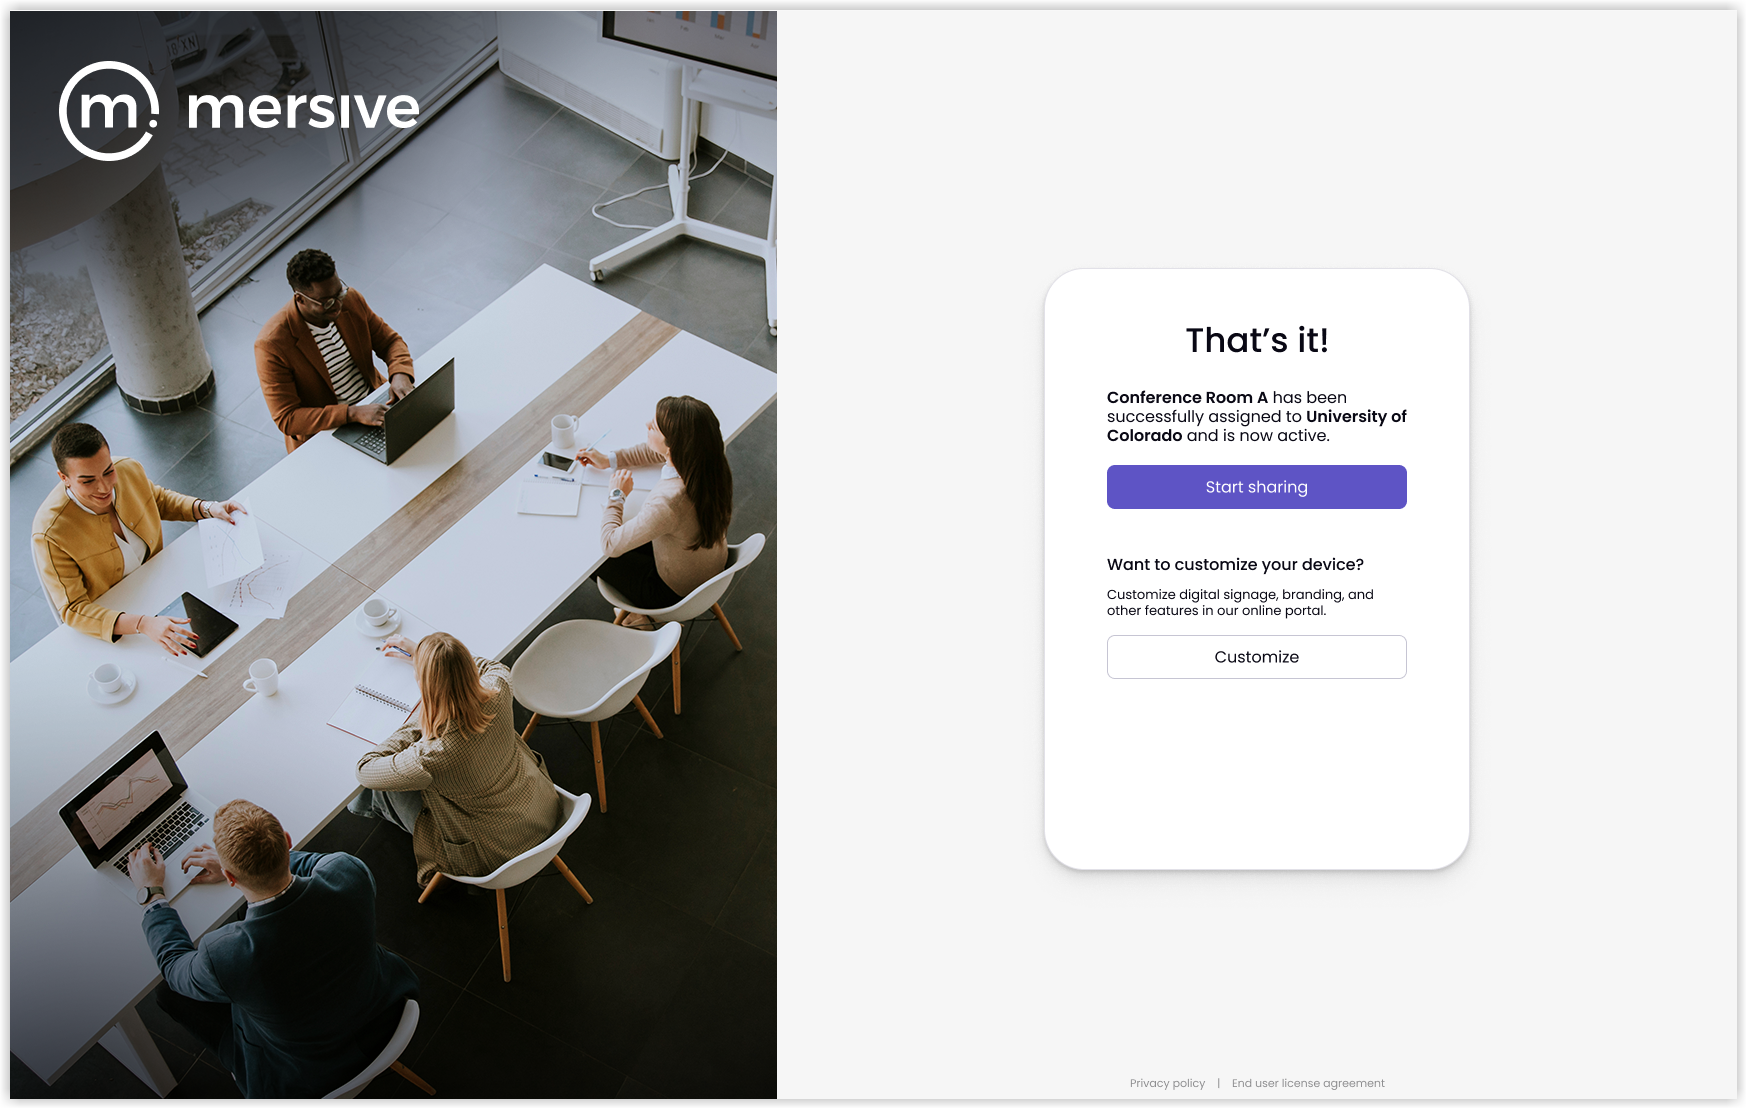
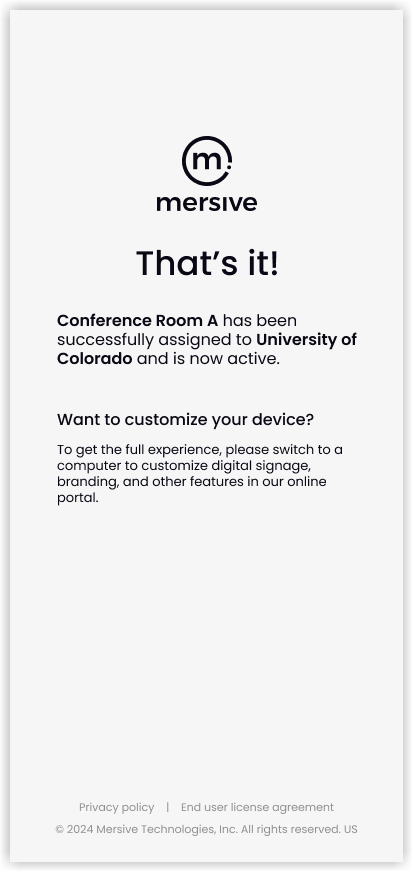
A success message will also appear on your laptop or mobile device. From your laptop, you can select Start Sharing to connect and share to the display or select Customize to customize device settings. Note: Sharing and device customization are not supported on mobile devices.
Create a Mersive Account
Creating a Mersive account is a simple process not unlike making a username and password for other web services. Having a Mersive account gives you credentials for login specifically for interacting with the admin portal and your devices.
To create a Mersive account, take the following steps:
With a laptop or mobile device, go to app.mersive.com/admin or mersive.com/activate and select Sign up.

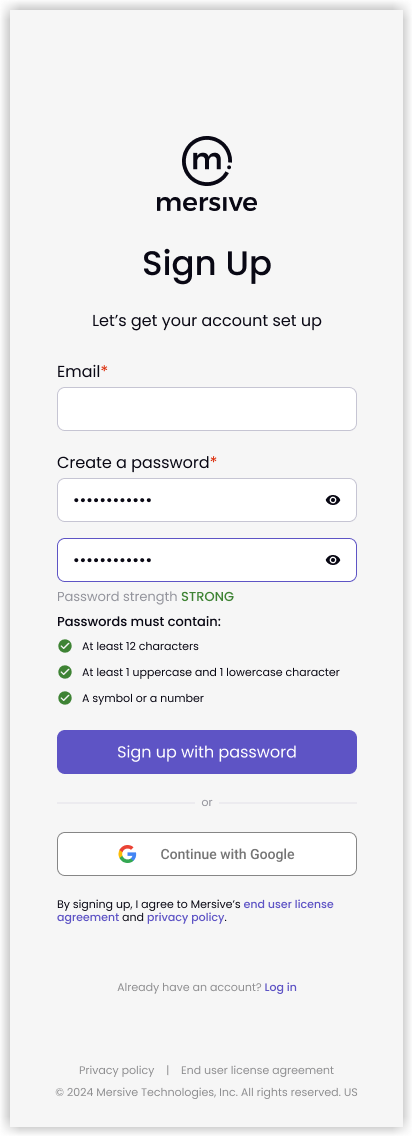
On the Sign Up screen, enter your Email and create a Password. Note: Passwords must be 12 characters long and include at least one uppercase letter, one lowercase letter, and a symbol or number; the web client will verify that your password meets these requirements.
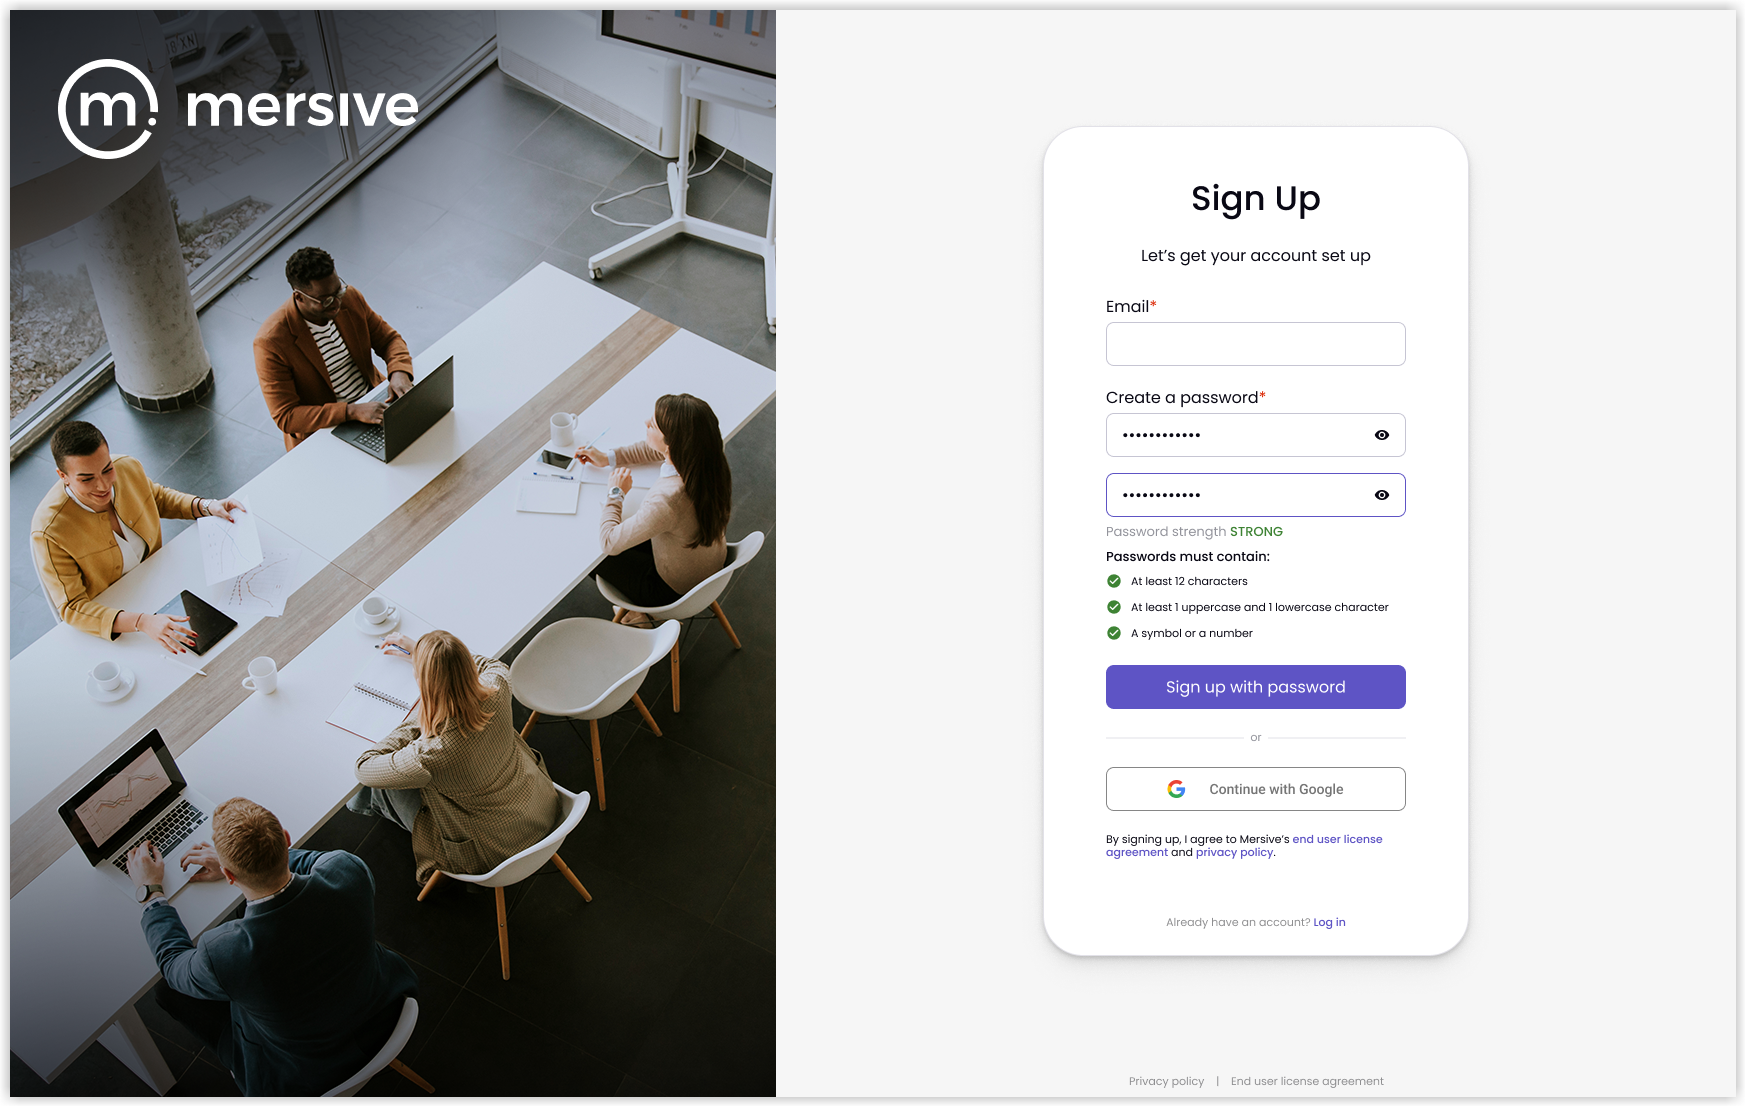
Select Sign up with password. The admin portal will send an email with the subject: Verify your email.
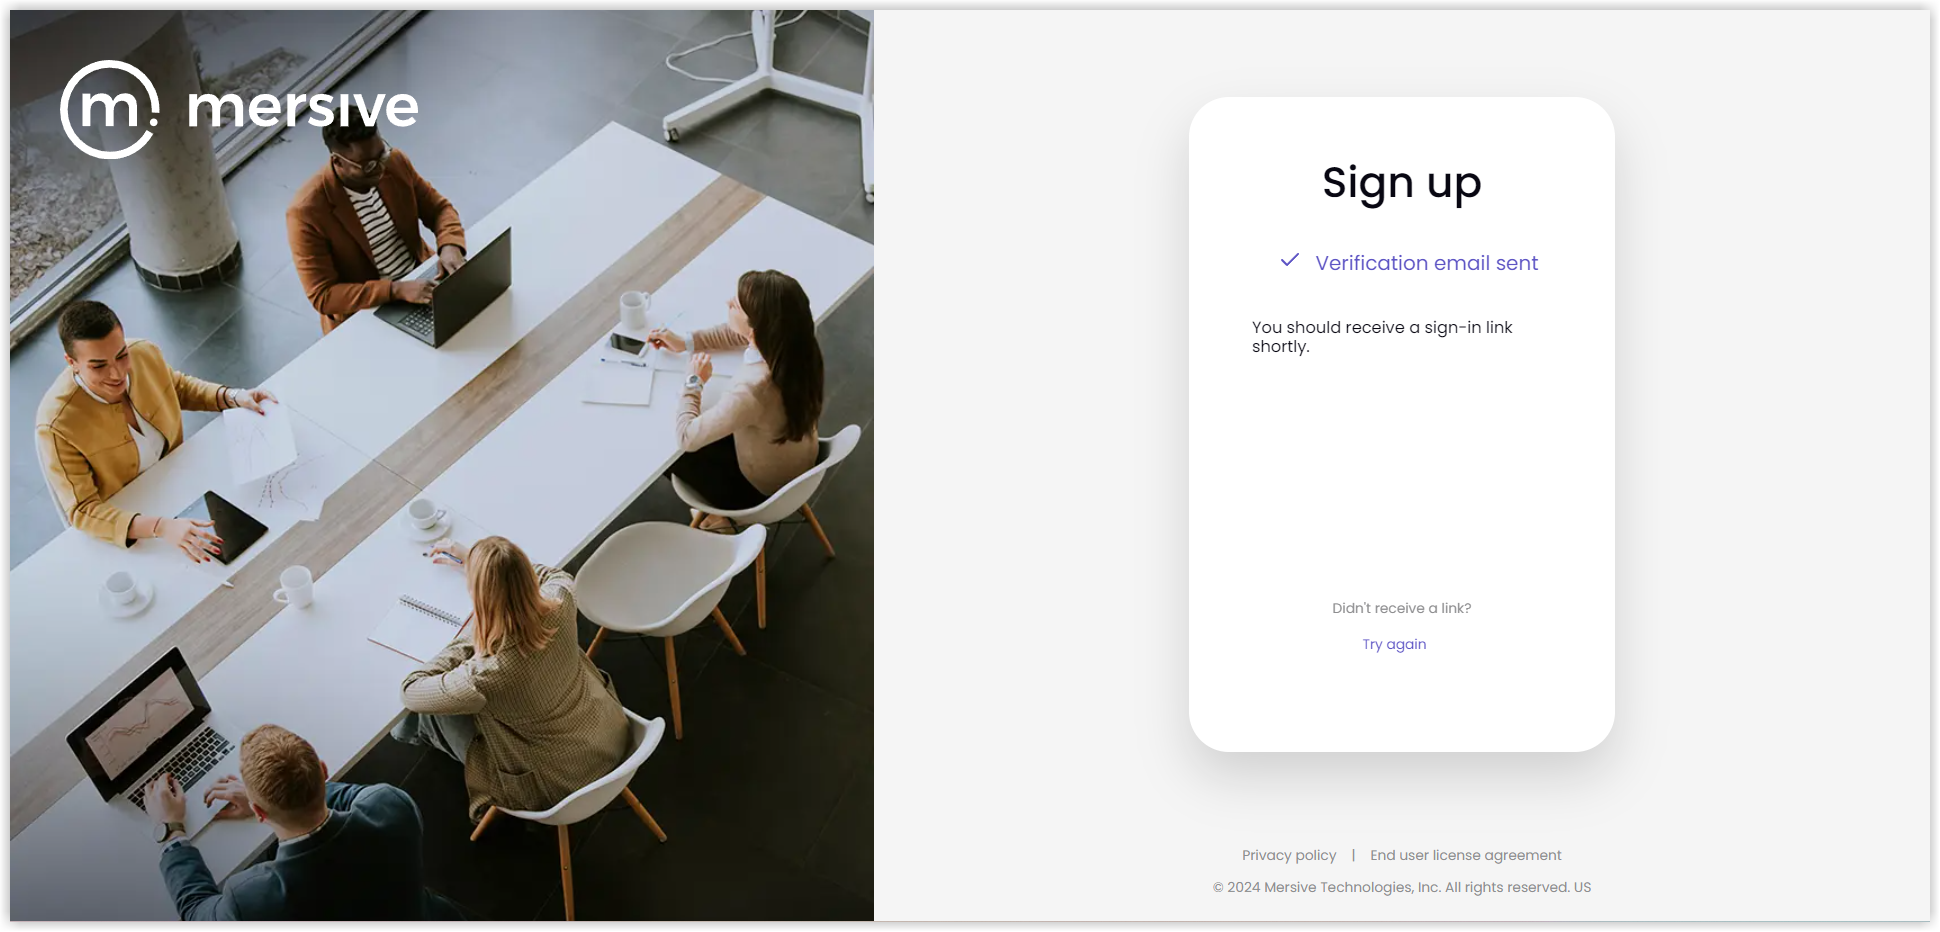
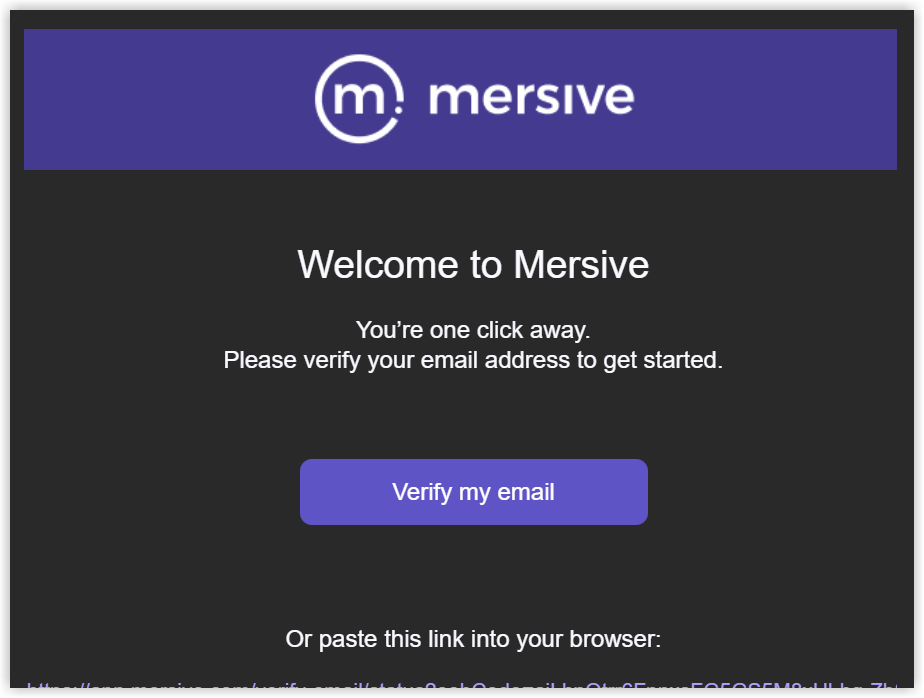
Open the email message and select Verify my email or copy the link and paste it into a browser window. The admin portal will appear.
Choose an Organization. Note: The Personal organization is created by default, and you can rename it later. If you want to create an organization, select Create new organization.

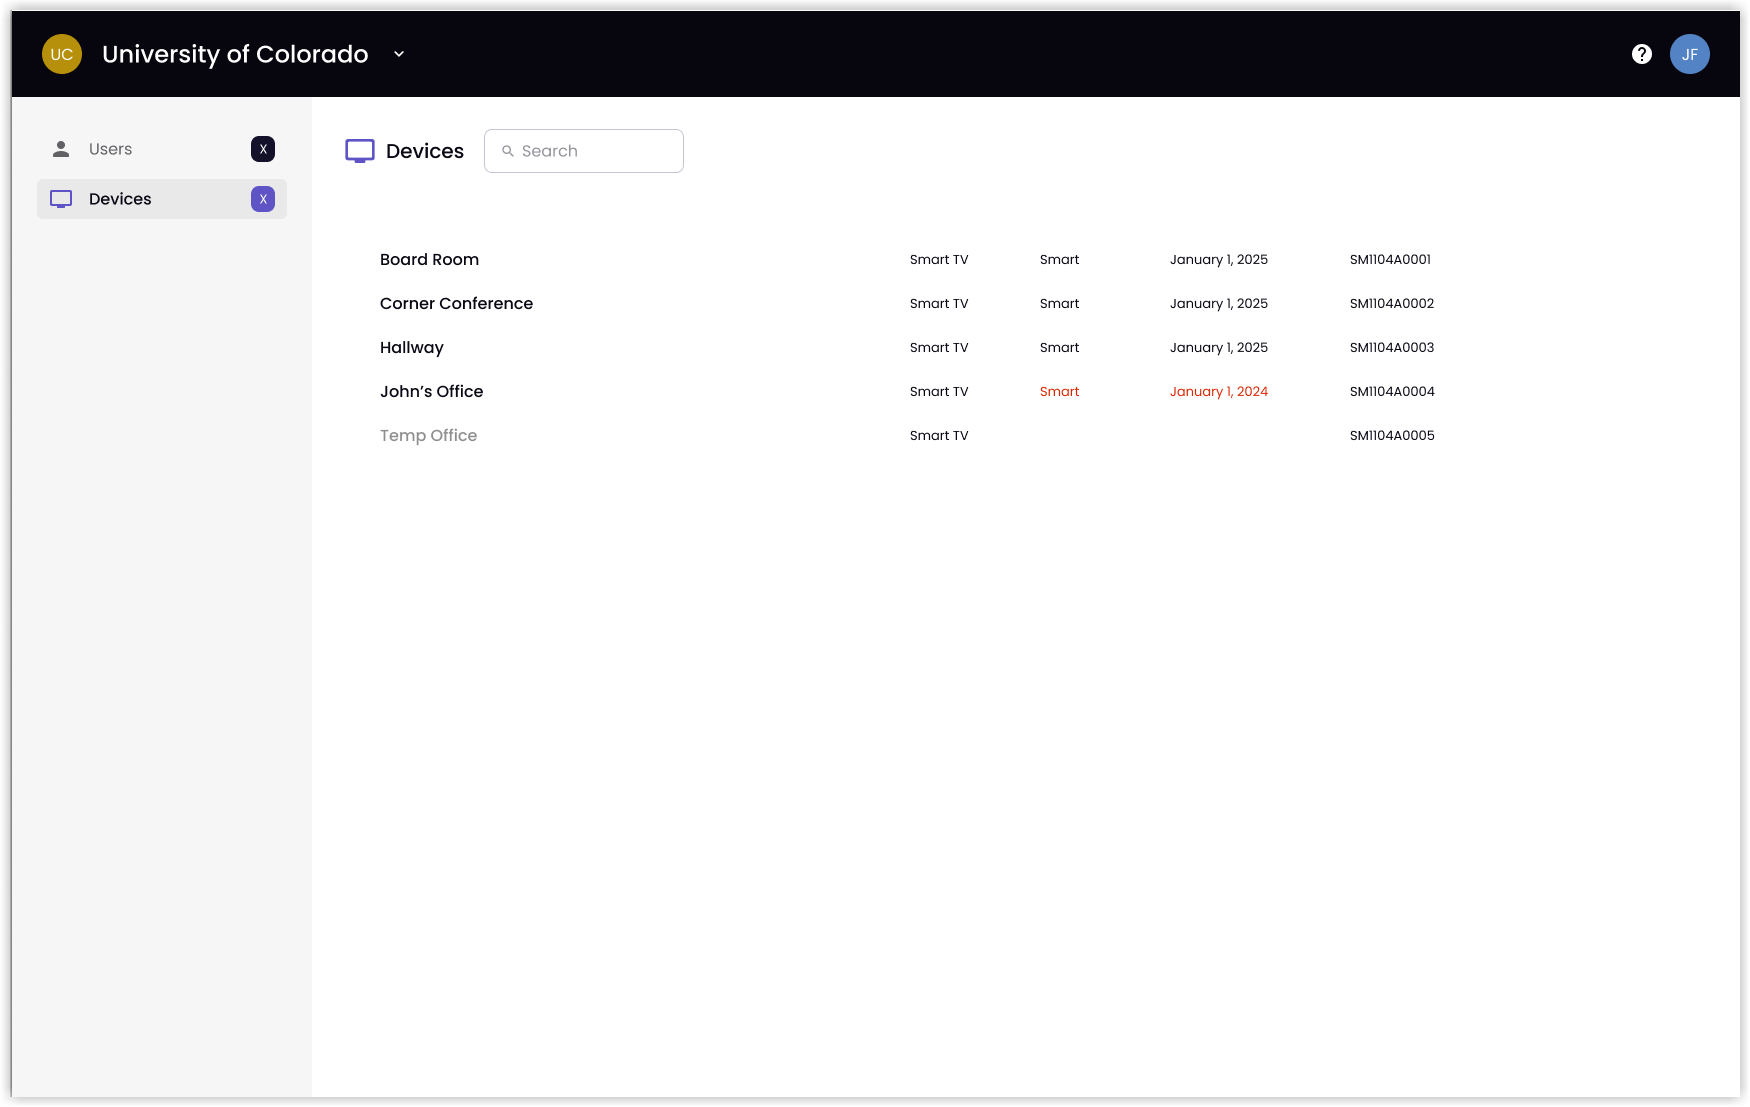
The admin portal displays the selected organization. Note: If you have not onboarded any devices yet, the Devices list will be blank.