Connect and Share
Connecting to a Mersive-enabled display and sharing content is handled through a web sharing client, which allows multiple users to connect and share content simultaneously. The sharing client does not require any type of download, account, or signup to use. So, it is as easy as opening your browser, making the connection to the display, and selecting content to share. You can stay connected to the display while not sharing, which saves time when switching from one presenter to another.
Mersive-enabled displays work behind the scenes to present shared content in the best way possible. For each piece of content shared, the display will make the content window as large as possible and use the best resolution possible given the content’s shape and resolution. Many factors impact the quality of the visuals on a display, including the number of content shares happening at the same time, network speed, and the dimensions and resolution of the display hardware. How you connect and how you choose to share content also plays a role in the quality of your collaboration experience.
Our goal is to help you have the best user experience possible. With that in mind, we created this section to give you not only the steps to connect and share but also provide an understanding of the various sharing options available to you and how those options will impact your presentations, giving you the tools and the skills to make the most of your display and facilitate convenient and secure collaboration.
What you need
A laptop is required to connect and share content to a Mersive-enabled display. Mobile devices are not supported by the sharing client at this time.
Recommended Browsers
We recommend using:
Google Chrome (PC and Mac)
We support:
Microsoft Edge (PC and Mac)
Mozilla Firefox (PC and Mac)
You are welcome to use but we cannot guarantee the experience on:
Note
When sharing to a Mersive display from a Safari browser, shared content may not be centered on the display.
Apple Safari (Mac) Note: Safari versions 17.5 and 17.6 are not supported.
If you are sharing audio, we recommend narrowing your browser choices to Chrome and Edge. See the Sharing Content with Audio section (below) for details.
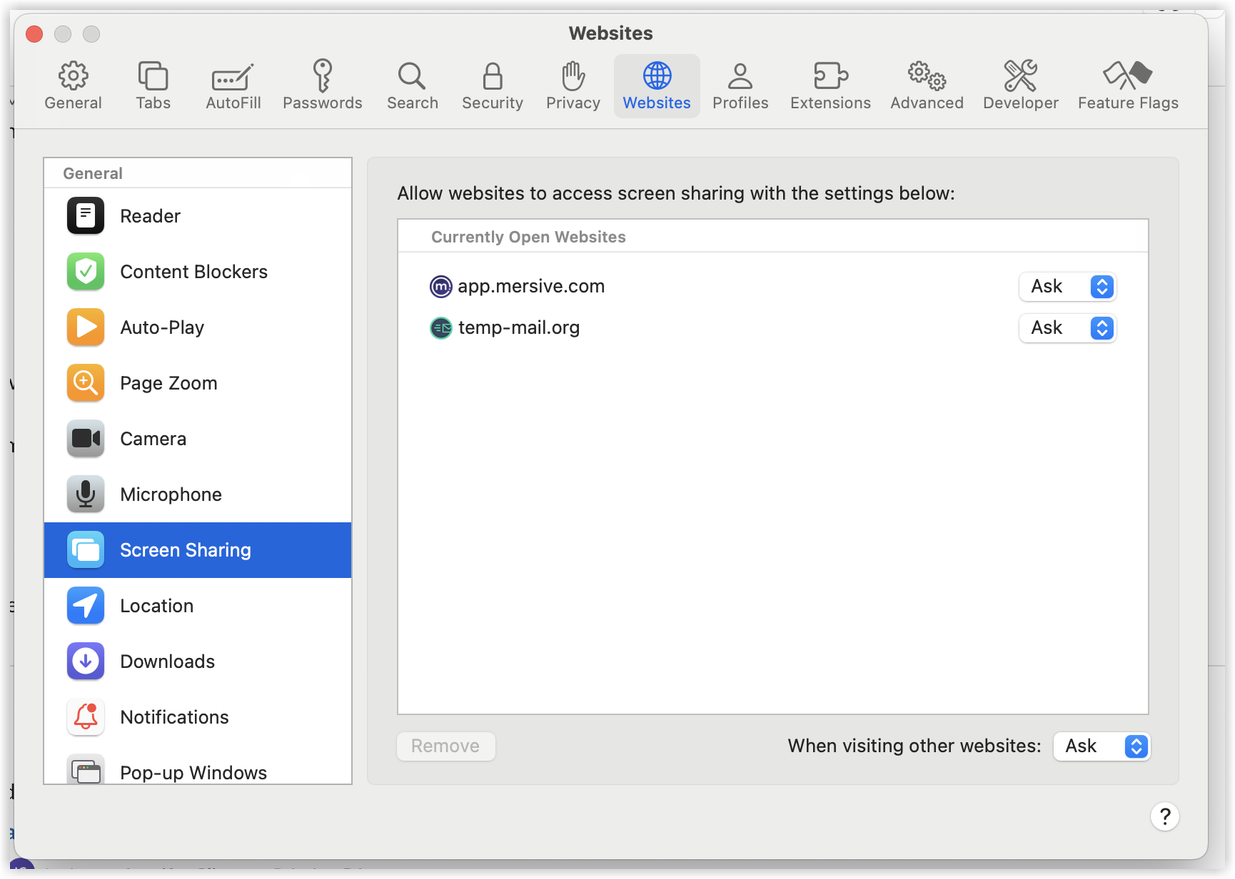
For screen sharing from Safari, you will need to adjust browser settings. In Safari, go to Settings > Websites > Screen Sharing and set When visiting other websites to Ask.
 |
About the Idle screen
The Idle screen appears when the display is running but no content is being shared. The Idle screen not only serves as an indicator that the display is ready for connections and content sharing, but it also contains all the information you need to make the connection using the web client.
Here are the key components of the Idle screen:
Device Name: the name identifying the device in the admin portal.
URL: the web address of the sharing client.
Screen key: the code required to connect your laptop to the display.
User icons: icons that appear in the bottom right corner of the screen and identify the users connected to the display.
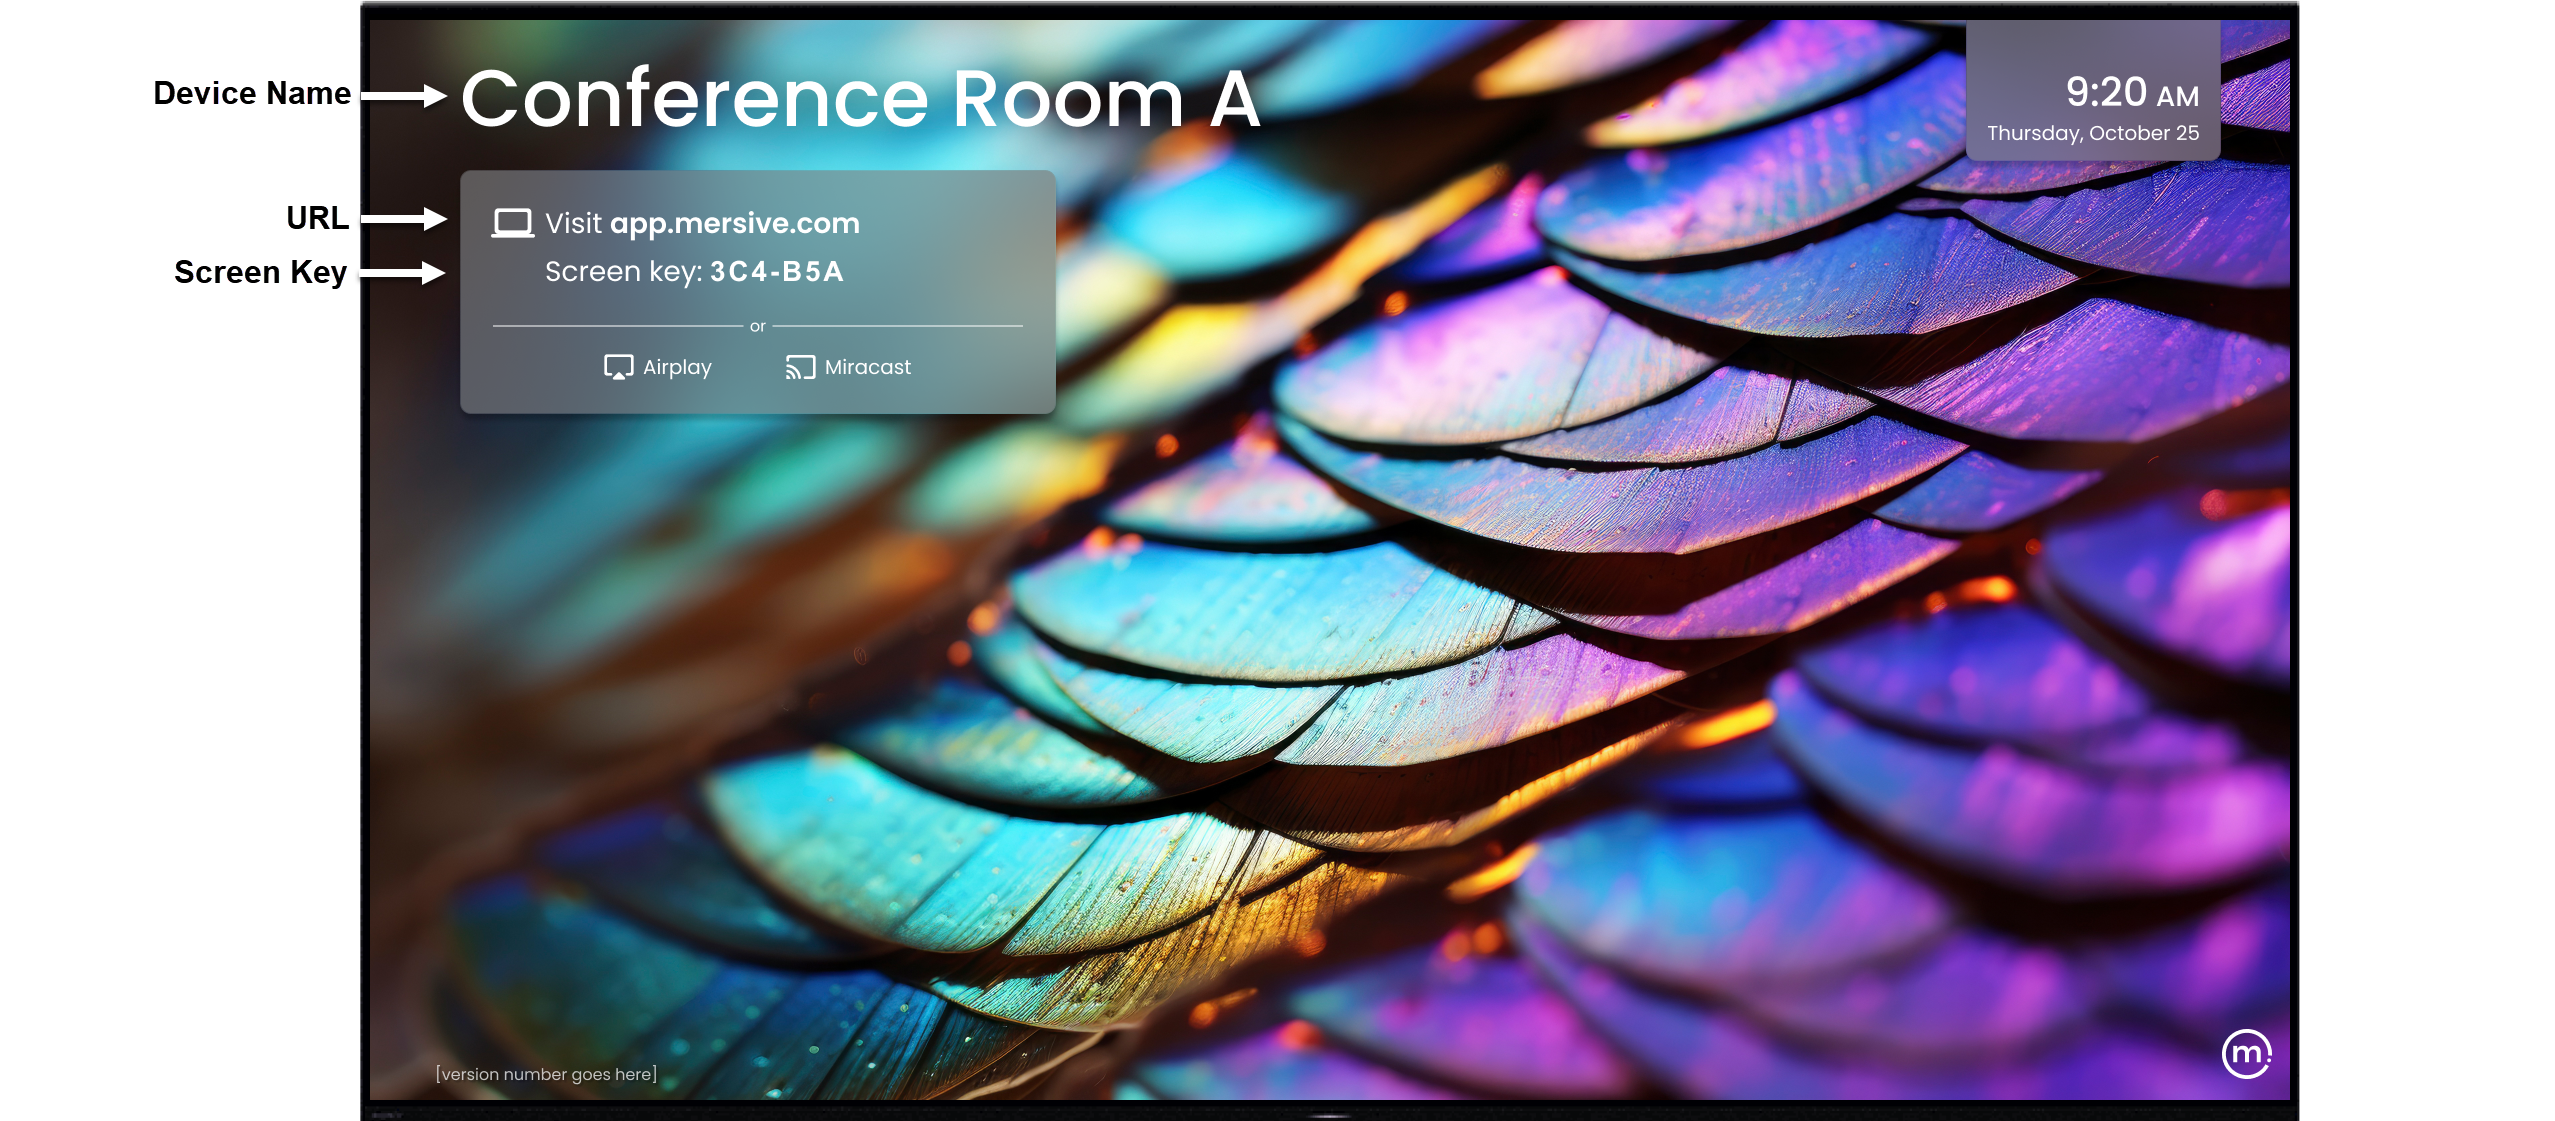
The elements that appear on the Idle screen are highly customizable. This gives you control over the “look and feel” of your displays, so you can design visuals that reflect the same colors, images, and logos that identify your brand, university, company, or organization. Among the available customizations, the device name can be changed, the images that appear in the background can be changed or removed altogether, and the time display can be changed to a 24-hour (military style) clock instead of the default 12-hour clock. For instructions about customizing your devices, click here.
Getting Started with the Sharing client
When you open your web browser and go to app.mersive.com, the first thing you’ll see is the Connect screen within the Mersive web client. The Connect screen needs two things to get started – a screen key and a name.
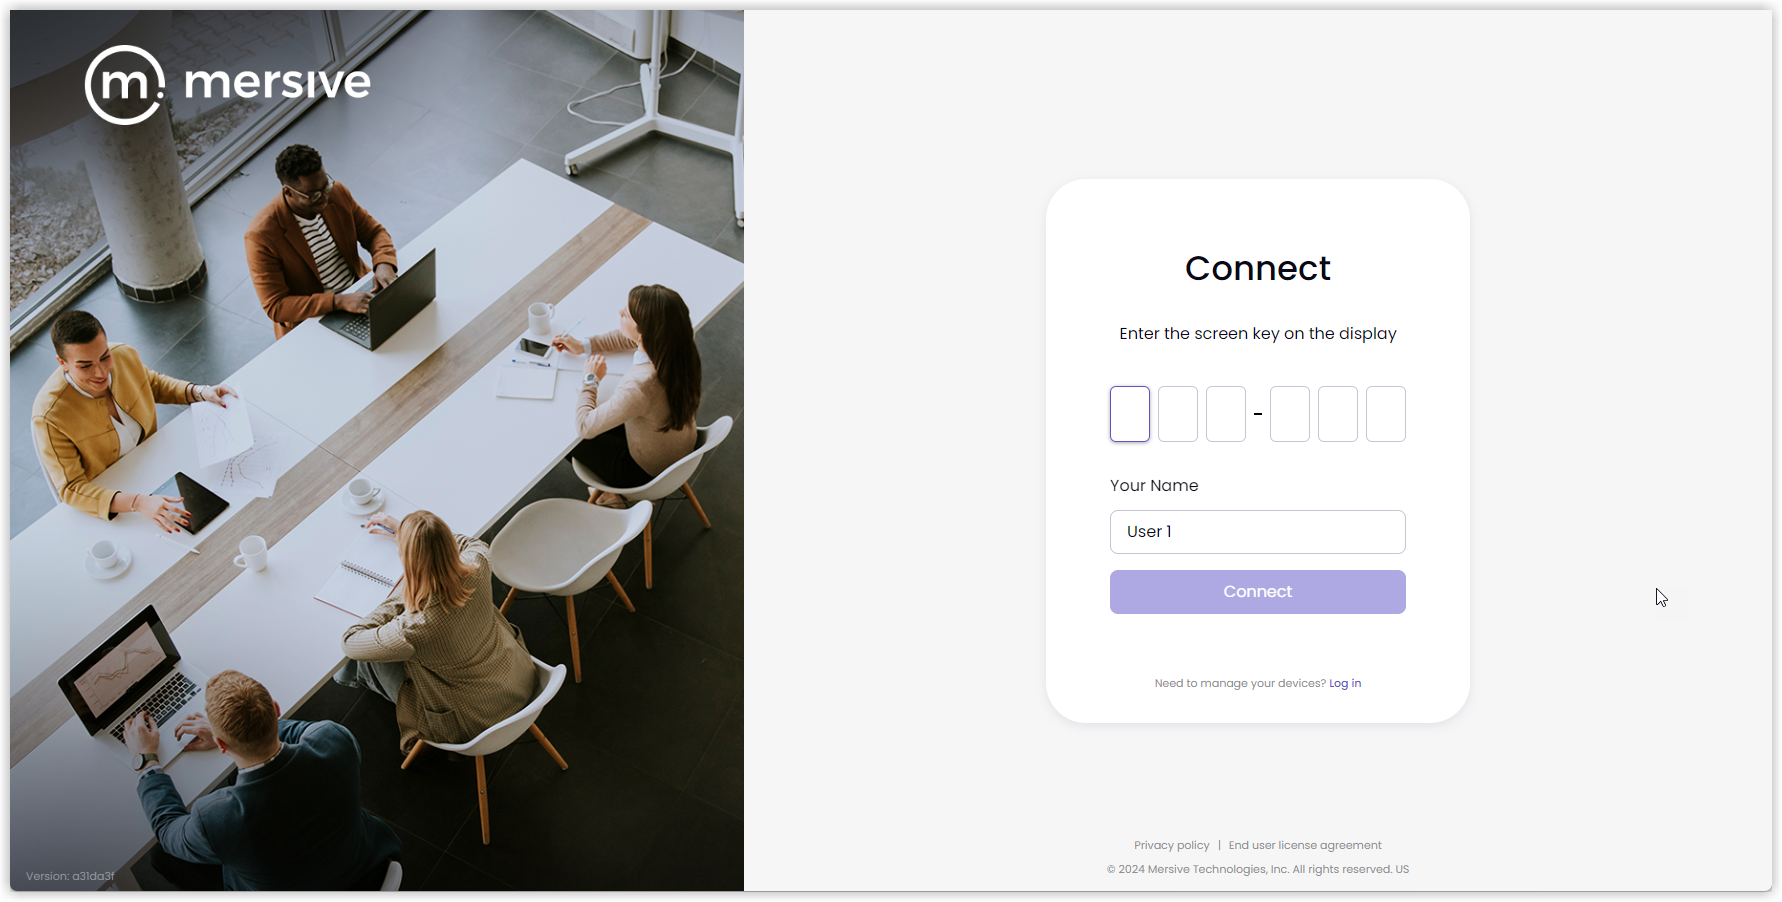 |
The screen key comes from the display. On the Idle screen (see above), the key is in the upper left of the screen under the URL. When sharing is in progress, the key appears across the bottom of the screen. But, if someone is sharing in full screen mode, you won’t see the key at all. Screen keys are unique to the specific display and they change every few minutes. So, if you disconnect, you will need the display’s current screen key to reconnect.
Your name will be displayed with the content you share. When connected, you will see an icon with your initials in the bottom right corner of the Idle screen. As additional users connect, their initials will appear there as well. As you share content, each content window will show your name on the bottom of the content window. Note: Your name can be between 3 and 50 characters long and must not contain words or phrases that are profane or considered offensive.
While there is a login link on the Connect screen, that’s for access to the admin portal. You don’t need a Mersive account or any login credentials to use the sharing client.
How to Connect and Share to a Display
To connect your laptop to a display and share content using the Mersive web client, take the following steps:
Open a web browser and go to app.mersive.com. The Connect screen appears.

Enter the Screen key from the display and Your Name and then click Connect. The sharing client verifies the connection.
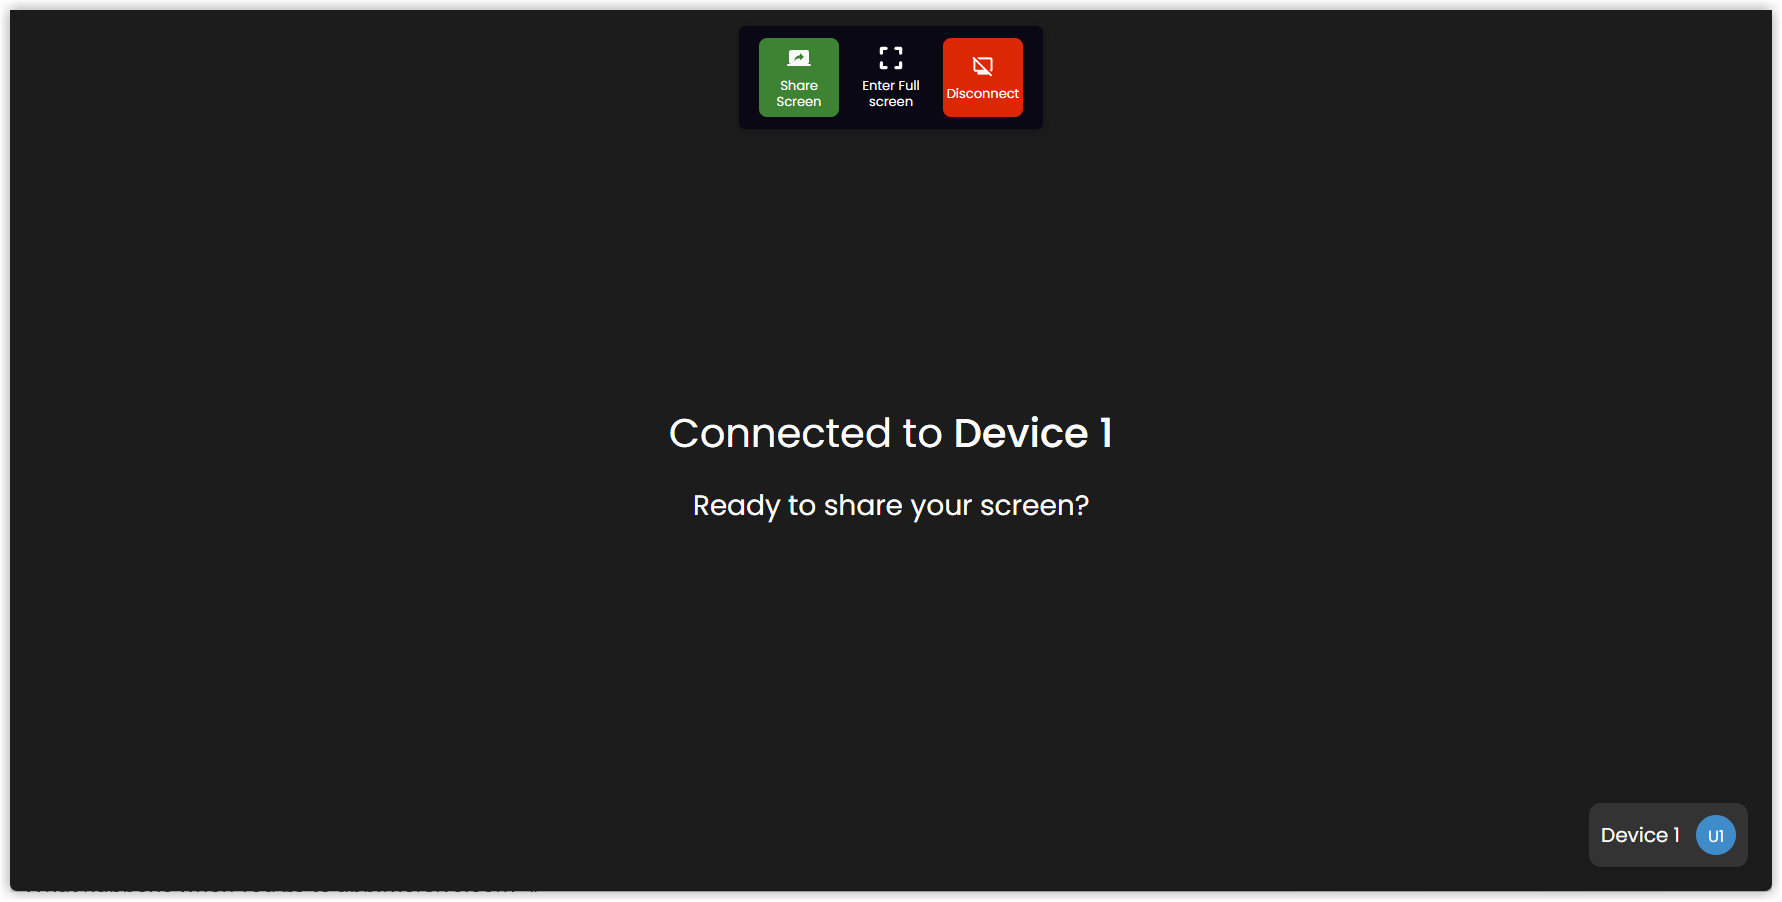
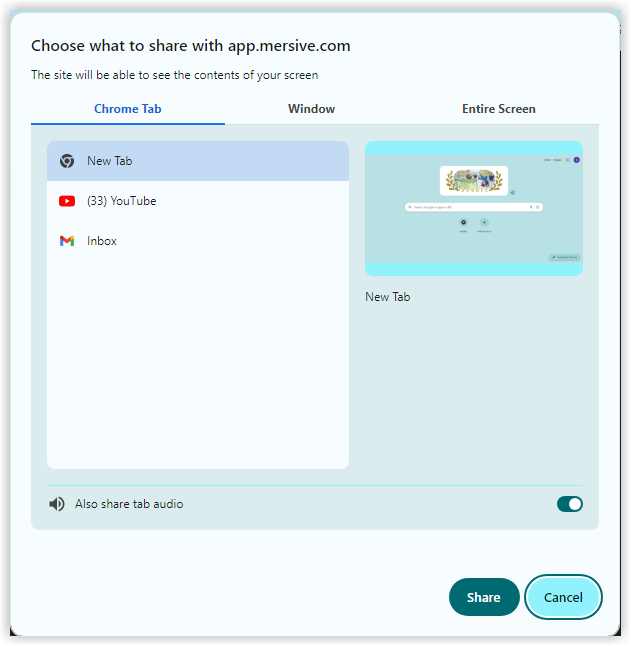
Click Share Screen and select content to share from the Browser Tab, Window, or Entire Screen lists, then click Share. Note: To share audio, select the Also share audio option. For more information about sharing audio, see below.
The content appears on the display. Note: The view on the sharing client may look different than the display.
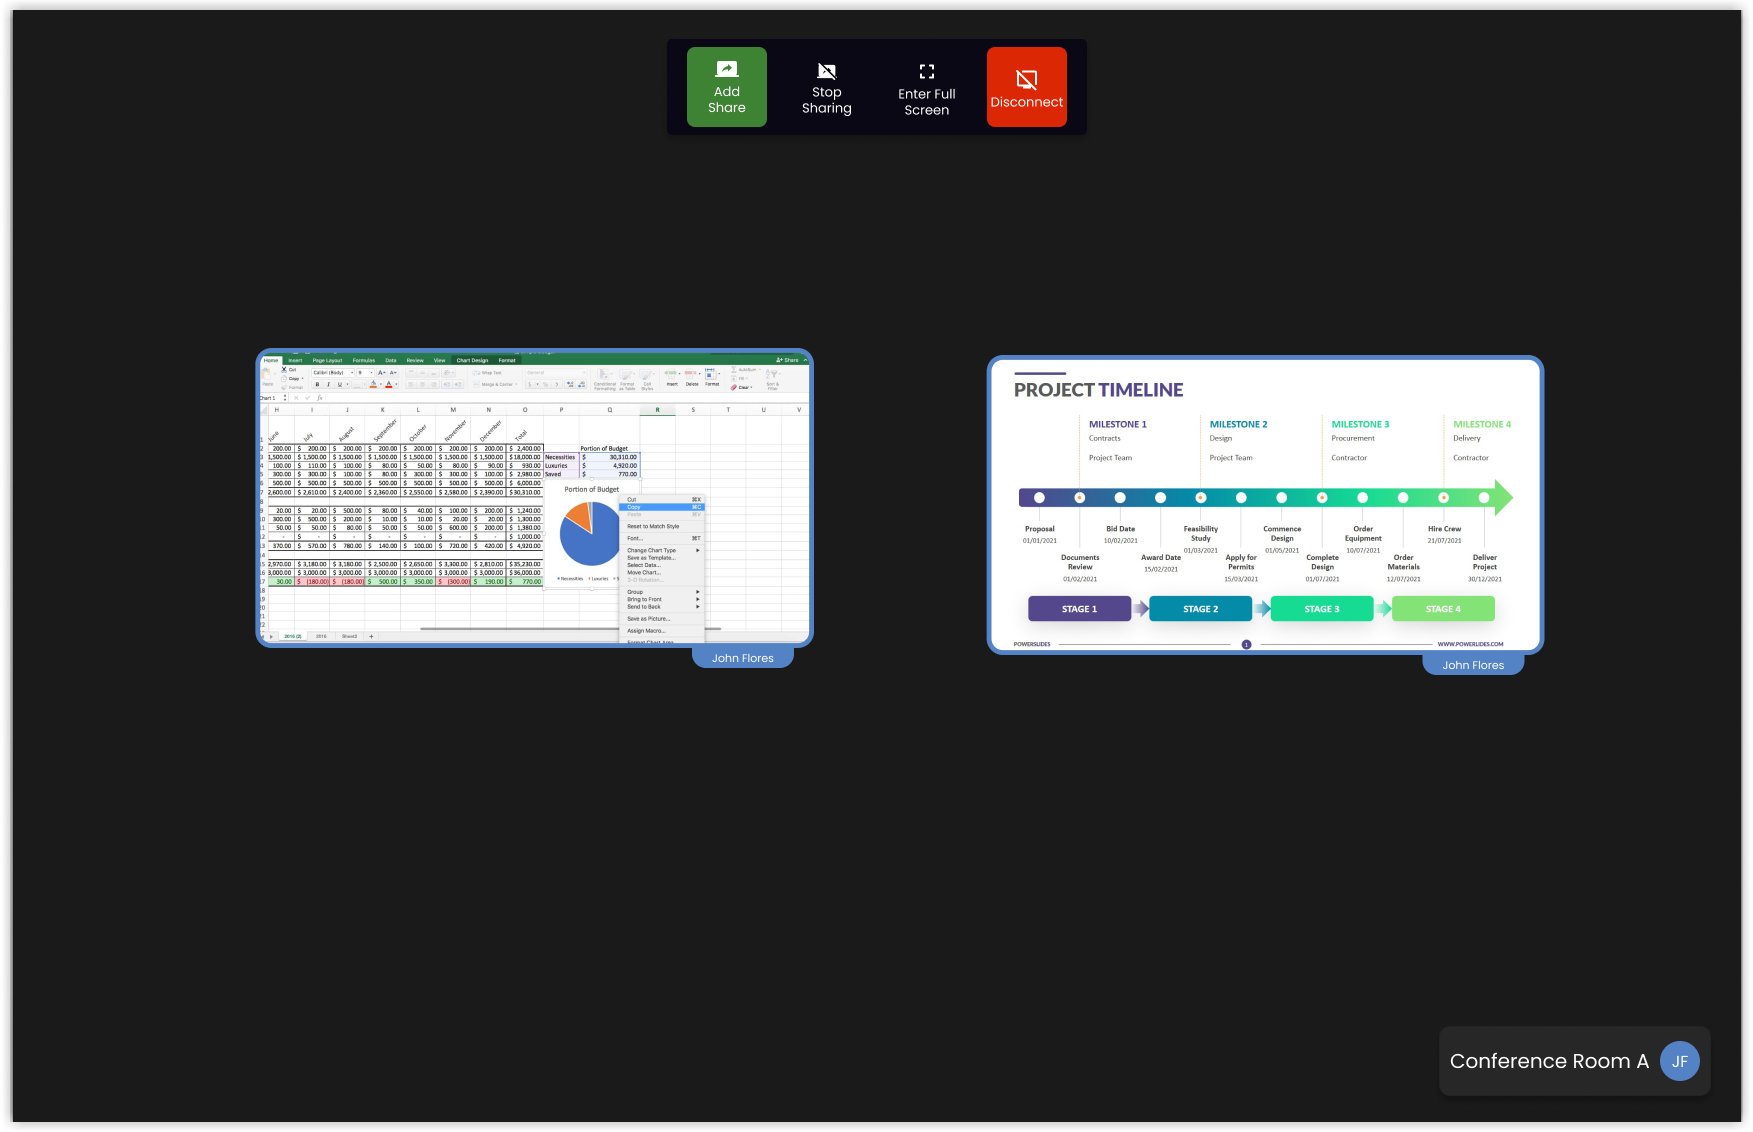
Laptop view
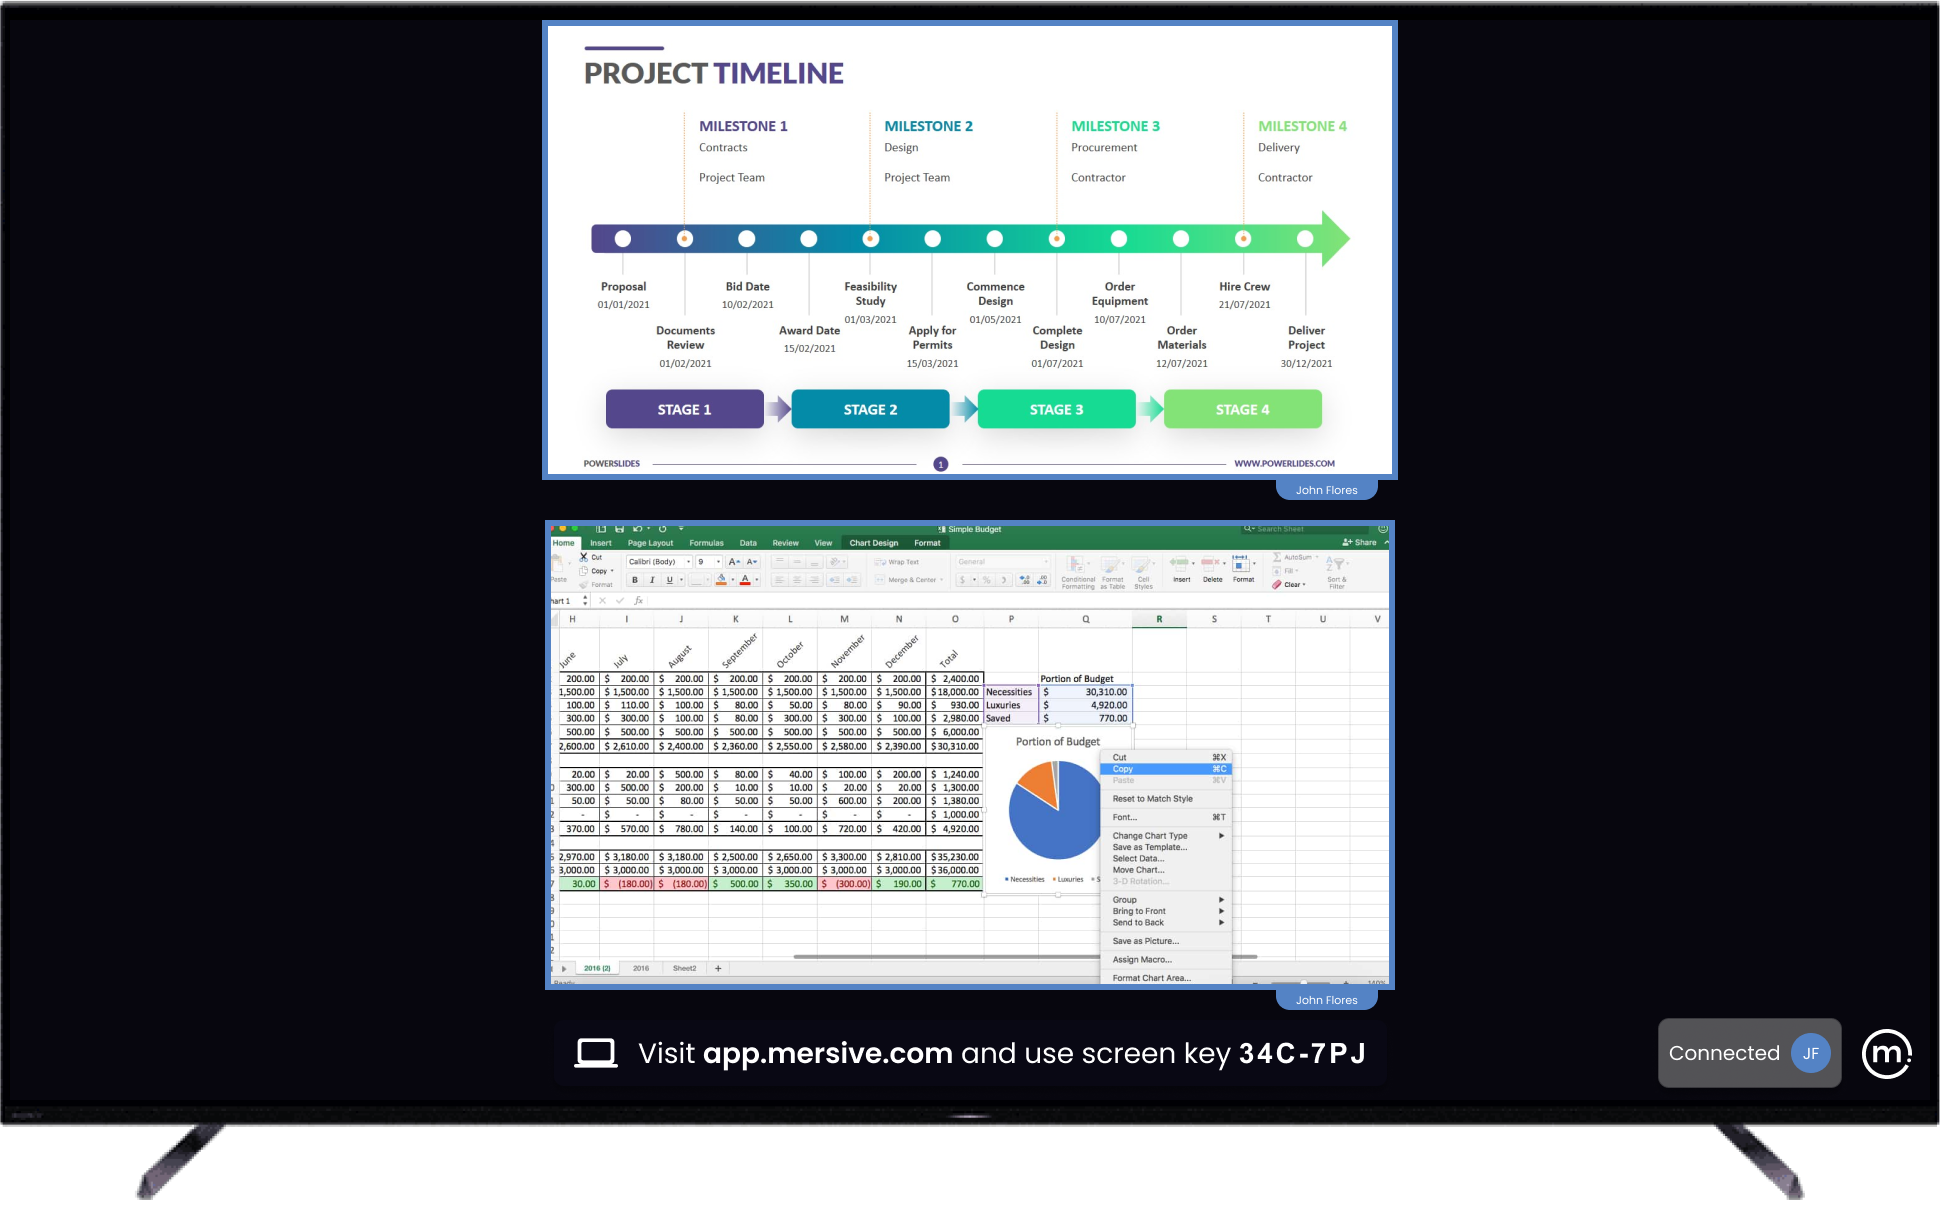
Display view
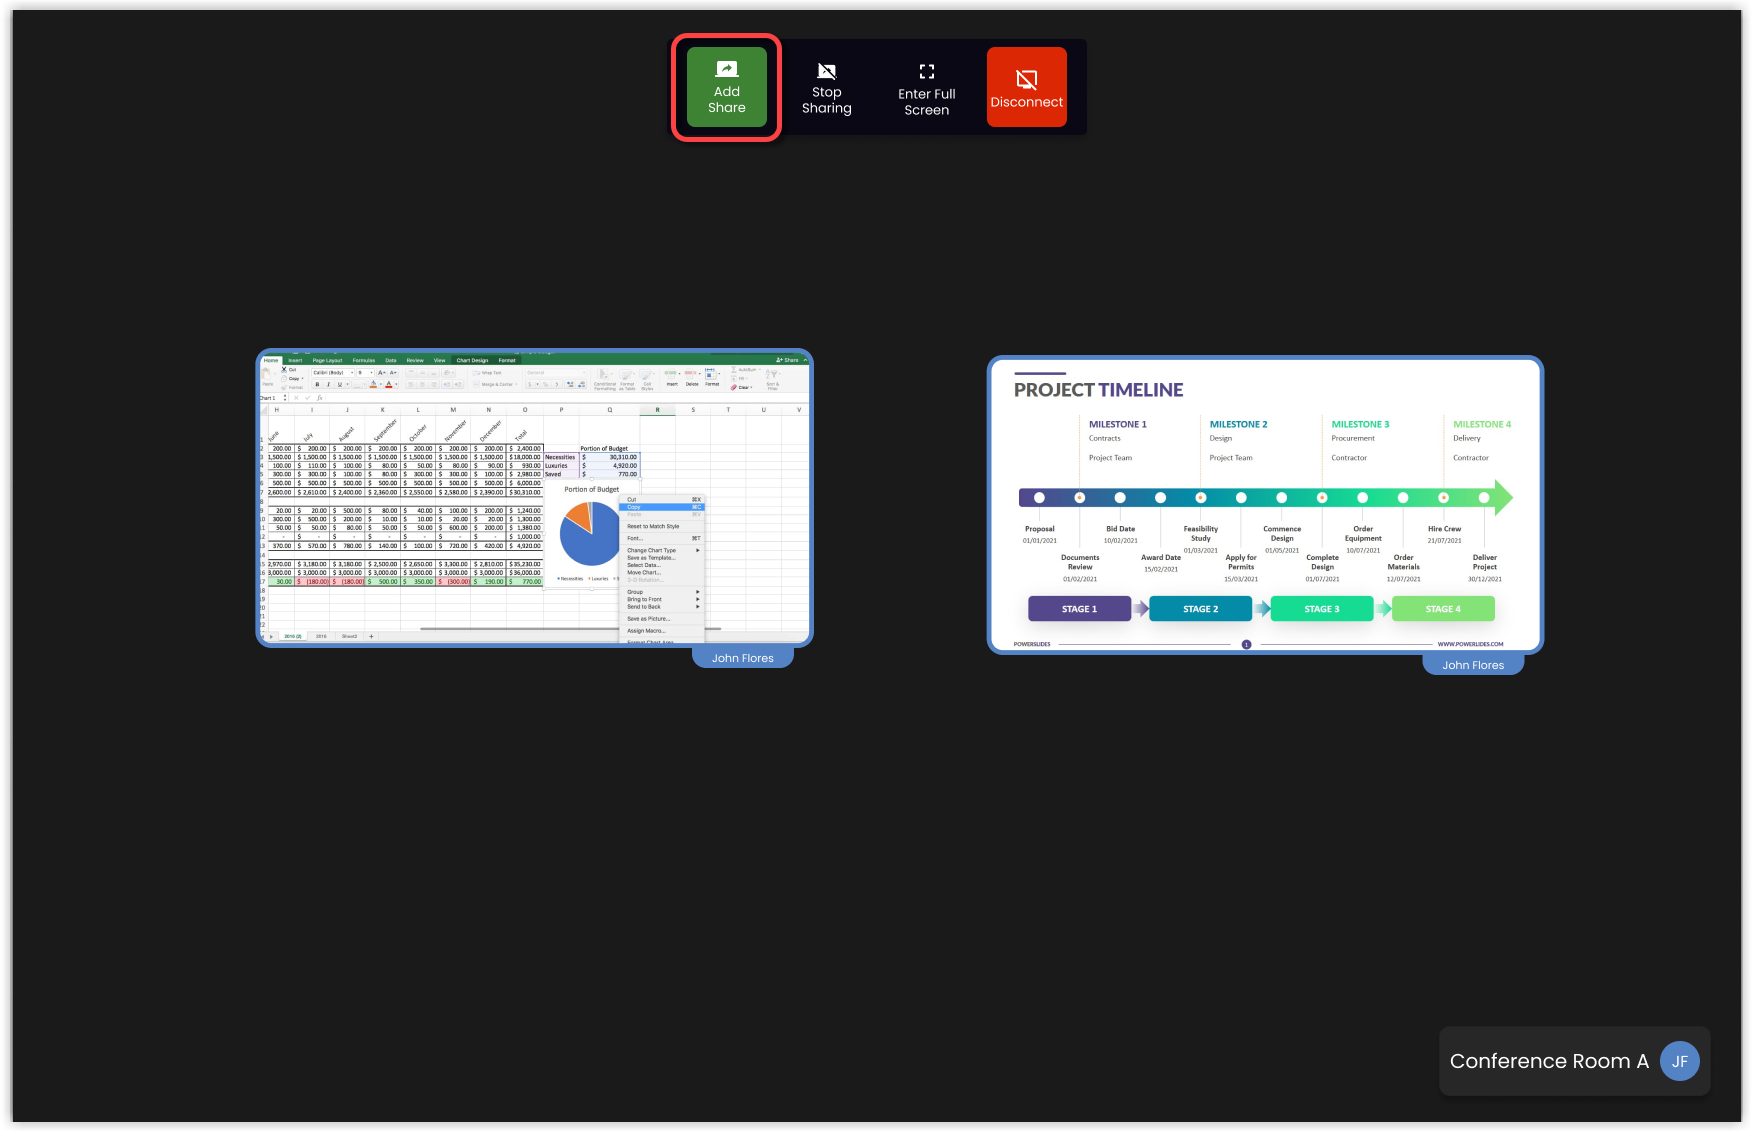
To add shares, click Add Share and select content, then click Share.
To switch the display to full screen, click Enter Full Screen. Click Exit Full Screen to return to normal view.
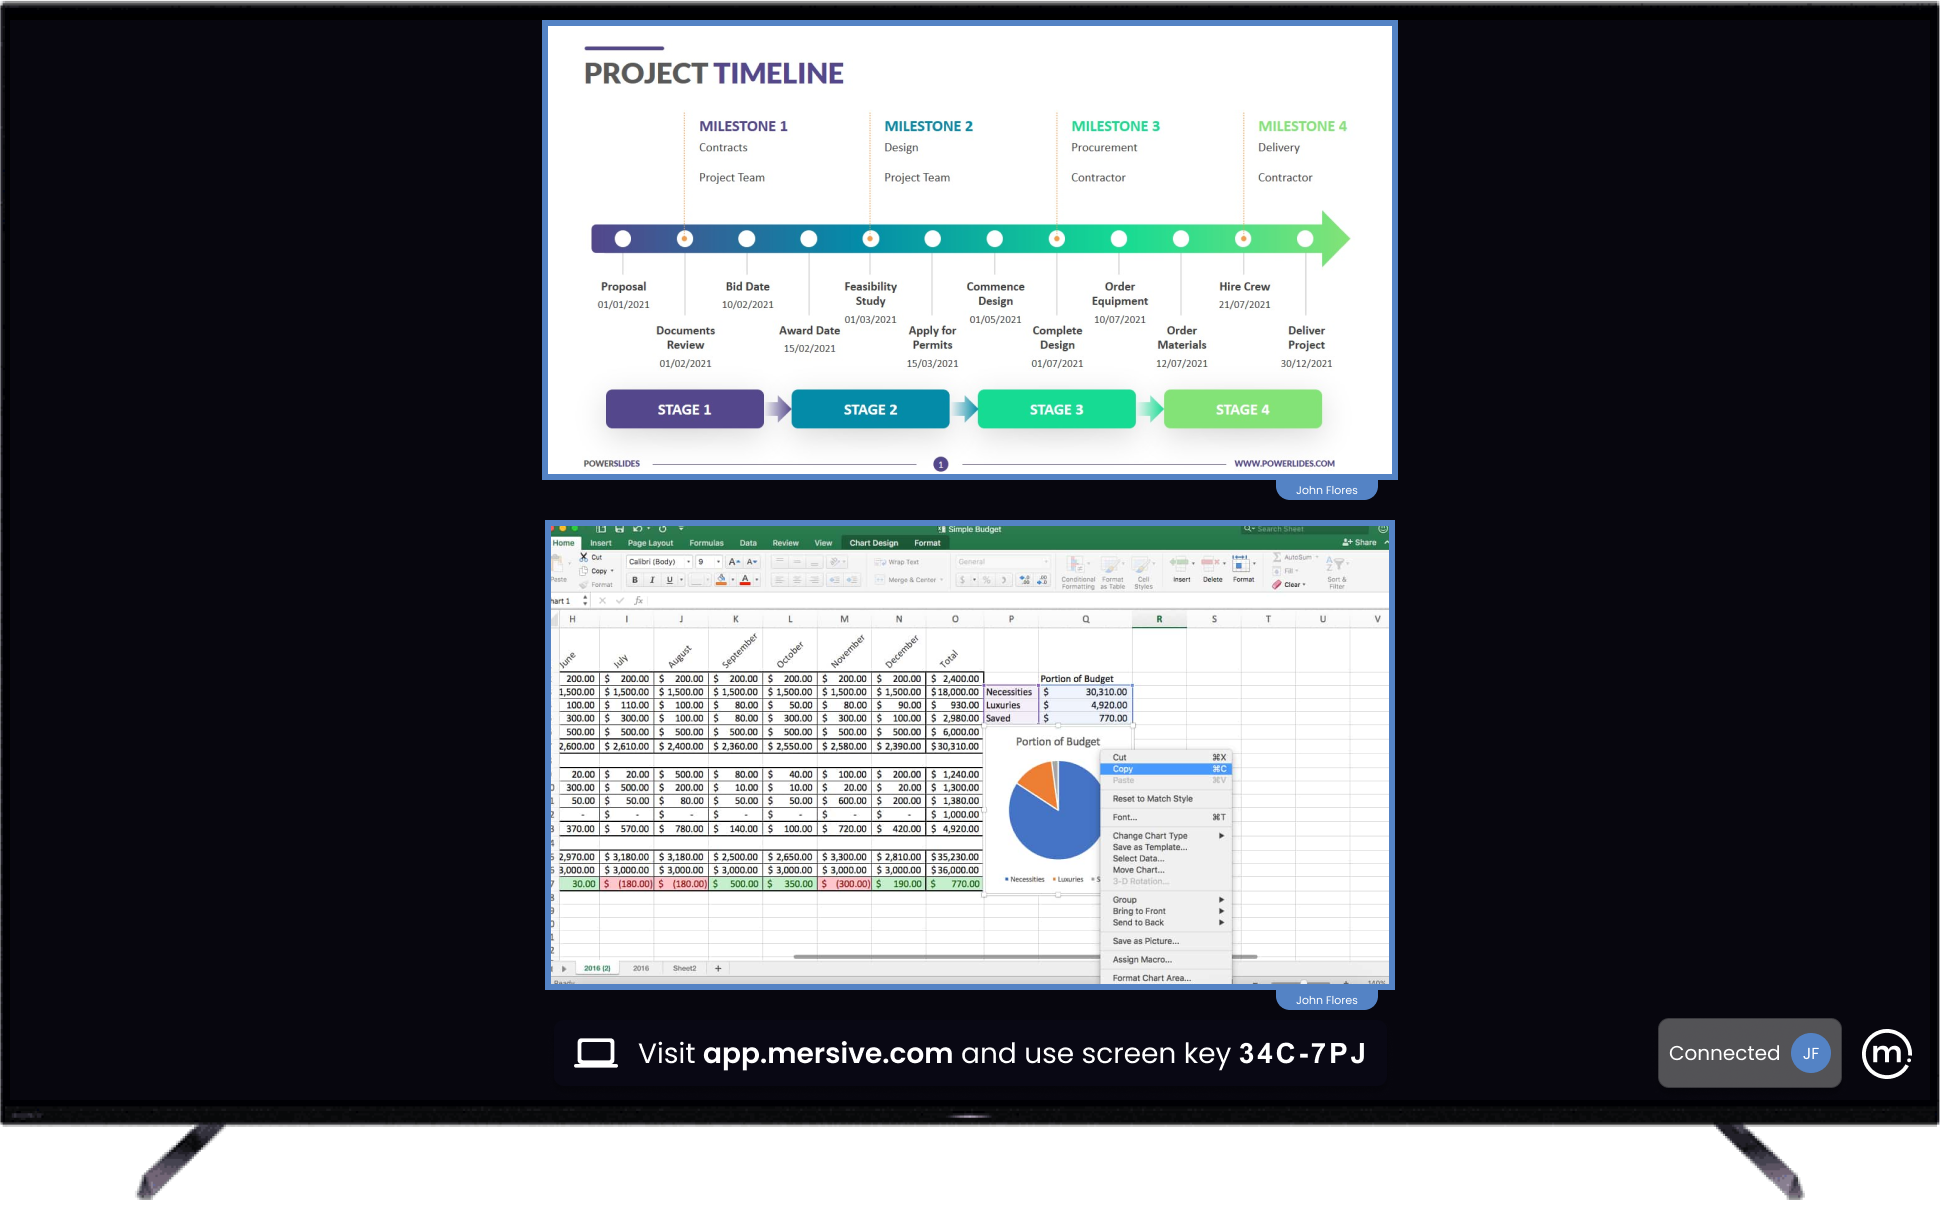
Normal view
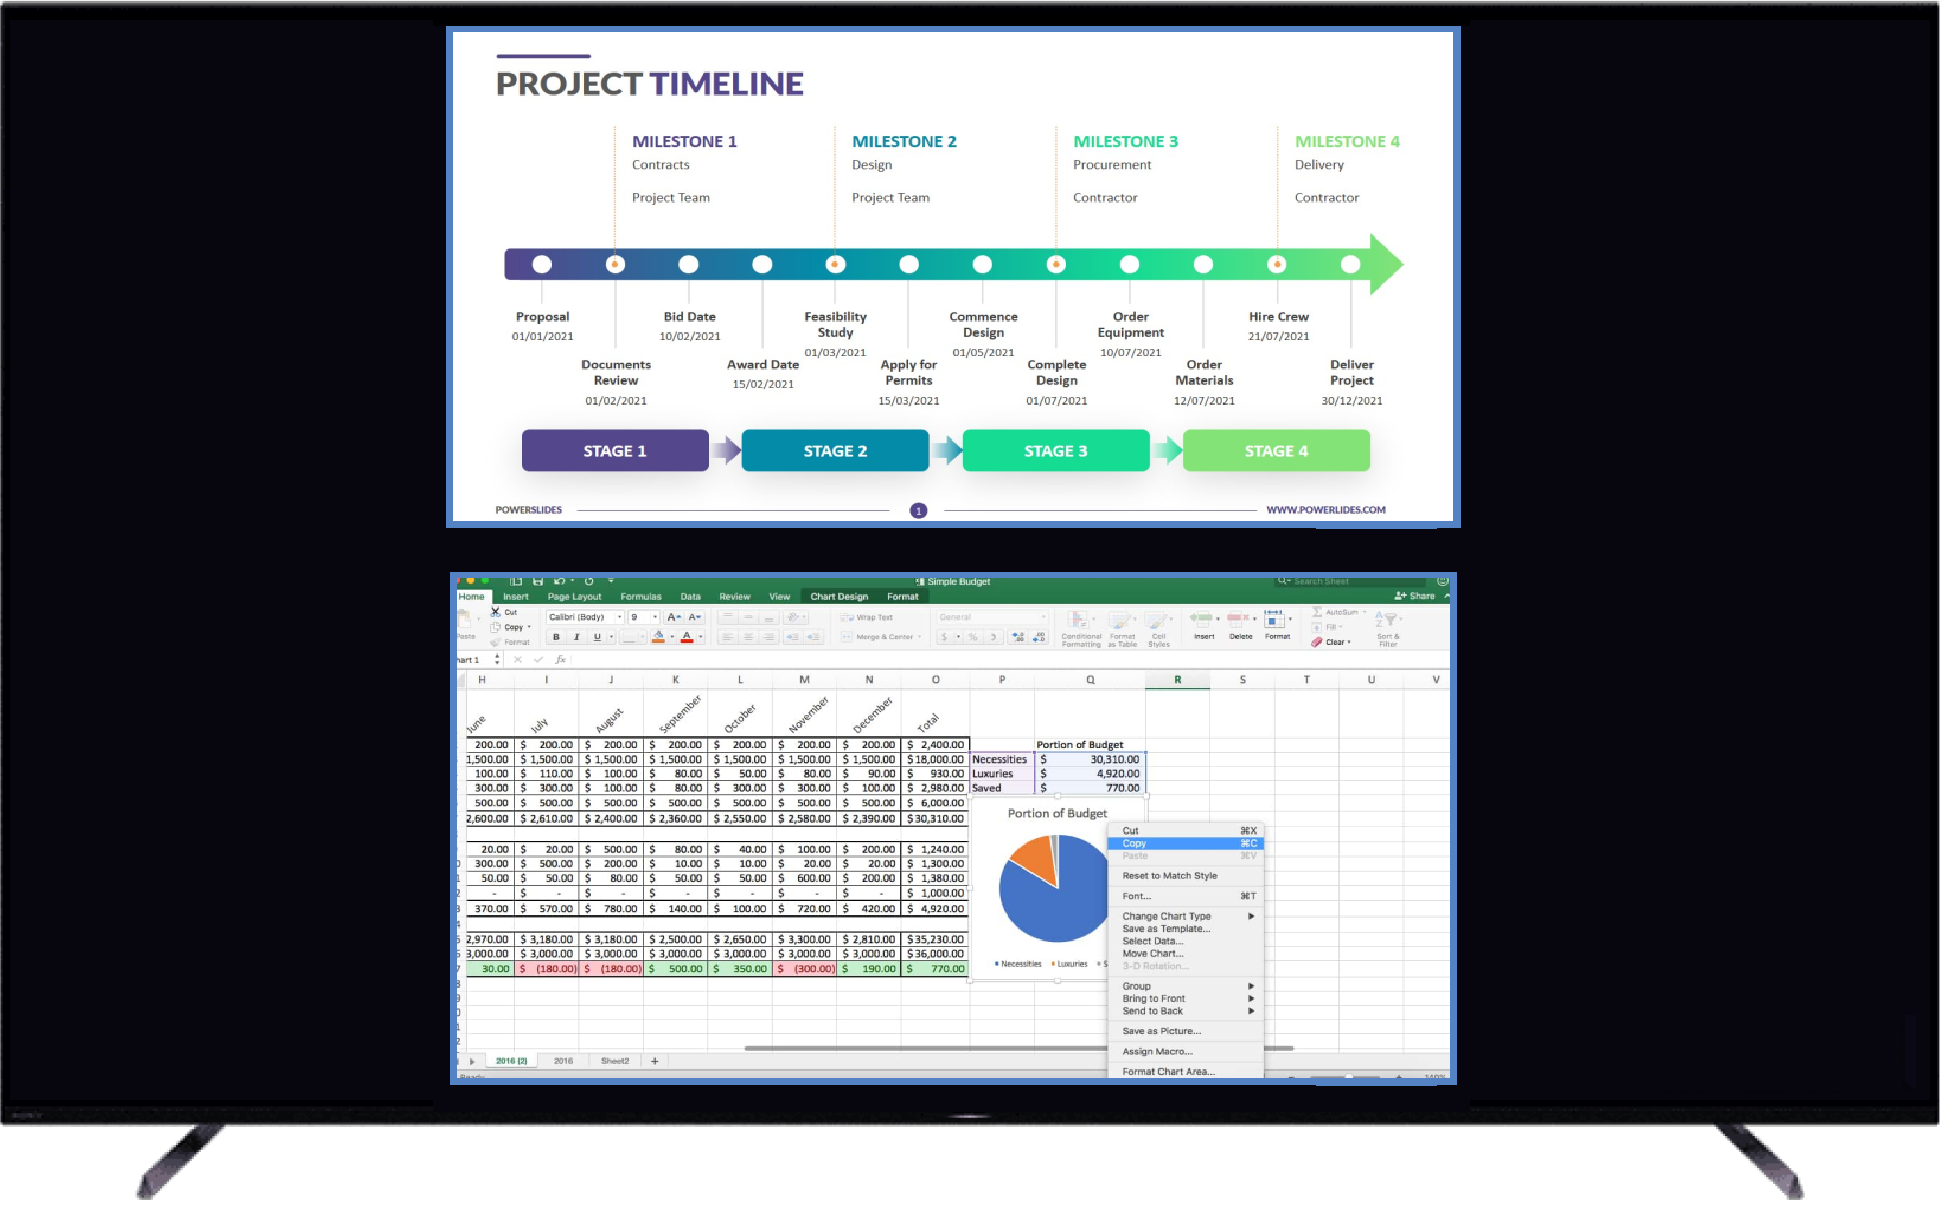
Full Screen view
To stop sharing, click Stop Sharing. Note: The connection remains, so you can resume sharing at any time.
To disconnect from the display, click Disconnect. Note: You will need to use the screen key and reconnect to resume sharing.
Sharing Tips & Tricks
The sharing client was designed to be quick to connect and easy to use. But it also contains advanced features to meet specific collaborative needs. This section contains information designed to help you get the most out of your collaboration sessions.
As previously mentioned, the sharing client gives you three categories of content. Each sharing option has its own unique features:
Browser Tab
Window
Entire Screen
Browser Tab includes all the tabs open in the browser that is running the sharing client. In some cases, you can share audio (see below) from a browser tab share. On the display, you will see the browser content only; the navigation bar and menu bar at the top of the browser window will not be displayed. If you have more than one type of browser open, Chrome and Firefox, for example, the other browser will appear in the Window category.
Tip: Forget which browser is running the sharing client? Check the tab title on the client interface.
 |
Window includes all the windows open on your laptop. Currently, there are no audio sharing options from a window share. When sharing a window, it will continue to appear on the display even if you minimize it on your laptop.
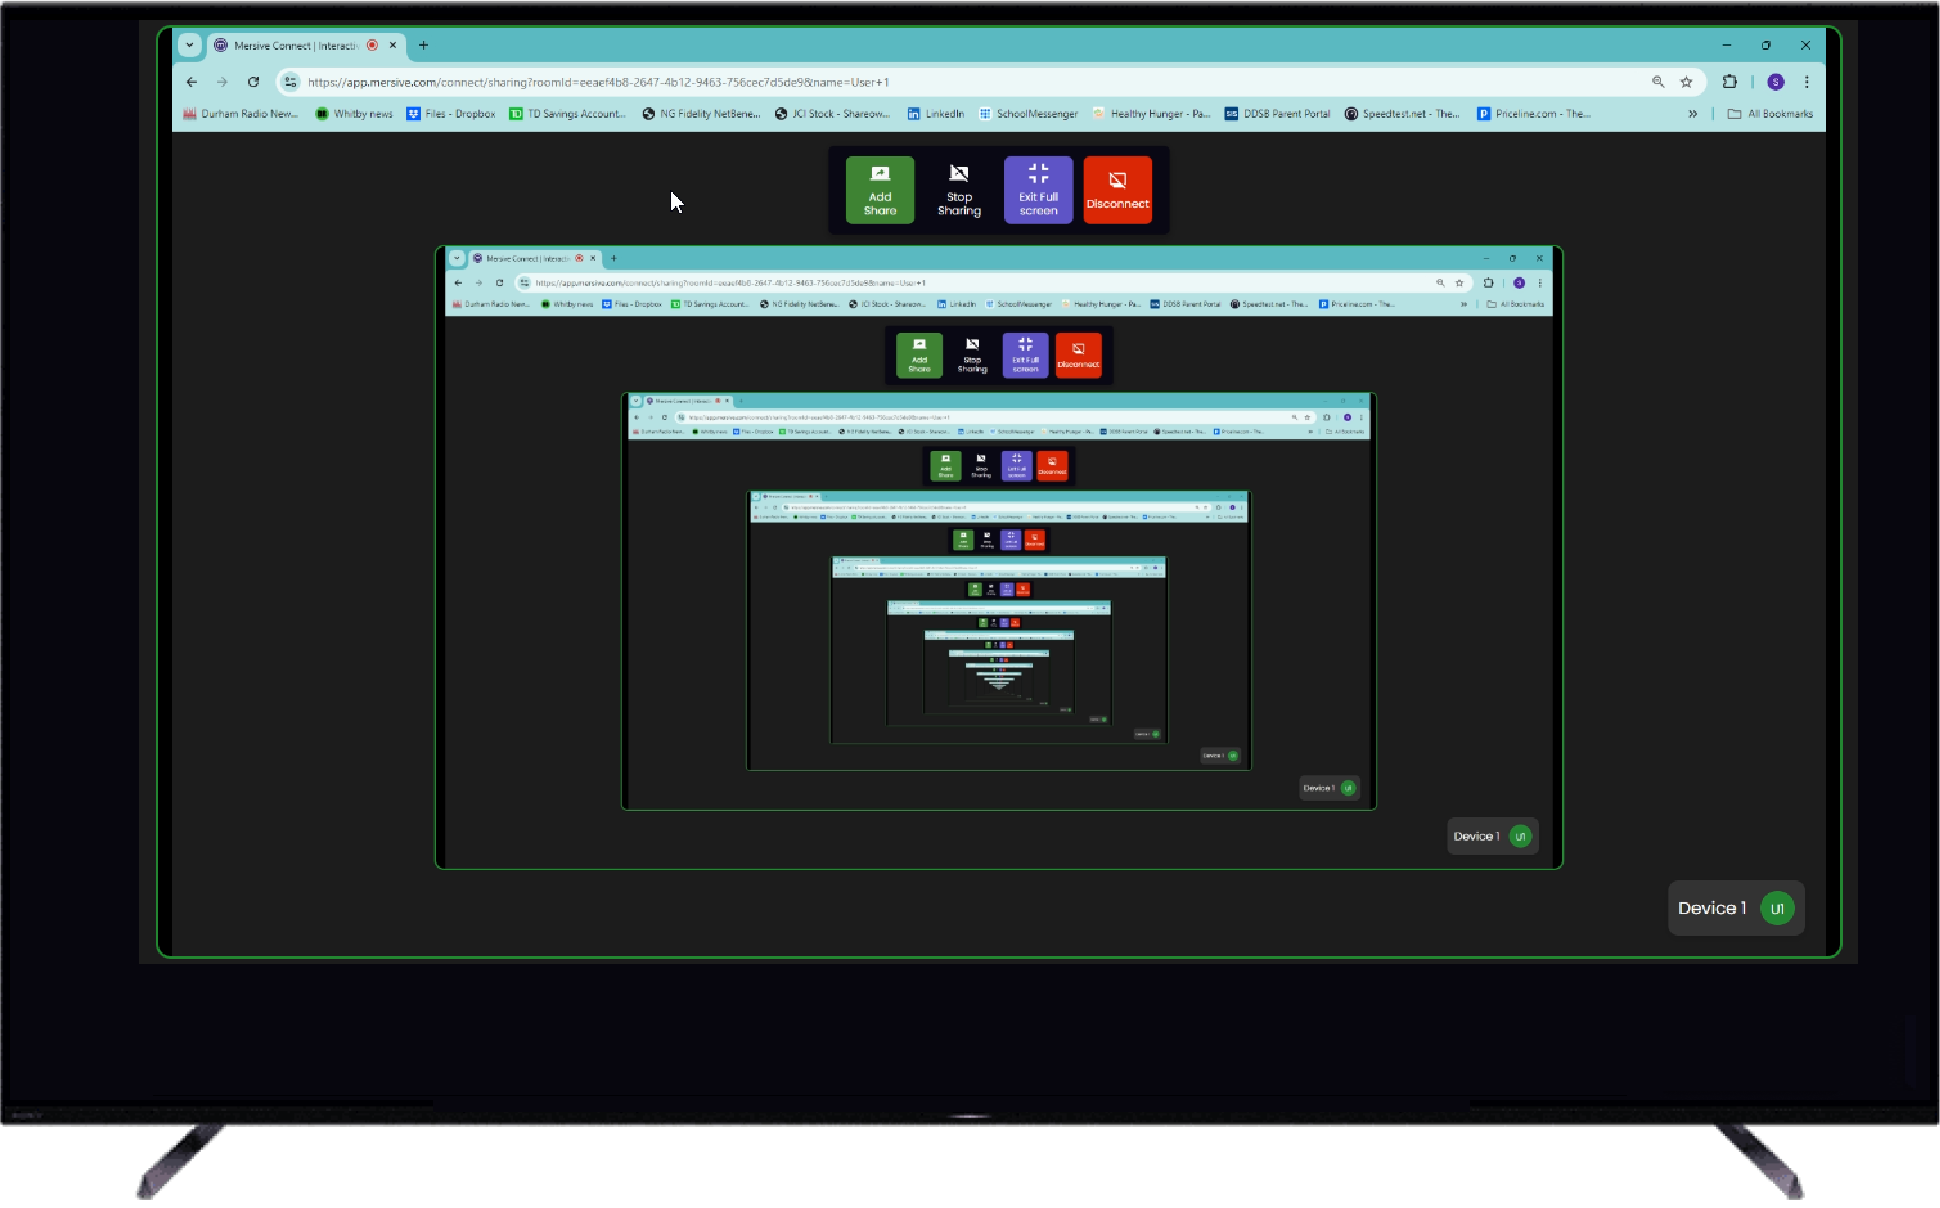
Tip: If you see the sharing client buttons on the display, you’re probably sharing the sharing client window itself. This is what it looks like:
 |
Entire Screen includes every monitor or screen attached to your laptop. While sharing an entire screen does have some audio sharing options, they are very limited.
Tip: Sharing an entire screen is a quick way to get content up on the display, but for advanced tasks, like sharing full motion video with audio, Browser Tab sharing is a better way to go.
Full Screen View
In normal view, the display includes a few informational elements on screen: screen key, user icons, and username tags. Anyone sharing content can instruct the display to switch to full screen. In full screen view, all the informational elements are removed from the screen to make as much room as possible for content. The content windows are expanded to the largest possible size given the display size and the size and shape of the content window(s).

Normal view

Full Screen view
Tip: Remember to maximize the content window or switch the video playback to full screen on your laptop before sharing. This will help get the best visuals when switching the display to full screen view.
Sharing Content with Audio
The sharing client supports sharing audio with content. Sound quality will vary from one display to the next as network issues, processor speed of the laptop, and quality of the speakers attached to the display all factor into the quality of the reproduced sound. Not every sharing option in the web client includes audio sharing. This table shows four popular browsers supported by the web client and the audio sharing options available to them:
Browser | OS | Tab | Window | Screen |
|---|---|---|---|---|
Chrome | Win | Yes | No | Yes |
Chrome | Mac | Yes | No | No |
Edge | Win | Yes | No | Yes |
Edge | Mac | Yes | No | No |
Firefox | Win | No | No | No |
Firefox | Mac | No | No | No |
Safari | Mac | No | No | No |
How to Share Content with Audio
To make sure the audio plays correctly, take these additional steps when selecting content with audio:
Turn off the speakers on your laptop.
Turn up the volume on the display.
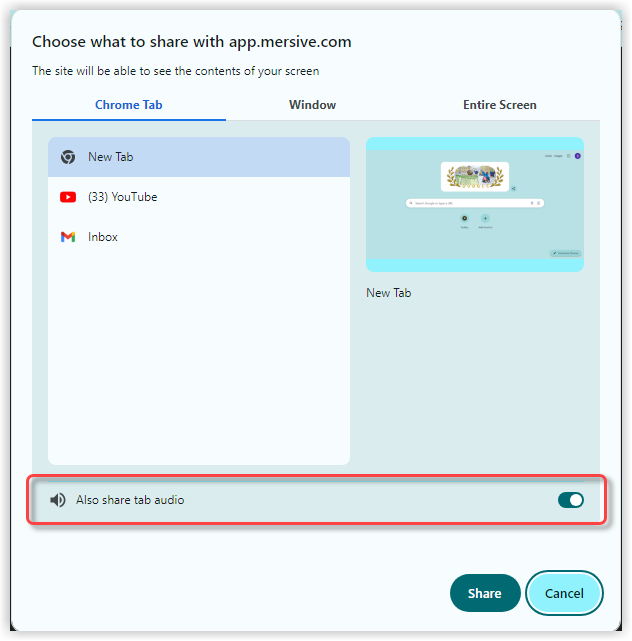
As you select the content you want to play audio, switch on the Also share audio option.
Adjust the volume on the display as needed.