Editing Users
The admin portal allows you to add users to your organizations. In the current release, users attain admin privileges. In a future release, a user’s access privileges will vary by role. Users can create organizations, add users and devices, and customize device settings. Users can belong to two or more organizations at the same time.
You can view the list of users for an organization by logging into the admin portal. Once you have logged in, click Users to view the list.
The Users list shows all users associated with that organization and their status. Possible user statuses and their meanings are:
Pending: An invitation has been sent, but the user has not accepted it.
Expired: An invitation has expired.
Active: The user has privileges in the organization.
Deactivated: The user’s privileges have been suspended.
From the Users list, you can perform the following tasks for your users:
Inviting Users
You add users by invitation, and invitations are sent via email. When you request to invite a user, the admin portal generates an email to the address you enter. To accept the invitation, the recipient can click a button in the message or copy a URL from the message into a browser window. The user will be prompted to create a password and log in to the admin portal to complete the process. Should a user delete their invitation email, or if the invitation has expired, you can generate a new invitation email from the Users screen.
On your laptop, log into mersive.com/admin and select your Organization
Select Users.
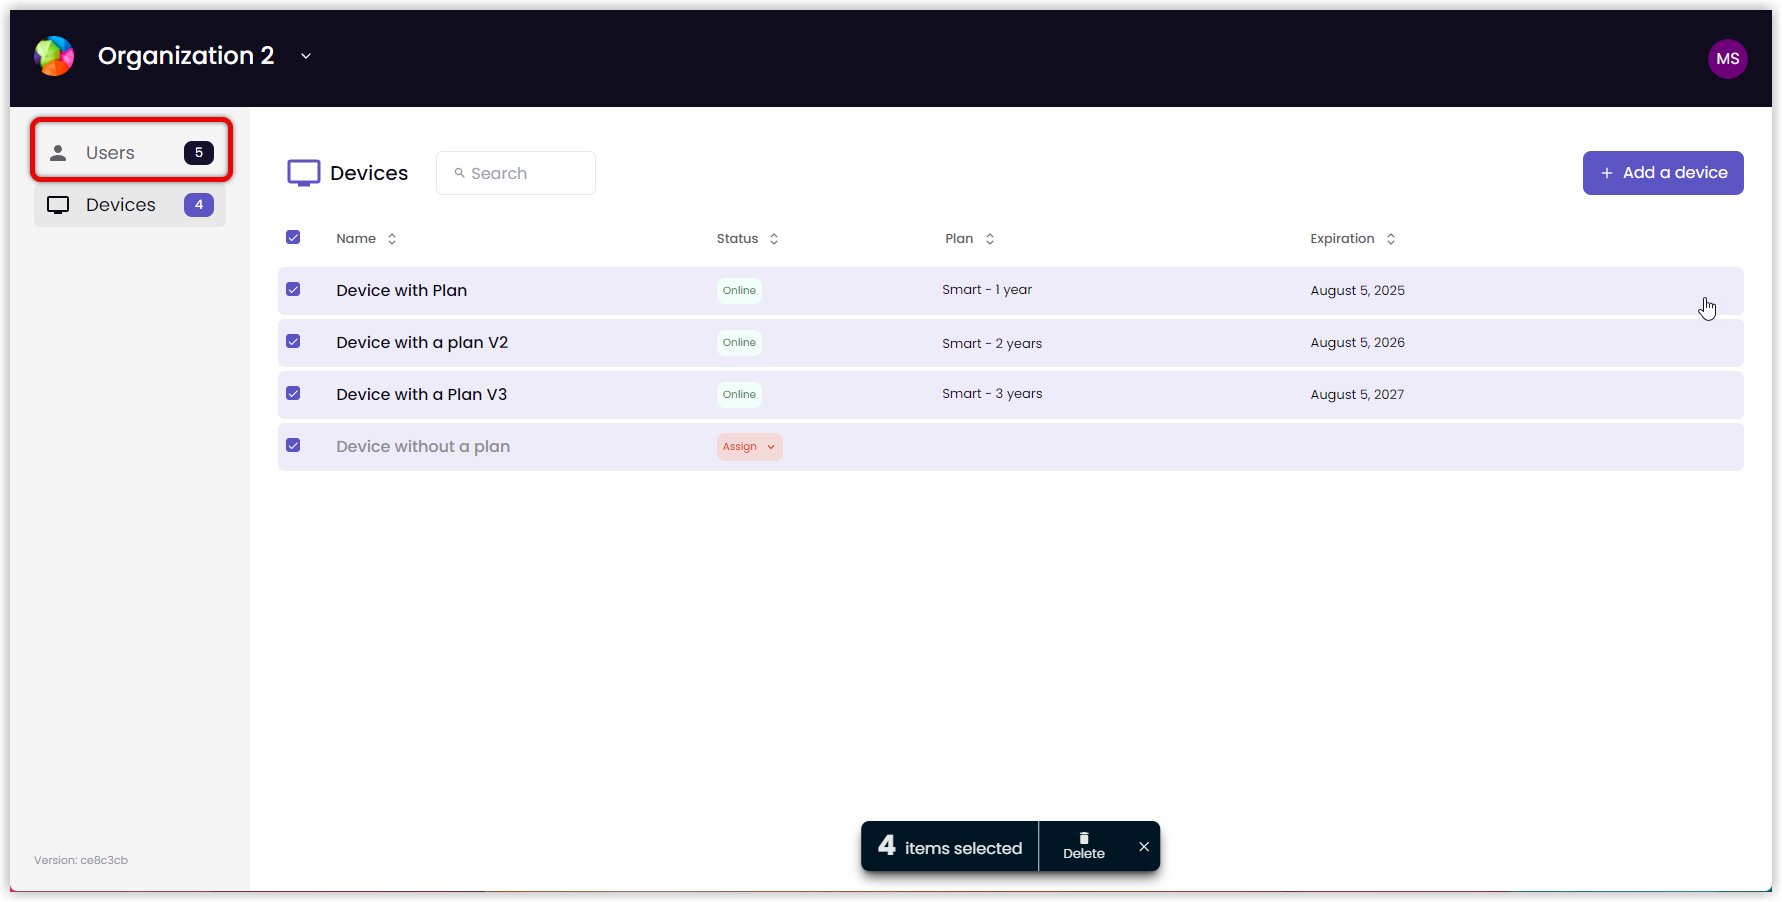
Select Invite and a pop-up appears.
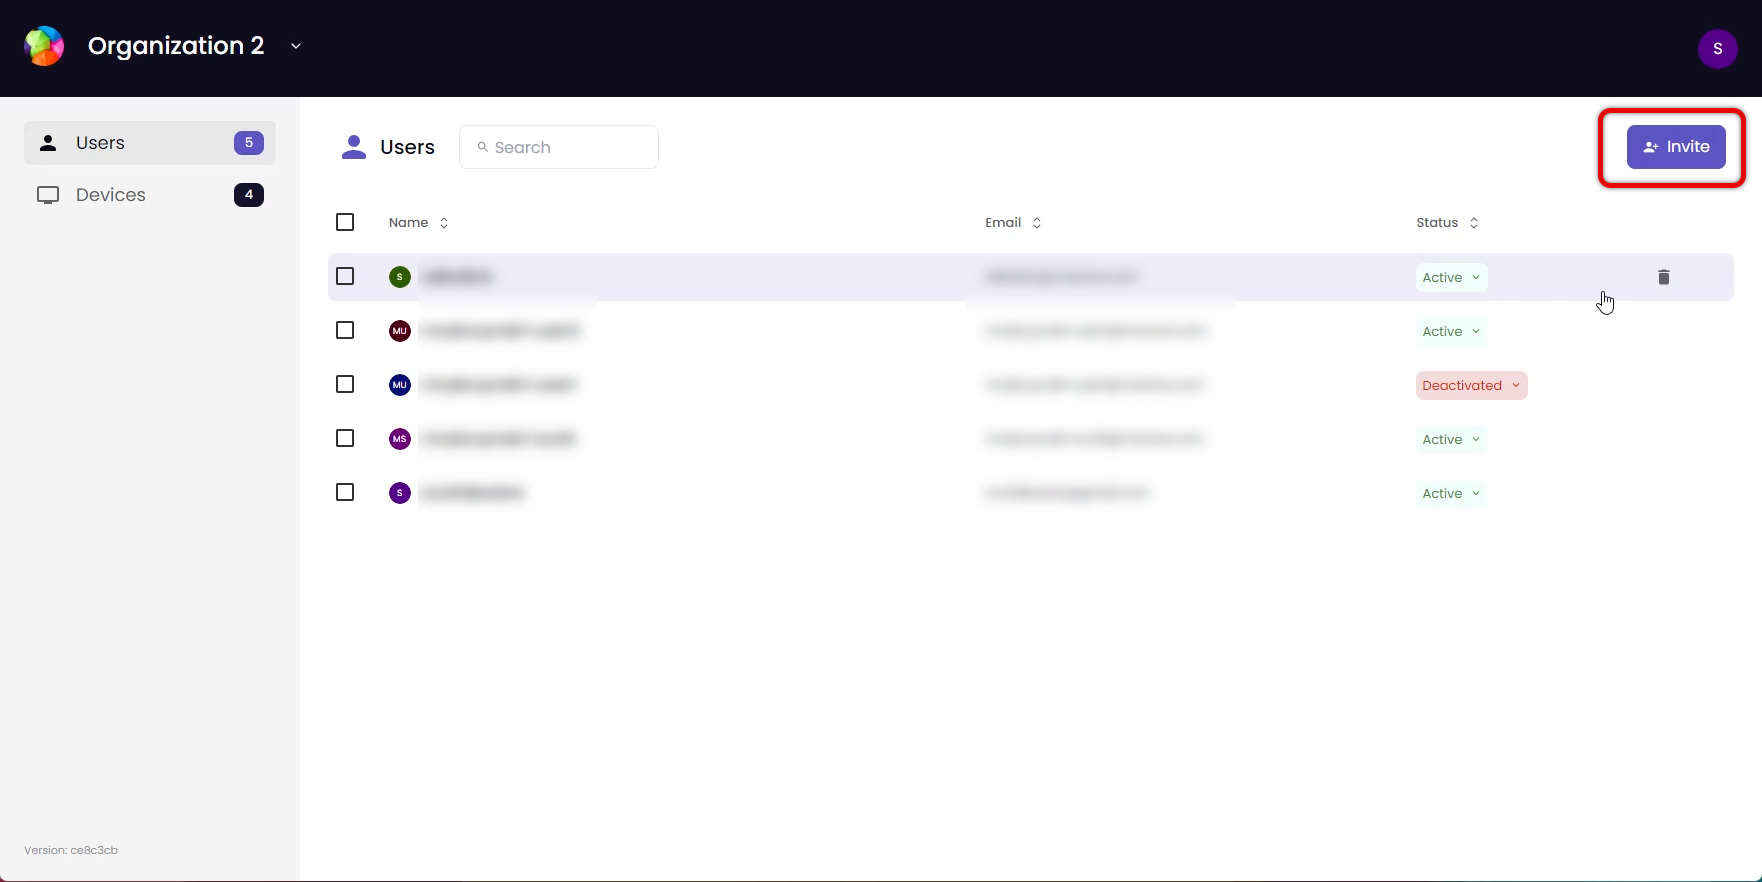
Note
If you need to resend an invitation, see How to Resend an Invitation Email.
Enter the user’s Email Address and select Submit. An “email sent” confirmation message appears.
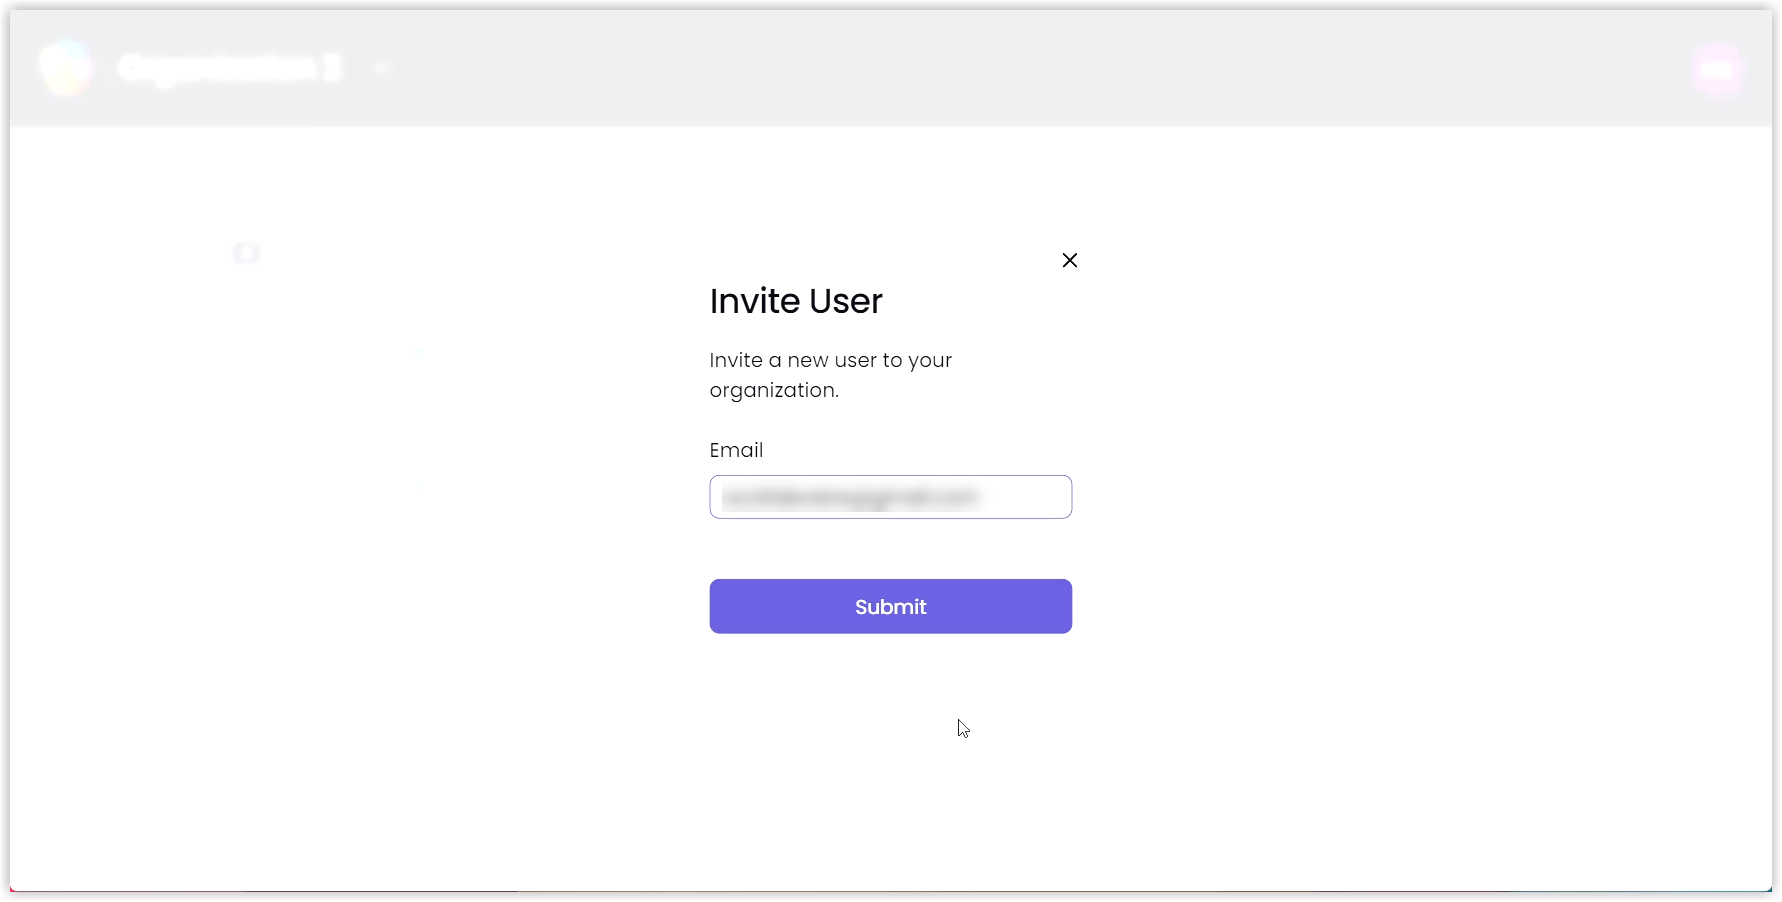
The invited user will appear on the Users screen. The user’s status will be Pending until they log in for the first time.
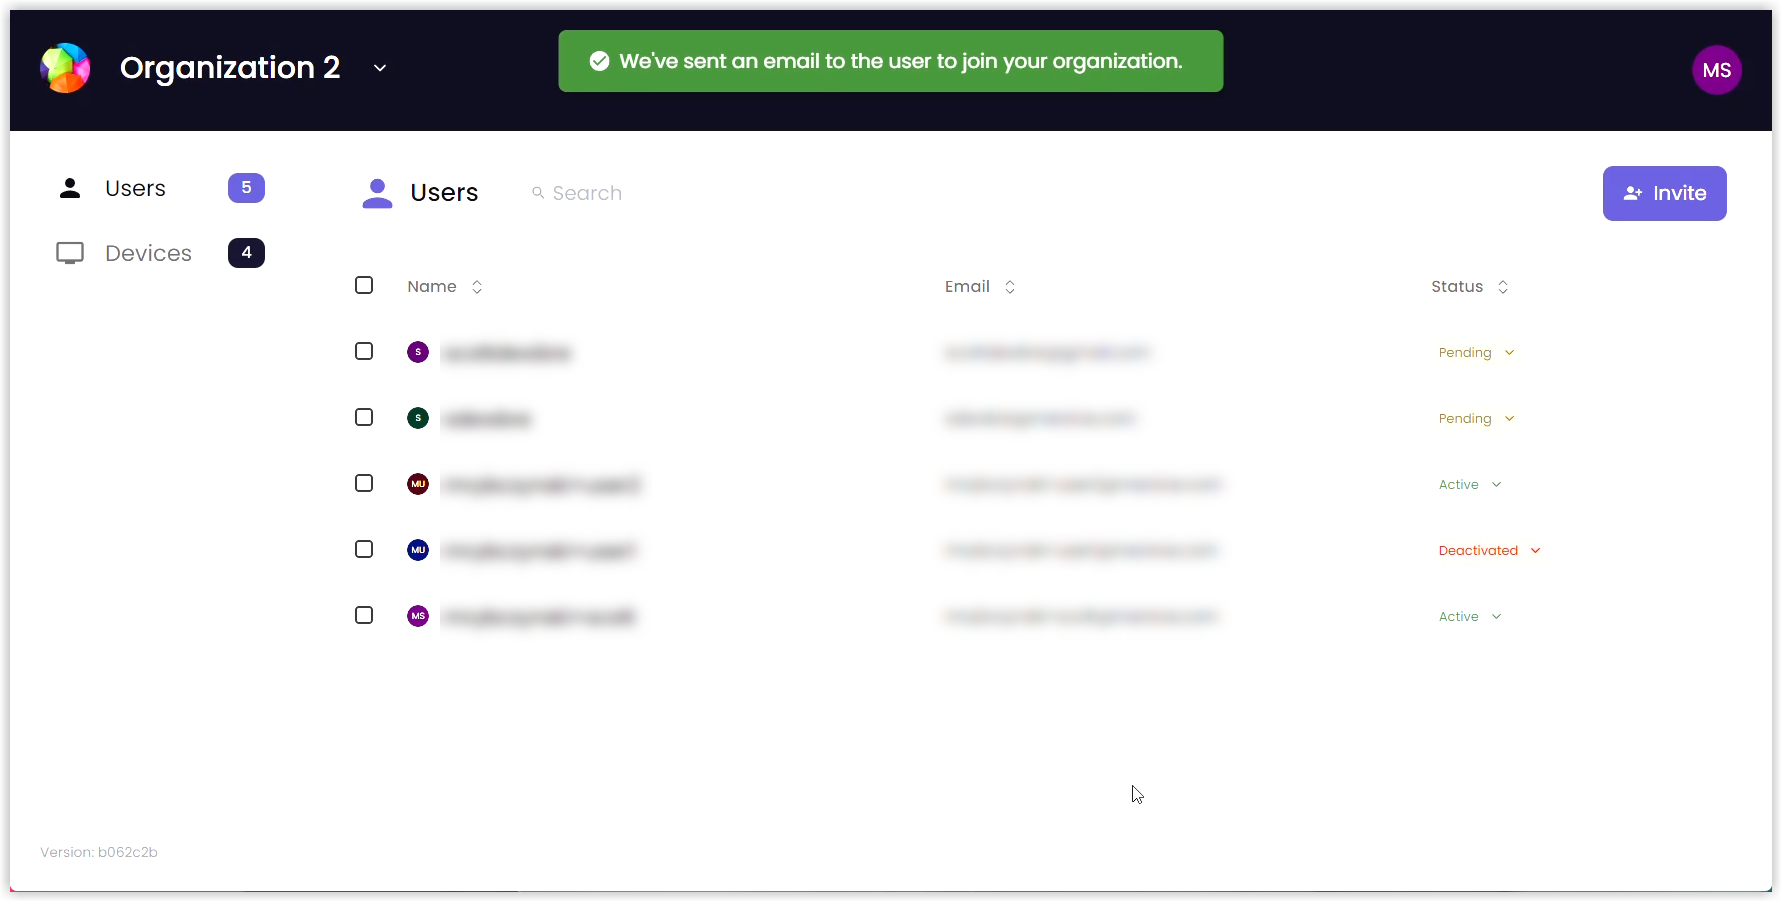
See Create a Mersive Account for support on creating an account.
Deactivating and Reactivating User Privileges
You may have consultants or staff who only make occasional updates or changes to your devices. Leaving unused credentials active might be considered a security risk. On the other hand, creating new credentials every few months for the same user would be inconvenient. In this case, you can temporarily deactivate their credentials. Deactivation lets you keep someone on the Users list and activate their access only when needed. You can restore a deactivated user’s access privileges at any time.
To deactivate a user, take the following steps:
On your laptop, log into mersive.com/admin. Select your Organization and then navigate to the Users tab.
For a single user, select their Status message and then select Deactivate user from the drop-down.
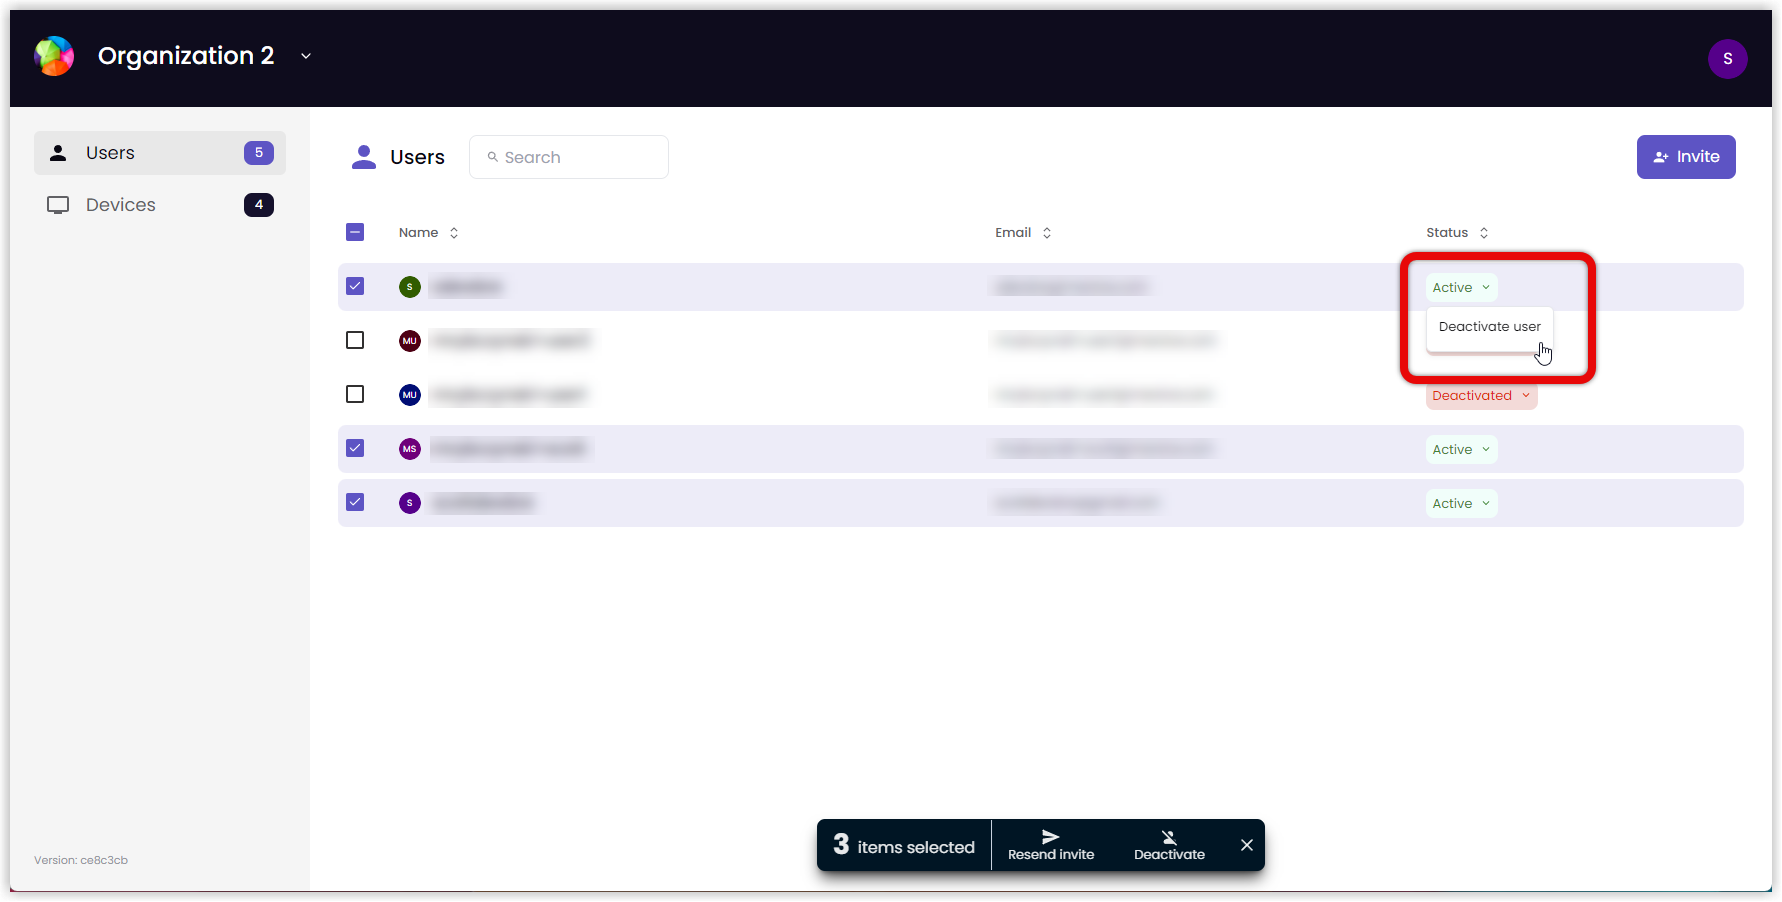
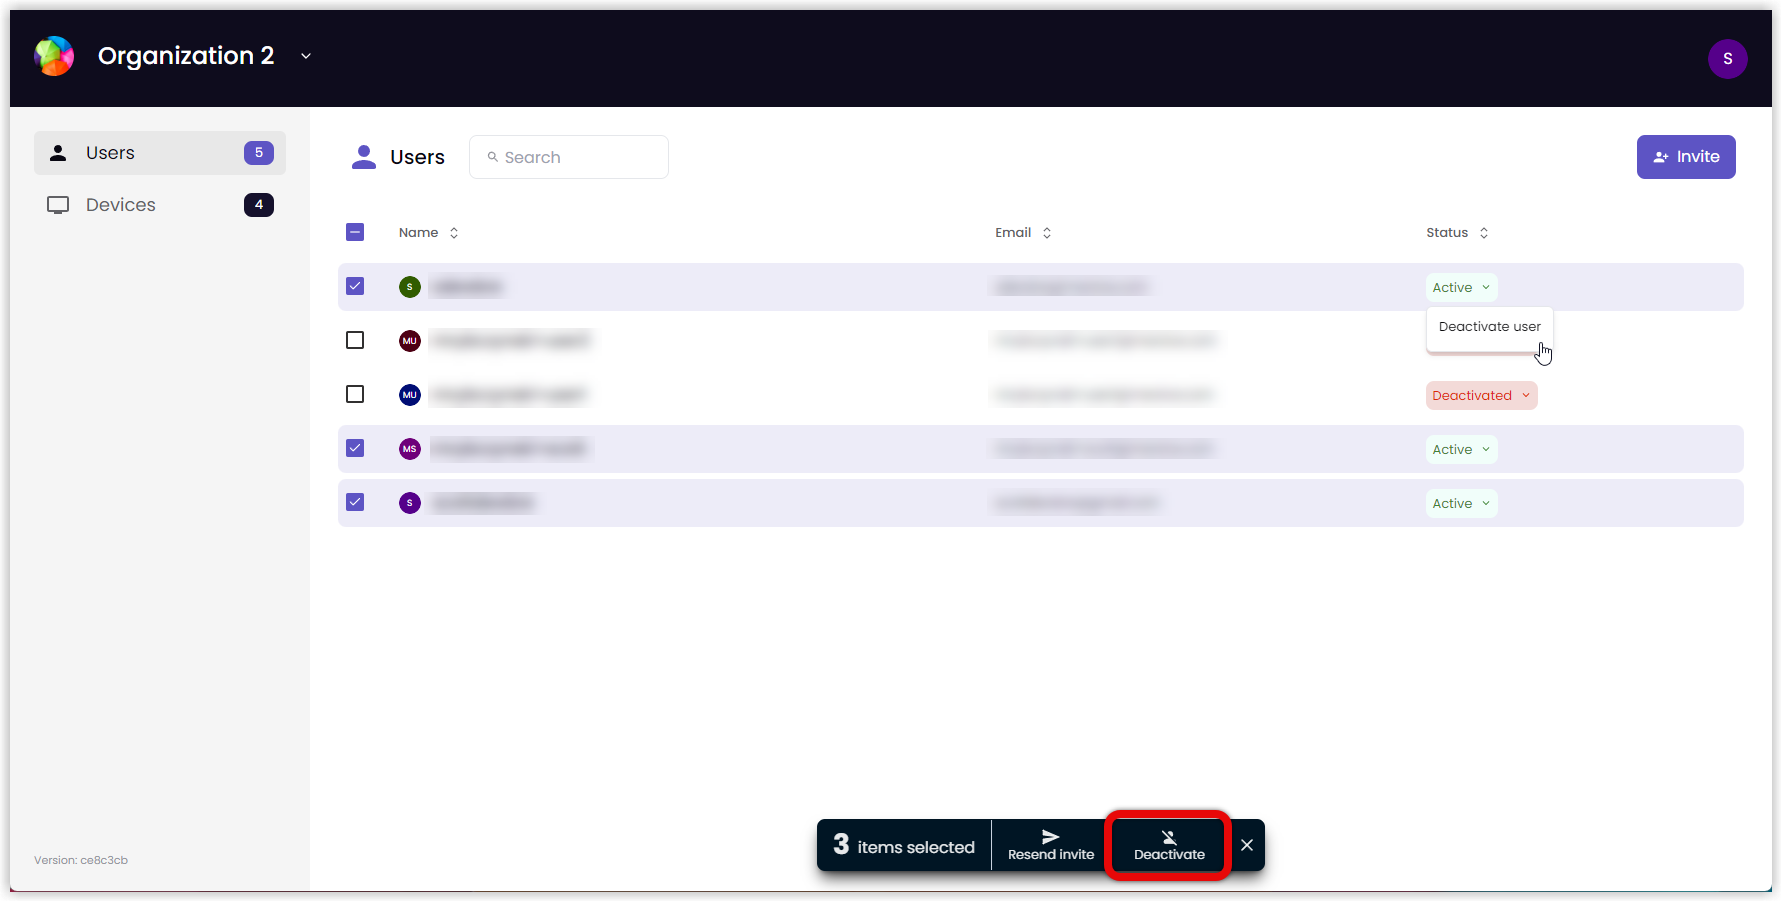
For multiple users, click the checkbox next to their names and then select Deactivate from the bar at the bottom of the screen. To select all users, click the topmost checkbox.
To reactivate a user, take the following steps:
On your laptop, log in to app.mersive.com/admin. Select your Organization and then go to the Users tab.
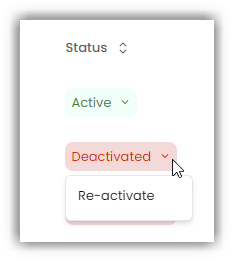
Select the Status message of the user you want to reactivate.
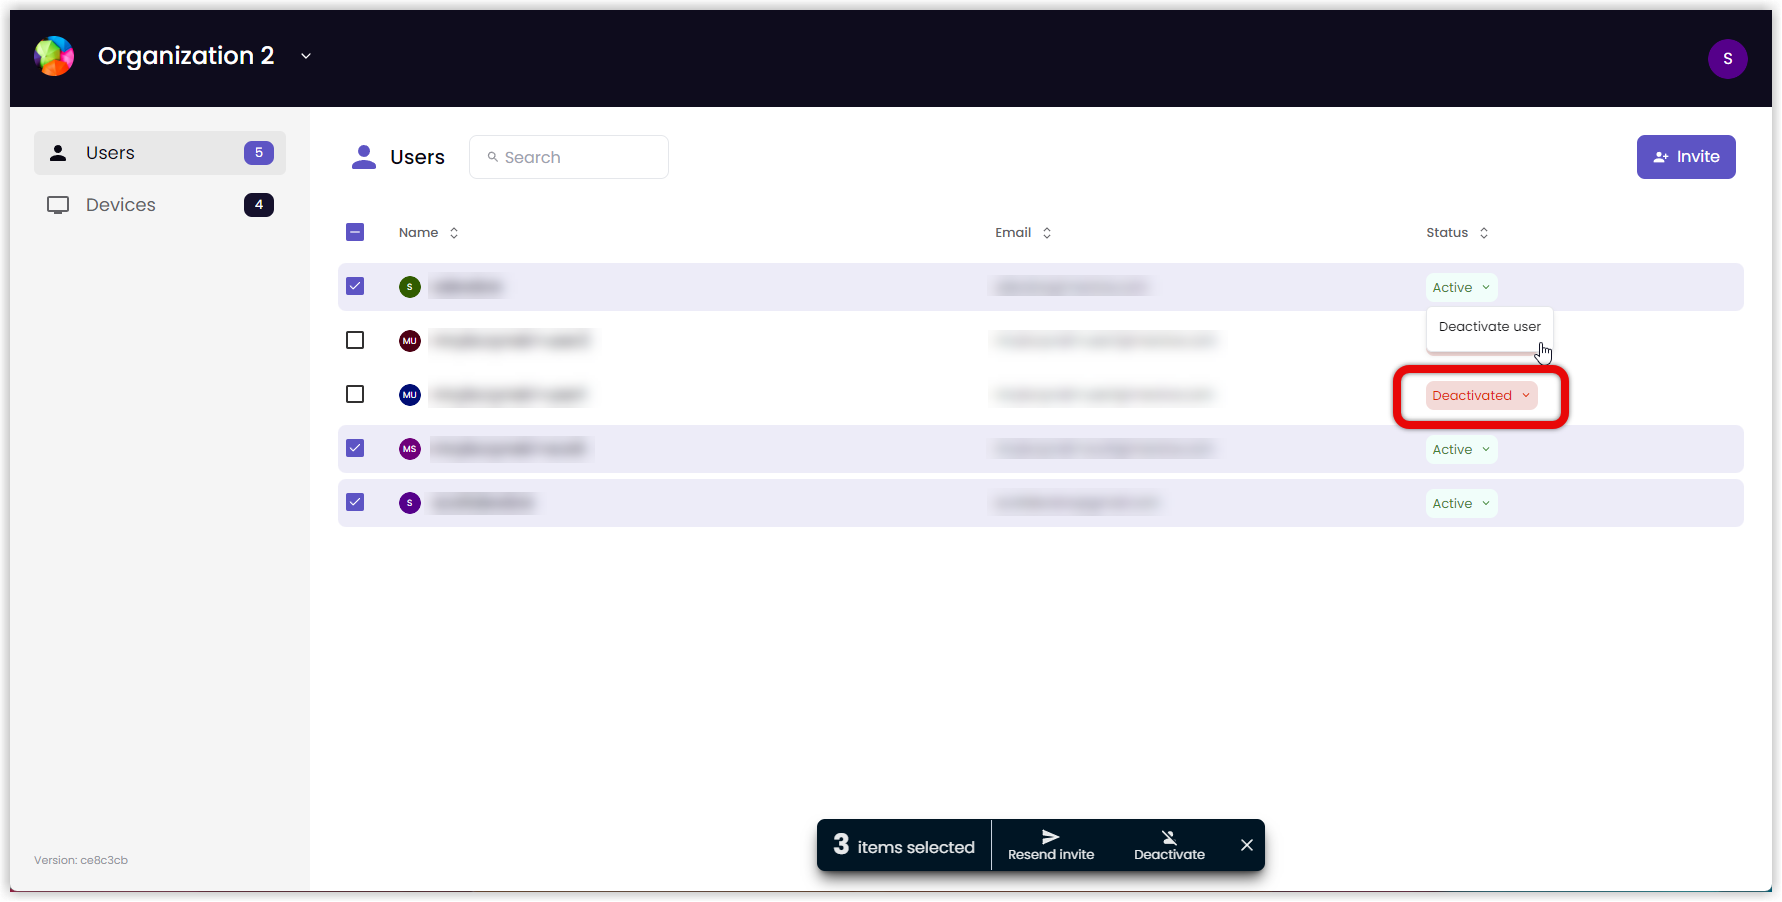
Select Reactivate from the dropdown list.
Deleting Users
To delete a user from an organization, take the following steps:
Select your Organization and then go to the Users tab.
Highlight the user's row. A Trash Can (
 ) appears on the right side of the row.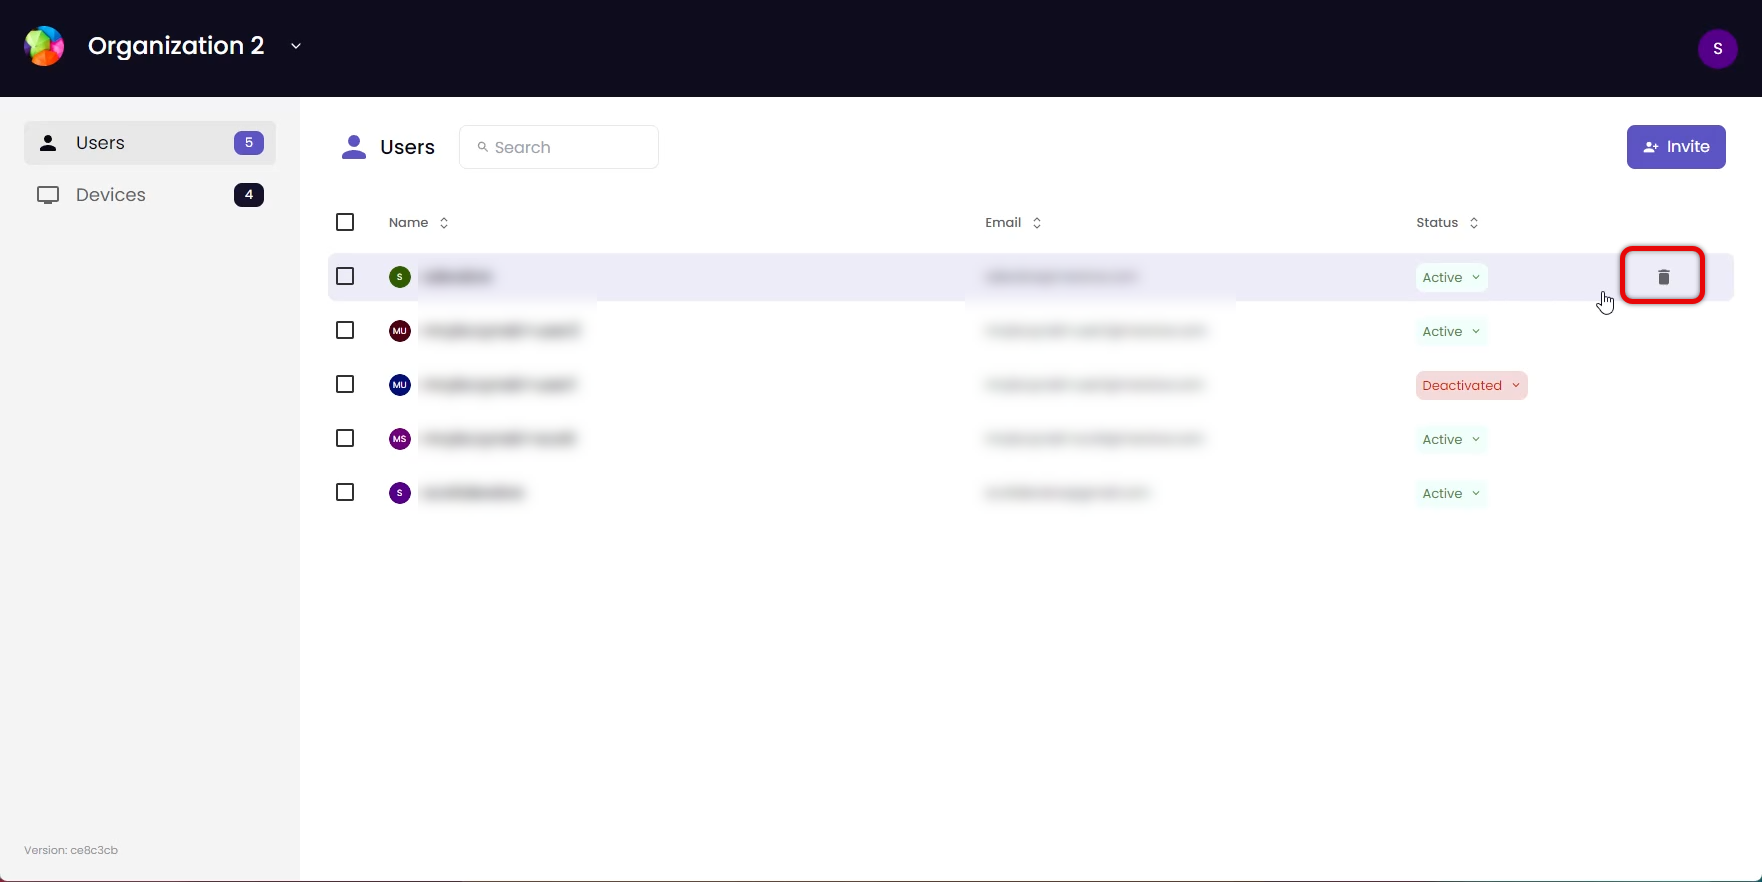
Click the Trash Can. A confirmation pop-up appears.
Click OK. The user has been deleted from the organization.