Step 8: Apply Templates and Unique-to-Pod Settings
In this step, you apply the configuration templates you created across your deployment. Repeat the process of assigning a template to a Pod for all the configuration templates you created to apply template settings to all Pods across your deployment.
You also find directions for how to apply settings that are unique to a Solstice Pod, such as room calendar authentication details, after assigning a Pod to a pre-configured template. For how to change the settings of an individual Pod without assigning it to a template, see Configure Individual Pod Settings.
To make the process of applying templates across your deployment more efficient, you can use categories to apply configuration templates to Pods by location, campus, or any other categories you choose to define. See Create Categories to learn more about how to create and use categories, as well as best practices.
How to Apply Configuration Templates to Solstice Pods
Note
Solstice administrators should be aware that the Cloud settings for a Solstice Pod take precedence and overwrite any conflicting settings on the Pod itself.
In the case of a settings mismatch for a Pod between Solstice Cloud and the Pod's own settings, Cloud settings always "win." The only exception is when a settings change in a Cloud template causes Solstice Cloud to be unable to connect to the Pod. In this case, the settings in that template set are rolled back to the last working configuration for that Pod. Pod and template status indicators alert users when this case occurs.
In the left sidebar menu of Solstice Cloud, click Manage > Pods.
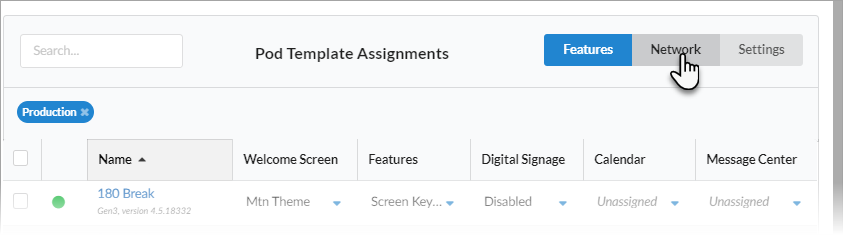
The Pod Template Assignments table displays. This table is used to apply templates across your deployment. You can apply a template to multiple Pods at once.
Tip
Filter Solstice Pods in your deployment by default categories or categories you have created to apply templates efficiently to similar Pods. Filters allow you to apply templates by criteria such as location or campus, depending on the categories you have created and assigned to Pods.
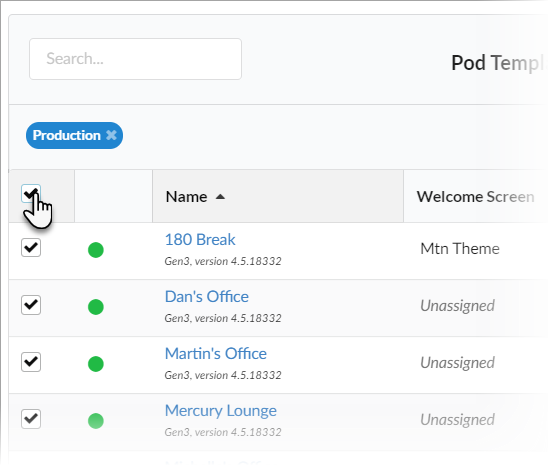
Select the Pods you want to apply the template to. You can select each Pod's checkbox individually, or select the checkbox in the header row of the table to select all Pods showing in the table.
For each template you want to apply, go to the corresponding template type column (e.g., Welcome Screen). You can view different groups of templates by selecting a template category in the upper right corner of the table.
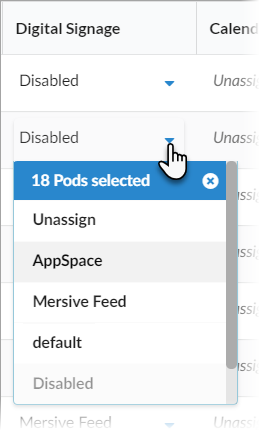
Select the template with the desired configuration from the list in the appropriate column for one of the selected Pods. This applies the template to all the selected Pods in the table.
Click Confirm when to confirm applying the selected template to all selected Pods.
As changes are being applied, the pending changes
 icon appears next to the template(s) being applied. After the changes are applied, the Pod's normal status resumes.
If a Pod is offline, any changes made are applied when the Pod comes back online.
If a settings change in a Cloud template causes Solstice Cloud to be unable to connect to the Pod, the Pod's settings for that template is rolled back to their previous configuration. A failure icon
 shows that the template could not be applied.
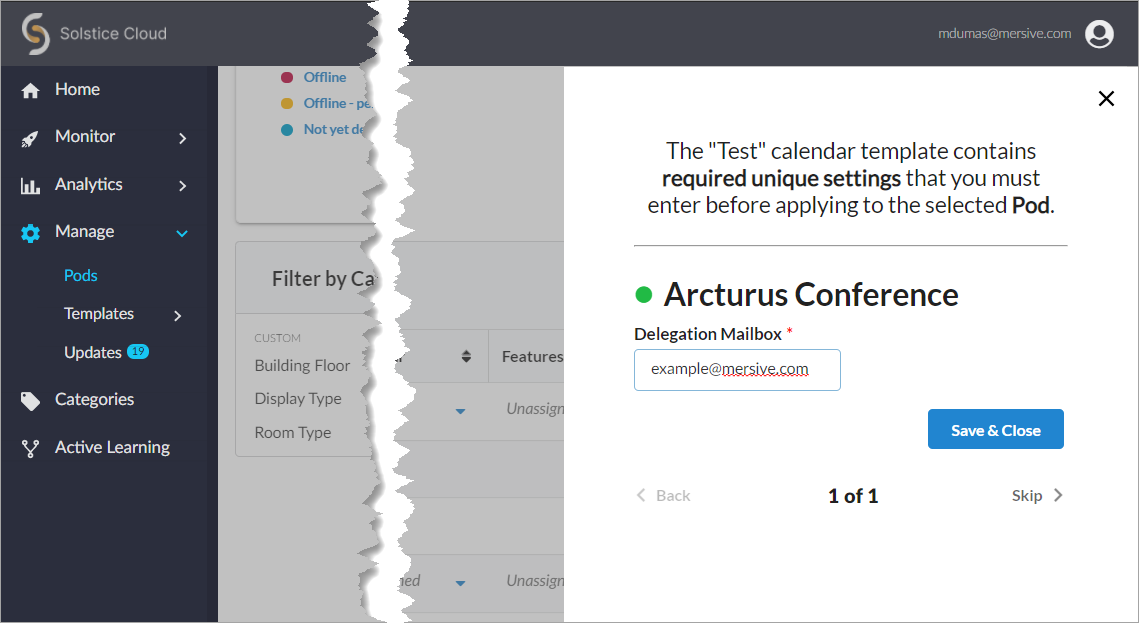
If a template you applied has any unique-to-Pod settings that need to be applied each Pod individually, a pop-up pane appears prompting you to enter the needed information for each affected Pod. After you complete all of the settings screens, click Save & Close.
Tip
Solstice checks the settings selected for a Pod in Solstice Cloud management against the settings on the Pod itself approximately once an hour, as well as upon Pod reboot.
How to Configure Unique-to-Pod Settings for an Individual Pod
If you are not able to enter a unique-to-Pod setting when assigning templates to multiple Pods, use the directions below to apply settings such as room calendar authentication details after assigning a Pod to a template. For how to change a group of settings for an individual Pod without assigning it to a template, see Configure Individual Pod Settings.
In the left sidebar navigation panel of Solstice Cloud, click Manage > Pods.
In the Pod Template Assignments table, click the name of the Pod you want to configure individually.
Scroll down to the Template Configuration section. Click the
 icon to expand the options available for a particular settings category, such as Calendar.
If the selected Pod was previously assigned to a template, click Edit to interact with the configuration options.
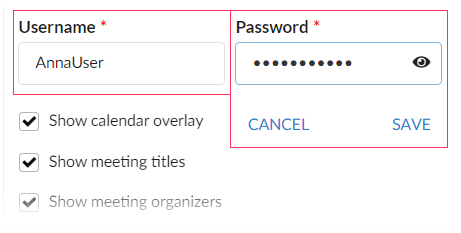
After entering each setting that is unique to the individual Pod, such as Username or Password in the Calendar settings, click SAVE near the edited settings.
Tip
Do not click Save as Unassigned or Save as New Template at the top of the settings section because this removes the previously assigned template for that Pod.
A pop-up message confirms the individual Pod setting is updated.